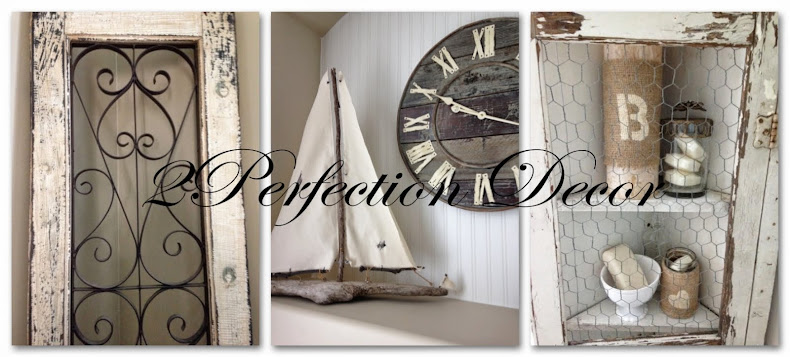
Well this is one of my favourite projects of ALL TIME!! Sooo happy the results so I couldn't wait to share!!
I picked up this console table/ Desk at my local Restore for $25. It was in really good condition, made of solid oak. It came with a drawer that was easy to slide, a door with a magnetic close and a nice open shelving area. I had a transformation vision right away...


The new island is thin enough to not overpower our kitchen. Plus it allows for added storage which we SO needed. The Cabinet holds our pots and the drawer holds all our cutting boards. The basket underneath holds potatoes and onions.

The Before pictures.. The original piece was a Sturdy Oak Base, Heavy with a Black top.


The Future Counter Top: Cedar wood planks cut to over hang ever so slightly on either end. We also cut the width of the planks so that four planks could fit the top perfectly and evenly.

The door.. Don't you just love my weights ;) sometimes you need to get creative.. we Glued the beadboard down with no more nails glue.

I filled the original hardware holes with wood filler and then sanded it. Once we painted the door you could never tell a handle was ever there. I added a Crystal knob to the top right side of the door to match with the rest of the kitchen.

We added Beadboard to the sides of the island and then added 1 1/2 inch wood trim around the sides of the beadboard base to create a more polished finished look. We finished the look by filling in any holes with caulking. Before we added wood planks as the counter top we evened out the counter base with thin wood pieces.

This is a before picture .. of our Mistake.. we added legs to the current base and it didn't work out.. the legs looked as though they were floating in the middle and looked ridiculous .. So we had a thick piece of wood cut at the hardware store for a base and drilled it into the current base/island.. Then used a ton of caulking to make it look as one ;) Then finally added the four 6 inch legs on the outer corners.. and it was the perfect island height at 36 inches.

See how odd it looked.. Oppsie!! ;)

When we switched the legs ;)

Completed Island View

Painted in Old White Chalk Paint by Annie Sloan


I styled the island with a wood chalkboard which looks like a vintage bread board and layered it with a large black Cook Book about Chocolate..yum.. The Galvanized tin vase on top holds our Fall dried Hydrangeas.
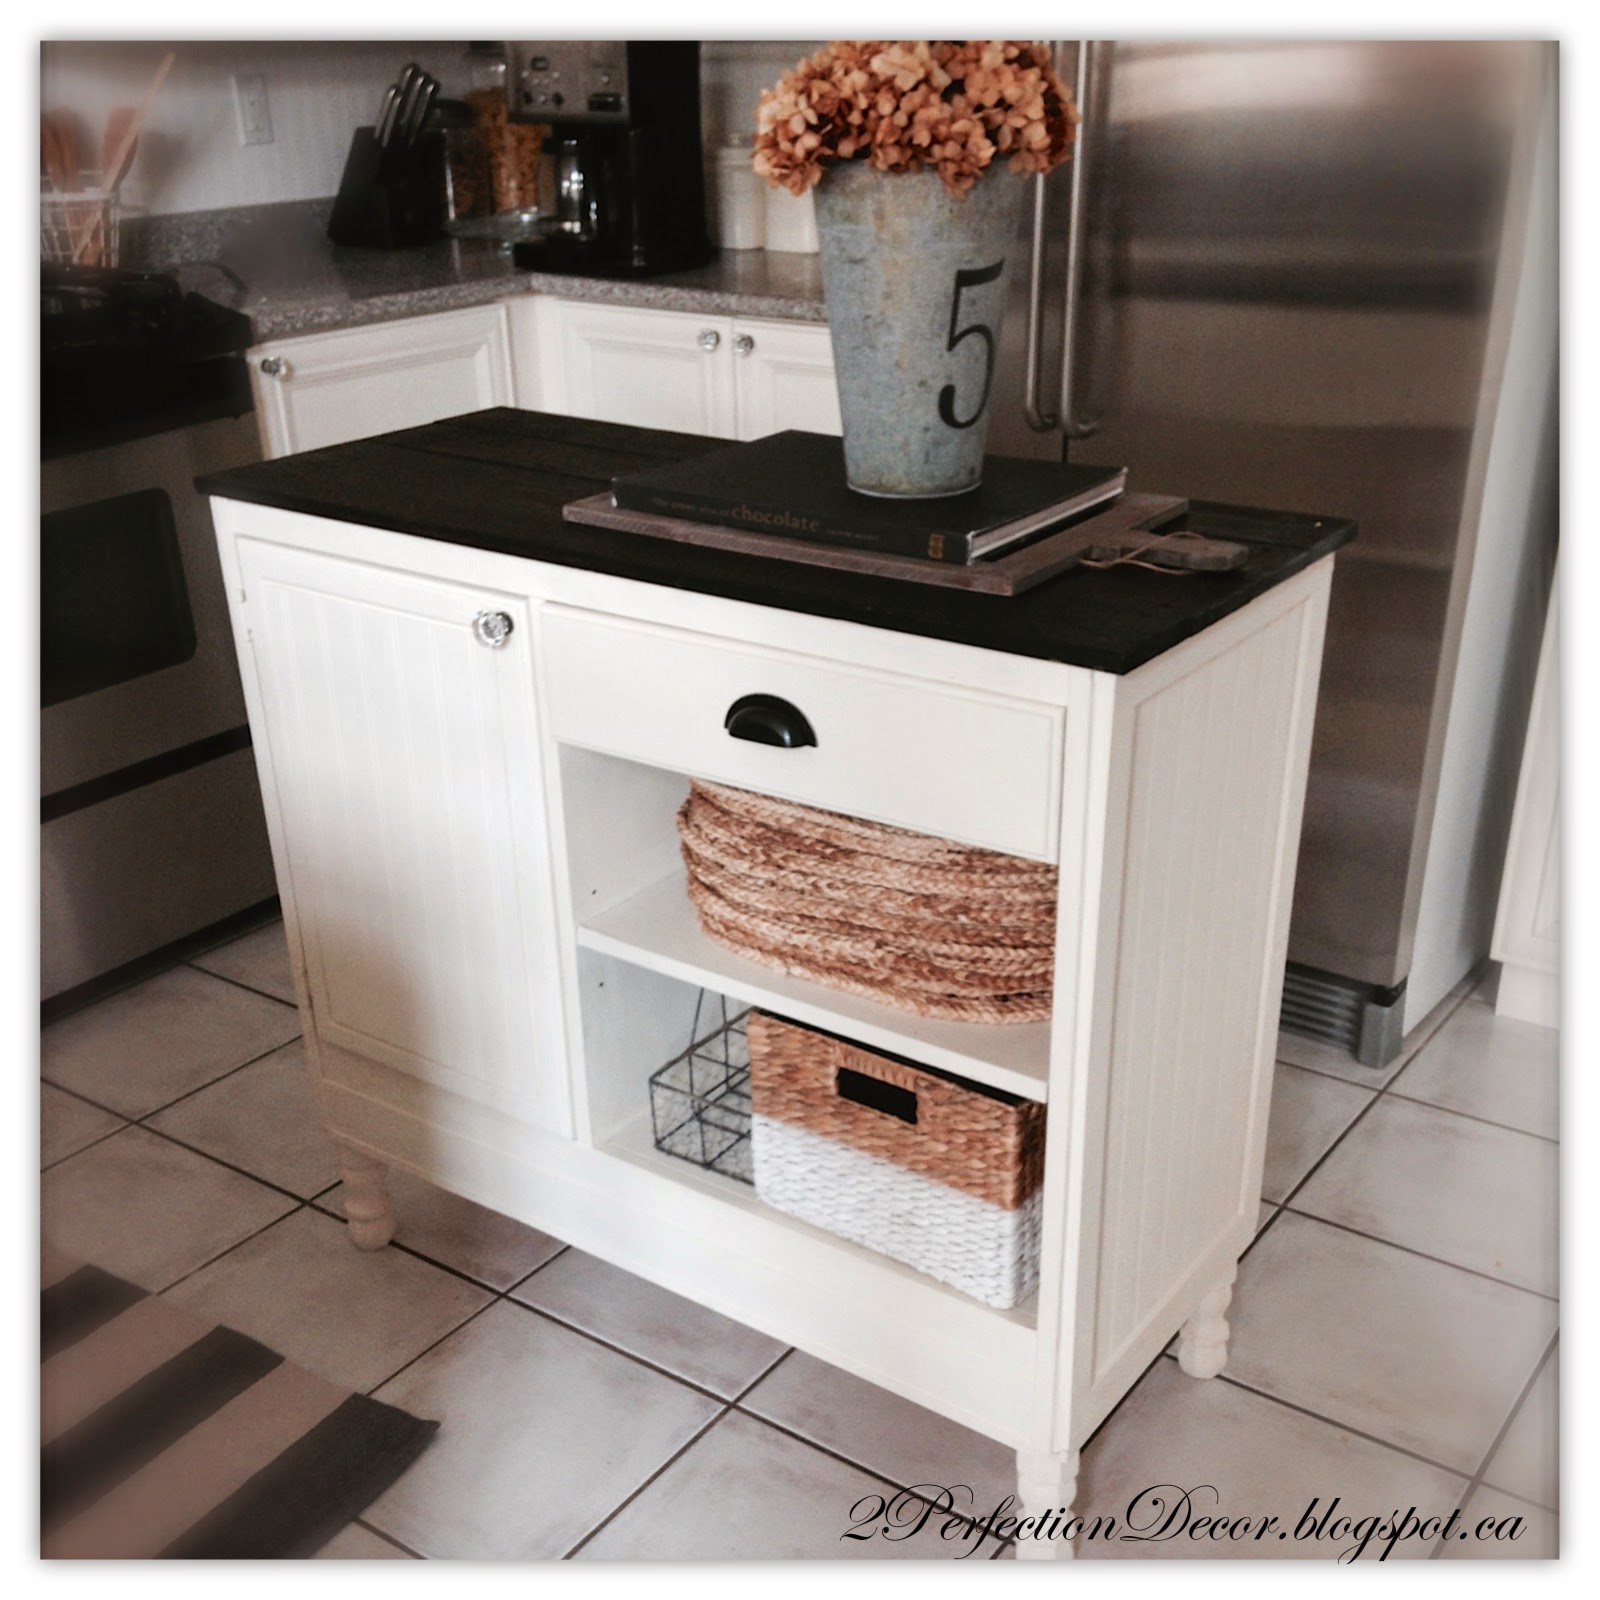
We added a protective wax to the Stained Cedar wood planks to add durability to our counter top.


Thanks for looking.. You can see our Full Kitchen Reveal Here
Shared post with:
The Shabby Nest - for Frugal Friday
Silver Pennies - Sundays Link Party
Home stories A to Z - Tutorials and Tips
Funky Junk Interiors - Salvaged Junk
Miss Mustard Seed - Furniture Feature Friday
Remodelaholic - December Link Party
Don't miss a post follow me by Email or Bloglovin
Linking to the HOST
Shared post with:
The Shabby Nest - for Frugal Friday
Silver Pennies - Sundays Link Party
Home stories A to Z - Tutorials and Tips
Funky Junk Interiors - Salvaged Junk
Miss Mustard Seed - Furniture Feature Friday
Remodelaholic - December Link Party
Don't miss a post follow me by Email or Bloglovin