01
Showing posts with label kitchen. Show all posts

Sunday, December 11, 2016

Christmas in our Kitchen

So with 2 weeks left until Christmas..  I thought I'd share how I added some Holiday cheer to our kitchen & Breakfast area.. the most used and abused room in our house! Well it was all about simple items that wouldn't get in our way or that you can tire of too quickly... Come see our easy, neutral Christmas kitchen additions ... 

Saturday, October 8, 2016

Breakfast Room Reveal

So I'm so excited to share our Breakfast area today.. we've done some changes in here recently.. I found this antique wooden round table at an online auction recently with this really unique base and just had to have it!!  I got it for a mere $50 but it does need some work..well a lot of work!! I know.. I know I just recently posted about our farmhouse rectangular kitchen table.. which we just did a makeover on by adding planks to the top of it.. Don't worry I still have it and love it But I couldn't resist this deal .. I should tell you, I have never had a round table before.. but I think I like it??. Then there is the tiny fact that I am super torn on which style I like??.. I really like BOTH ..ahh!! :( So please help me..what do you think? Do you prefer the round or rectangular farmhouse style for our space? leave me your comments below...

Friday, January 30, 2015

Saturday, January 3, 2015

Recap of 2014

Wow my first post of 2015!! Can't believe how fast 2014 came and went!! Last year I started this blog in the middle of the year not sure of where it would go.. I wanted to track all the progress of our latest housing adventures :) Here is a Recap of 2014 and how 2Perfection Decor began ;)

First I shared our first house from 2012. You can see more pictures in our House Tour HERE
Next I shared, the latest house we just moved from: House Tour 2 Pics HERE

Next came our latest home adventure.. Our current home ;)
This is our new Kitchen after some tweaks .. first was painting all the cabinetry, adding new thicker crown mouldings, adding beadboard wallpaper as a backsplash, new hardware, and lastly trimming the decorative hood fan. See the FULL transformation HERE.
Our Kitchen Eat-in Area 
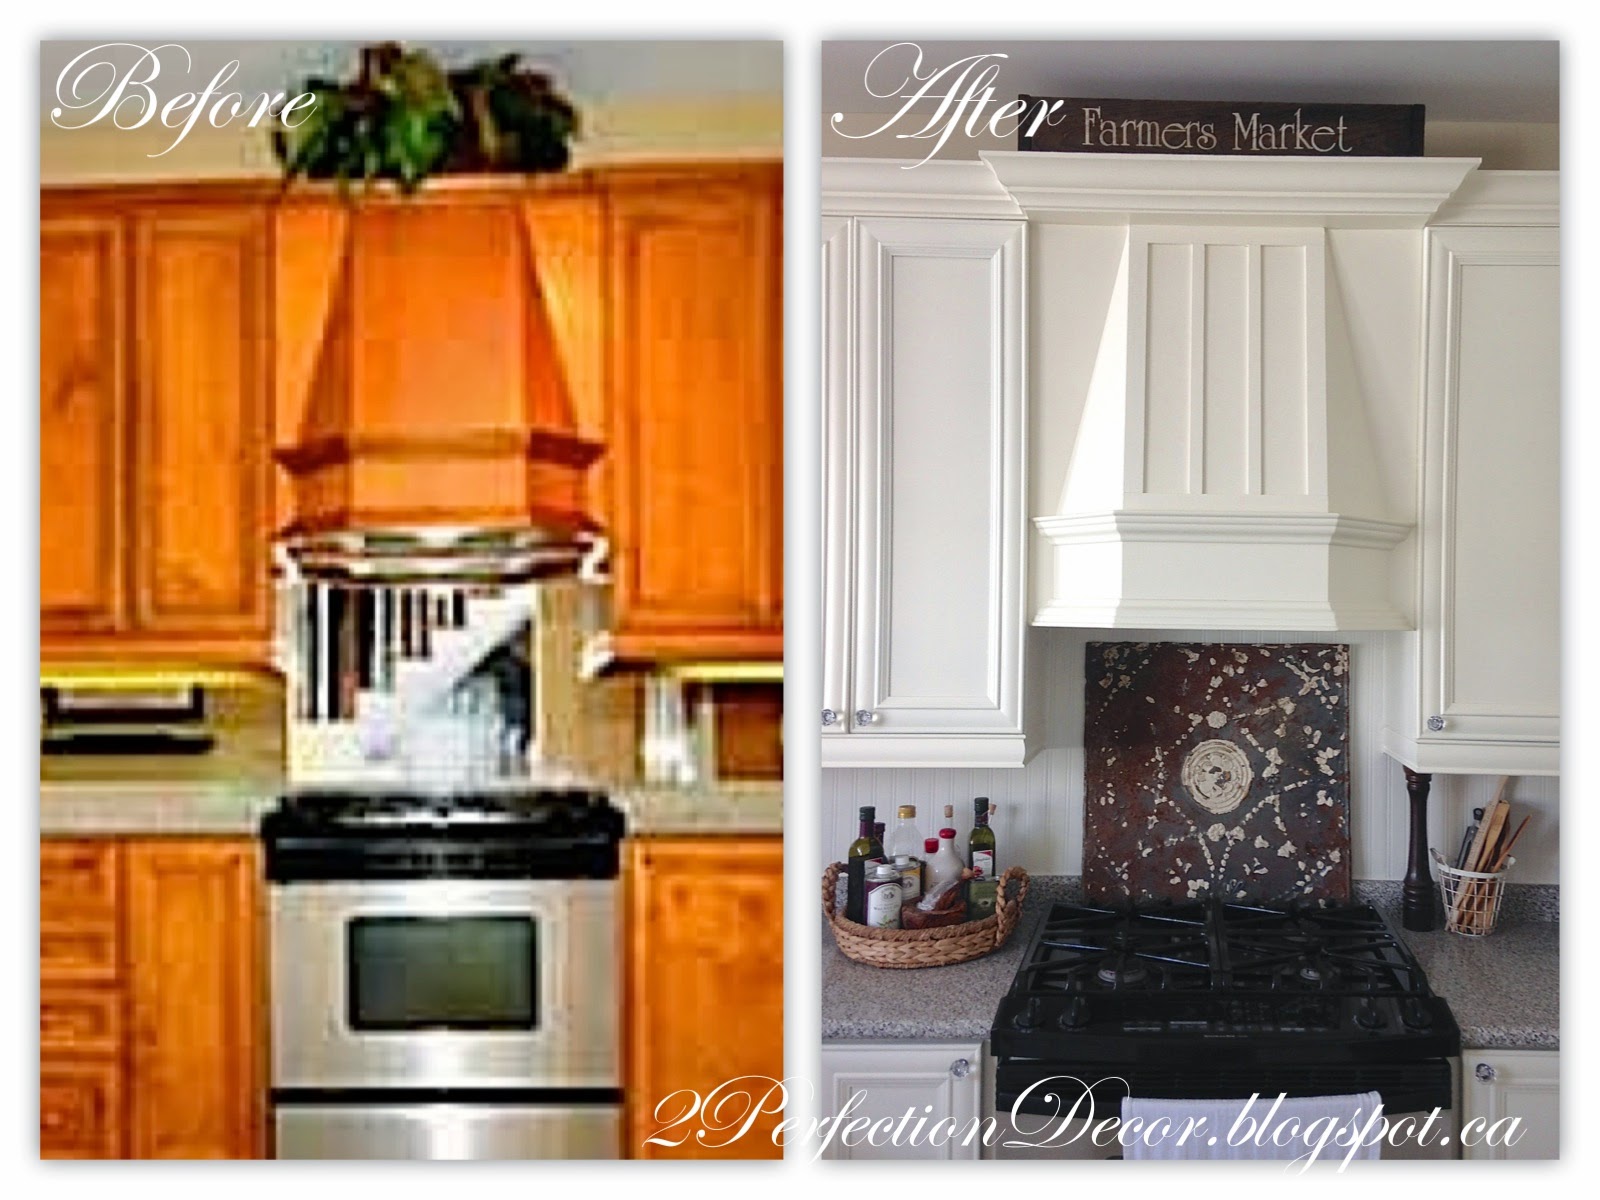
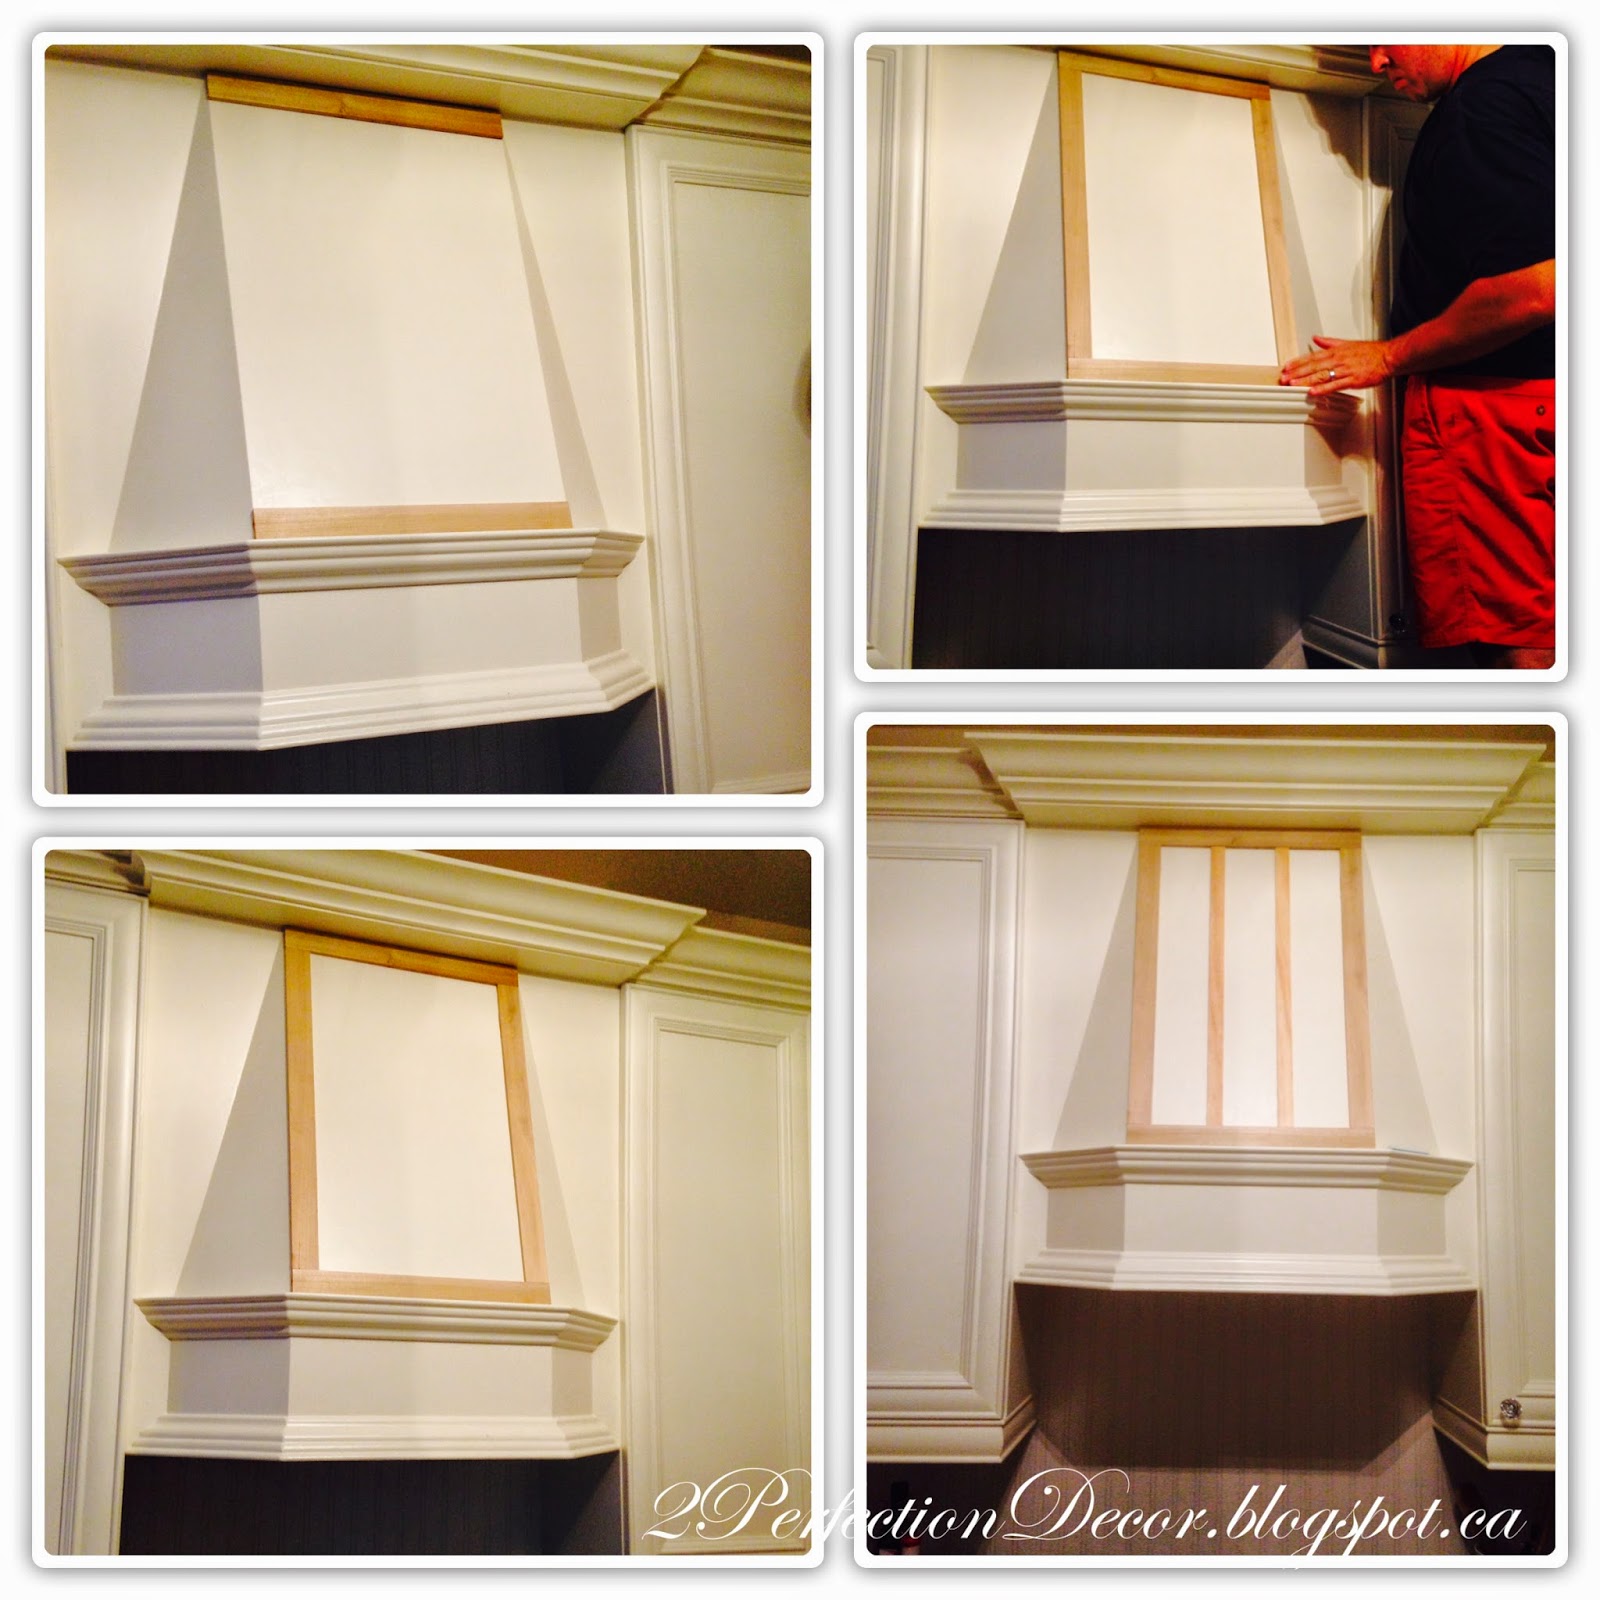
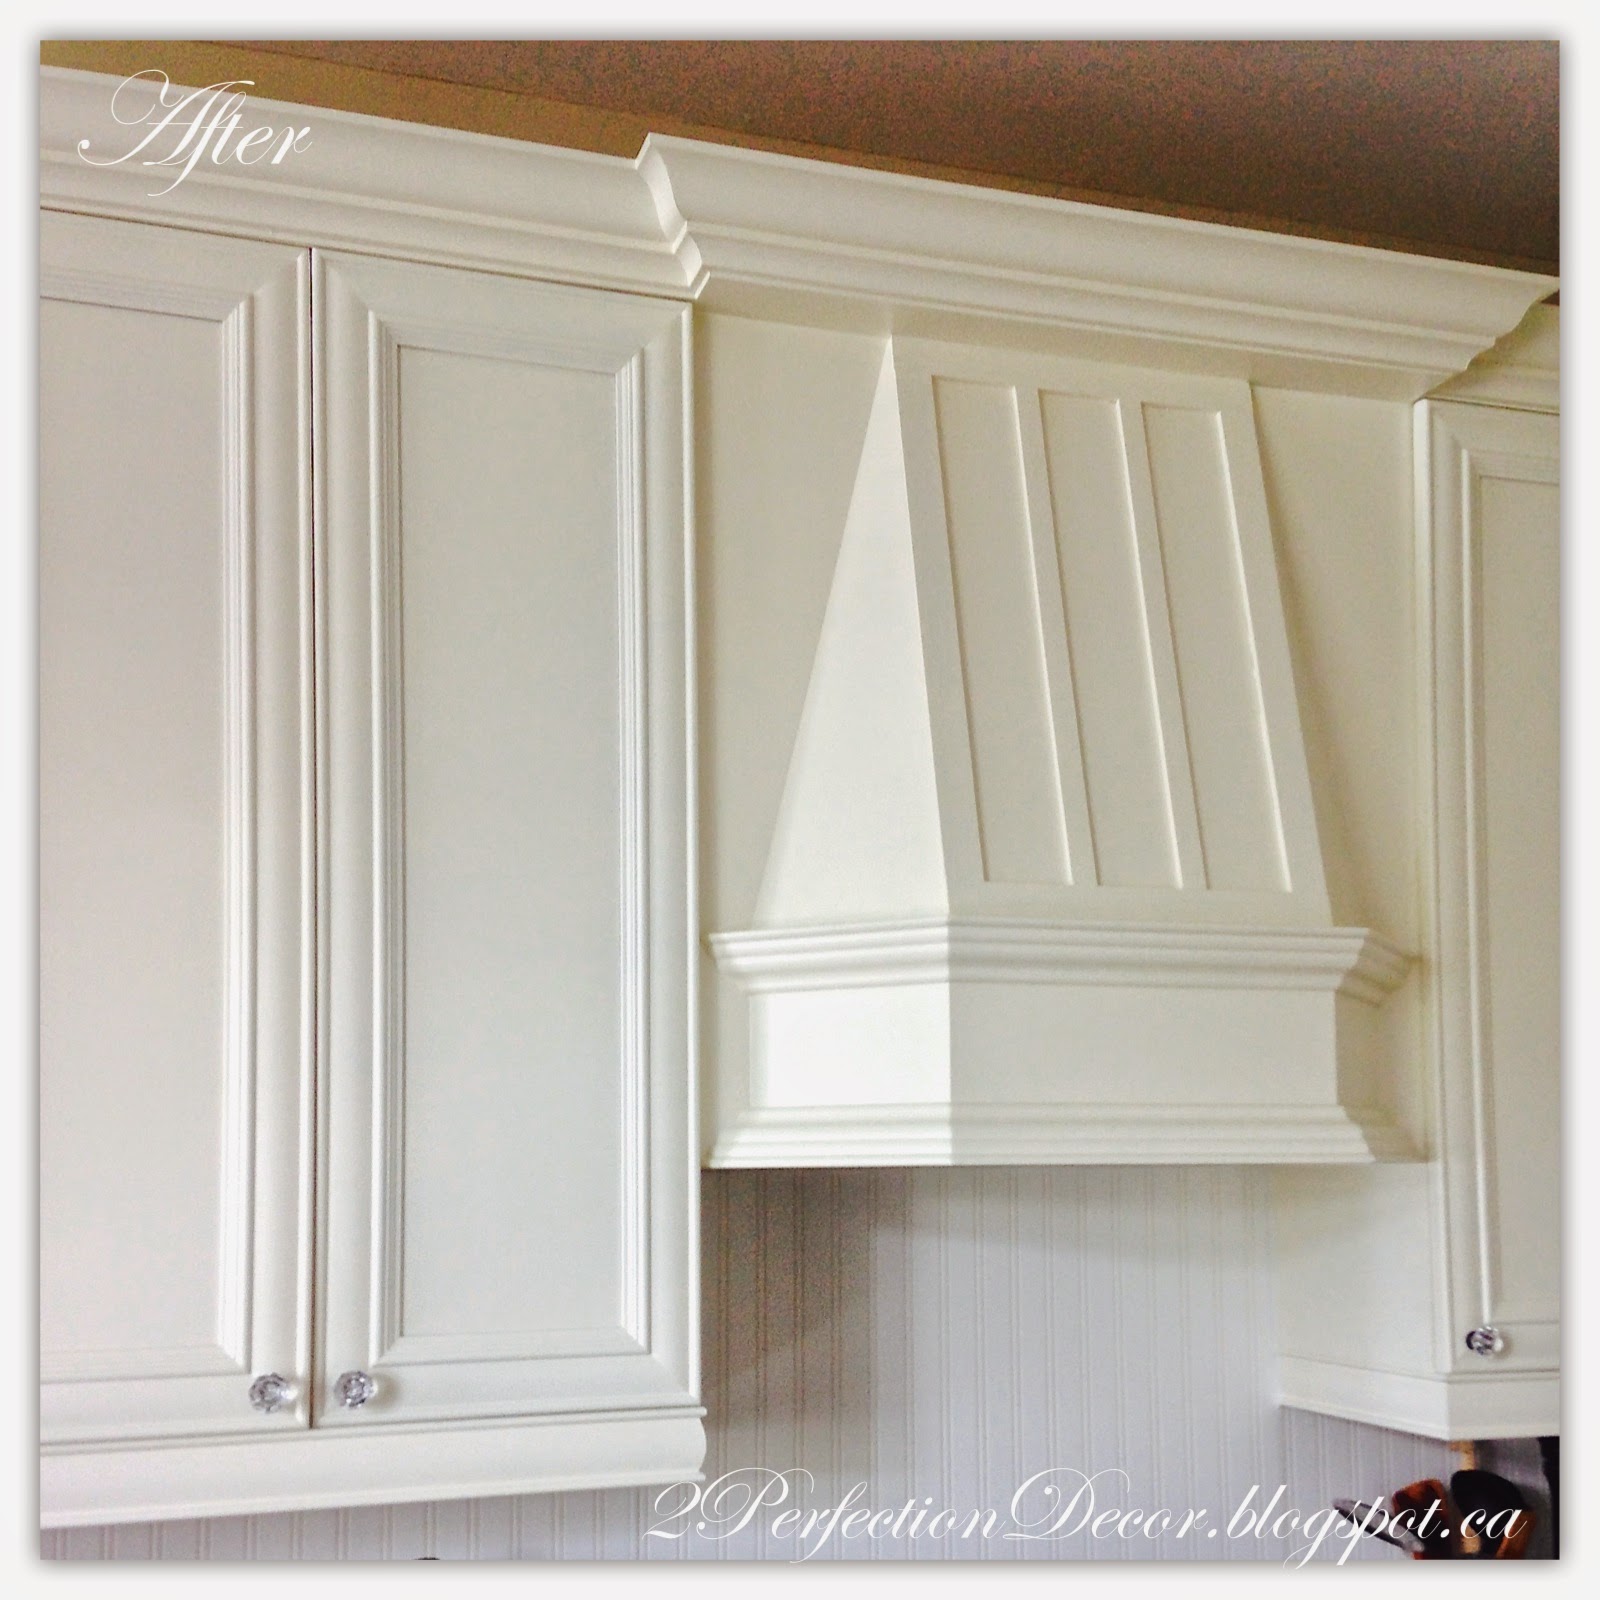
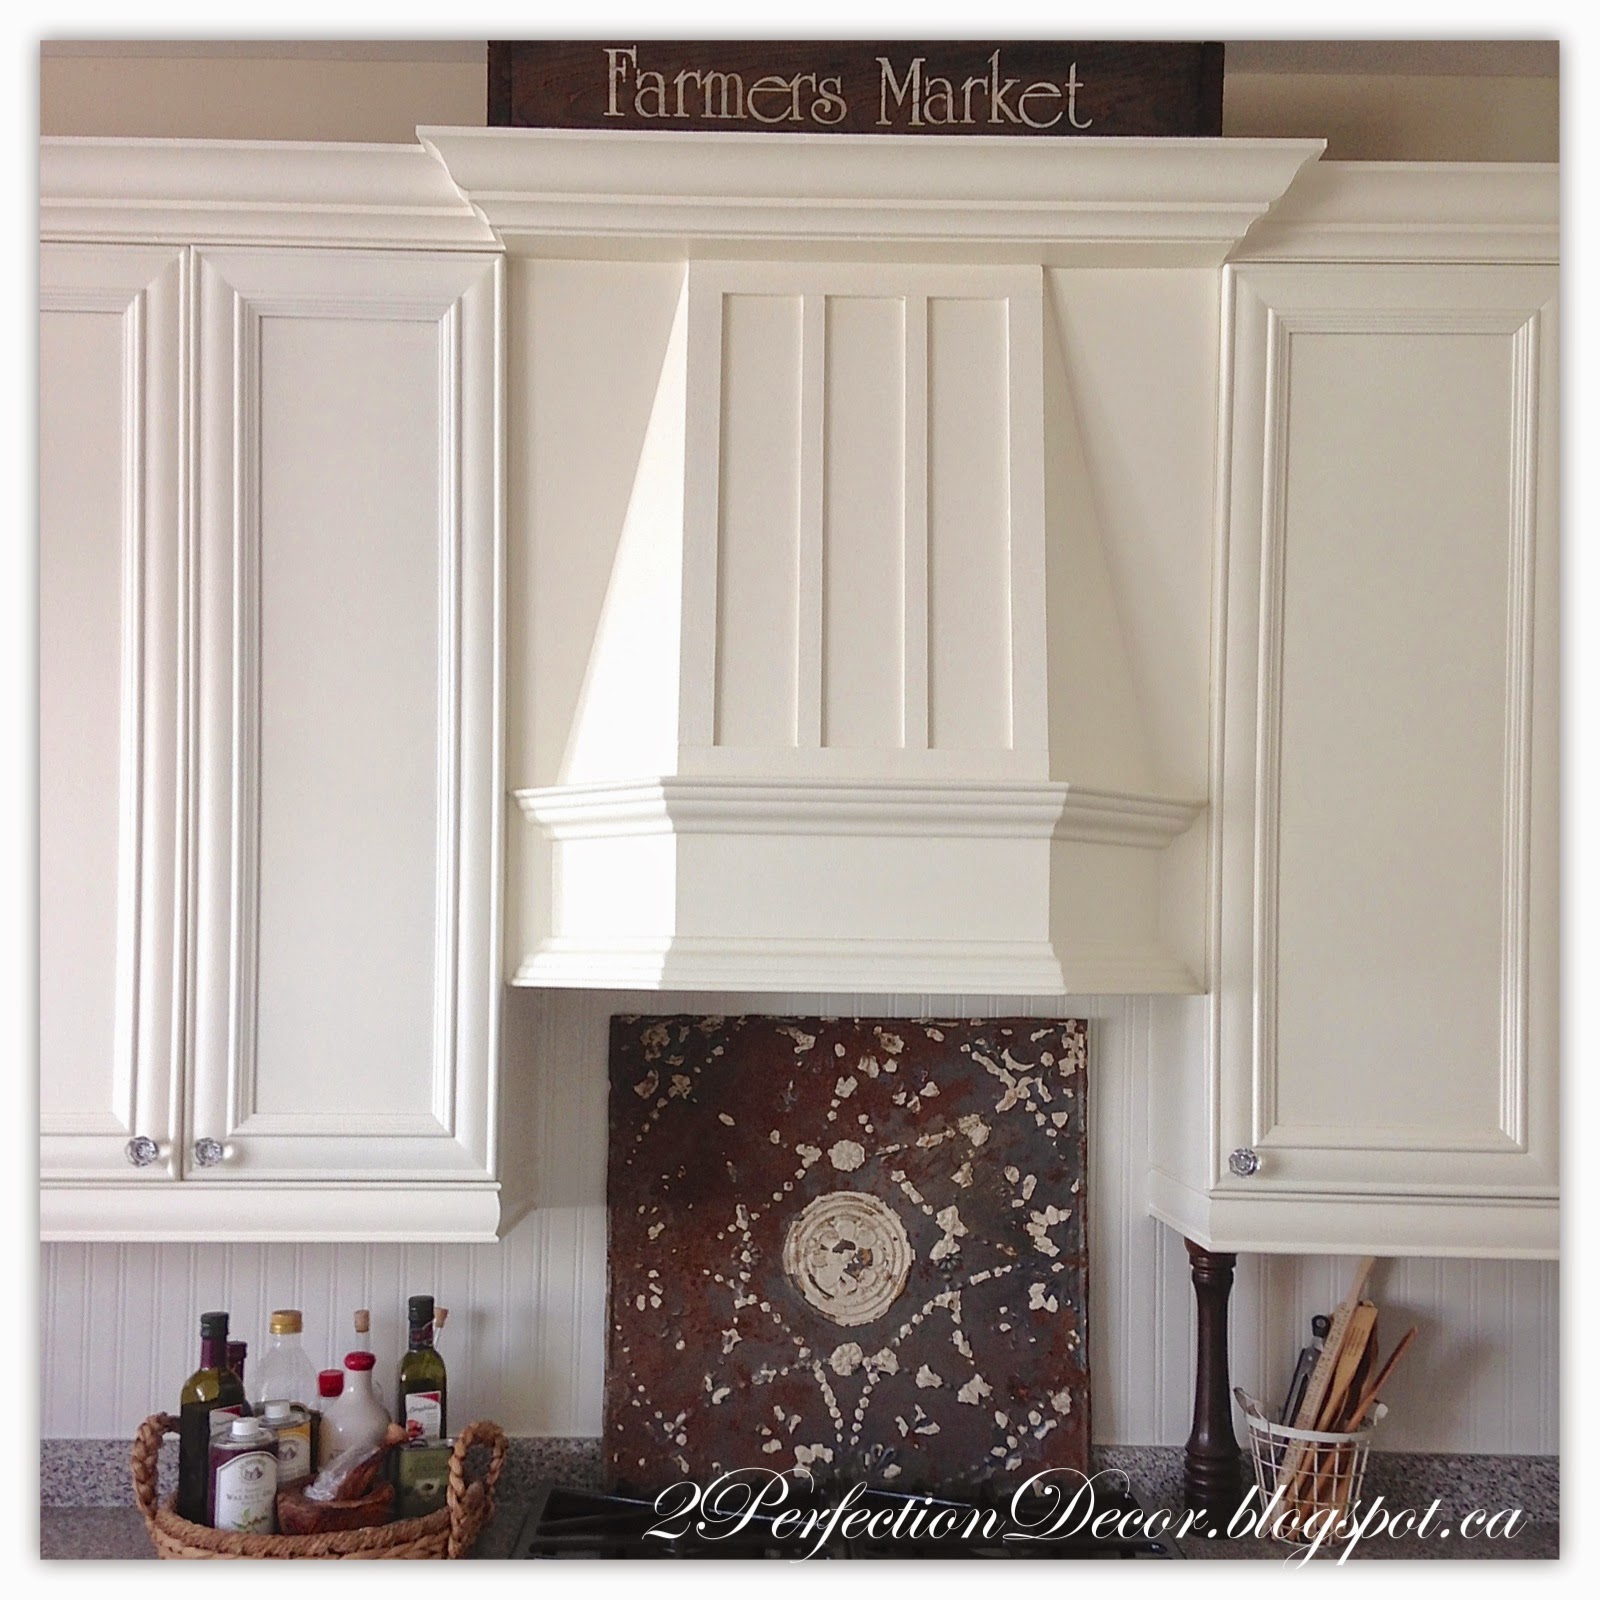
 Next we added character to our basic builder built-in niches in the kitchen.
My proudest DIY of 2014 was our Small Space Kitchen Island made from a Vintage desk.
 The laundry room got updated with splashes of blue and white for a subtle nautical theme. 
See more on the full transformation HERE.
 The family Room was brightened by hanging new white drapes, a new rug and furniture.. Check out the full before and after Family Room Reveal HERE
 The builder drywall media built-ins in the Family room were completely overhauled.. We painted them, added beadboard wallpaper as backdrop to each niche, added shelving for more display space and a decorative mantel to complete the fireplace look. See more on the full transformation HERE.
 Our Hall went under a Transformation HERE
 Our Dining room went under a full transformation HERE with the addition of our painted vintage Hutch, see more on the before and after hutch HERE
You can see our Living Room Before and After HERE
My Hubby's office.. See more of our Office Reveal HERE 
Lastly I shared Our Neutral French Country Christmas Home Tour HERE

Thanks for looking today.. I hope you all had a fabulous Holiday and a Happy New Year!! All the best for 2015!!


Don't Miss a post... Follow me by Email or Bloglovin!


Saturday, October 25, 2014

Decorative Hood Fan Transformation

So I posted our full kitchen reveal a few weeks ago.. But today I thought I'd post about our hood fan transformation in a little more detail. If you want to see our full French Country Kitchen Reveal click here. We started by painting our Kitchen Cabinets.. We changed out the old crown moulding for a new thicker style and popped out the crown above the hood fan for a more detailed look.. But I still felt like something was missing. The original hood fan had a plain, flat front. So we added some simple wood trim strips for a more detailed, panneled look. See below on how to do it for yourself..

We went to our local hardware store and had thin strips cut from a 1/4" thick piece of wood.
 We chose to have different width sizes of wood cut so it would flow better with our current cabinets.  We kept thicker 1 1/2"W wood strips as the surrounding edge.. Basically creating a big main rectangle. The 2 inner wood panel strips are thinner at 1" width for a softer look. 
We glued the wood trim panels down with No more Nails glue.
It super sticky and holds the wood fast.
To finish the look we filled in any gaps with Lepage Wood Filler.. Its paintable and dries fast... Which is a good thing since I hate waiting! :) Finally we completed the look by painting the wood panels to match the cabinets in BM Linen White. A soft Creamy off white.
 
These simple trim changes created a more custom, distinguished detail I was looking for.
We are very happy with how it all turned out.. The Hood Fan no longer looks like a
 builder basic decorative hood fan anymore.
If you liked this, you may like to see our FULL Kitchen Eating Area Reveal.
Thanks for stopping by.. Don't miss a post! Follow along through Bloglovin

Shared with:
 THE SCOOP over at Cedar Hill Farmhouse 
Moonlight & Mason Jar Link Party  
Linky Party over at Liz Marie Blog
Remodelaholic - December Link Party- FEATURED!