So earlier this week I shared what our Family Room had been looking like. Now I am here to share how we have decorated it for Fall. This year it was all about simple fall touches from nature... click below to see more Simple and natural Fall inspired ideas..
Showing posts with label NATURAL. Show all posts
Wednesday, September 28, 2016
Tuesday, March 24, 2015
Our Spring Mantel
As always I kept our Mantel neutral with lots natural elements. As I said in our Dining Room reveal.. Our theme this Spring is all about Bunnies.. Our daughter just loves them!
See the full details on our Spring Easter Mantel vignette below..
Wednesday, December 3, 2014
Adding Woven Jute Ribbon to Our Christmas Tree
Today is just a small post on my latest Homesense Holiday find.. A woven roll of 3 inch burlap jute trim on this great rustic wooden spool.. for only $5.99.. I honestly thought I was seeing things.. Plus it was 10yrds for under $6.. that's almost unheard of!!! When I first bought it I wasn't quite sure where it was going to go.. I just knew I NEEDED IT!!
Labels:
burlap,
christmas,
decor,
DIY,
french country,
holiday,
home,
homesense find,
idea,
jute,
NATURAL,
neutral christmas tree,
rustic,
tree decorating,
tree trim,
white decor,
wood,
woven
Wednesday, November 26, 2014
Neutral Christmas Decor in our Family Room
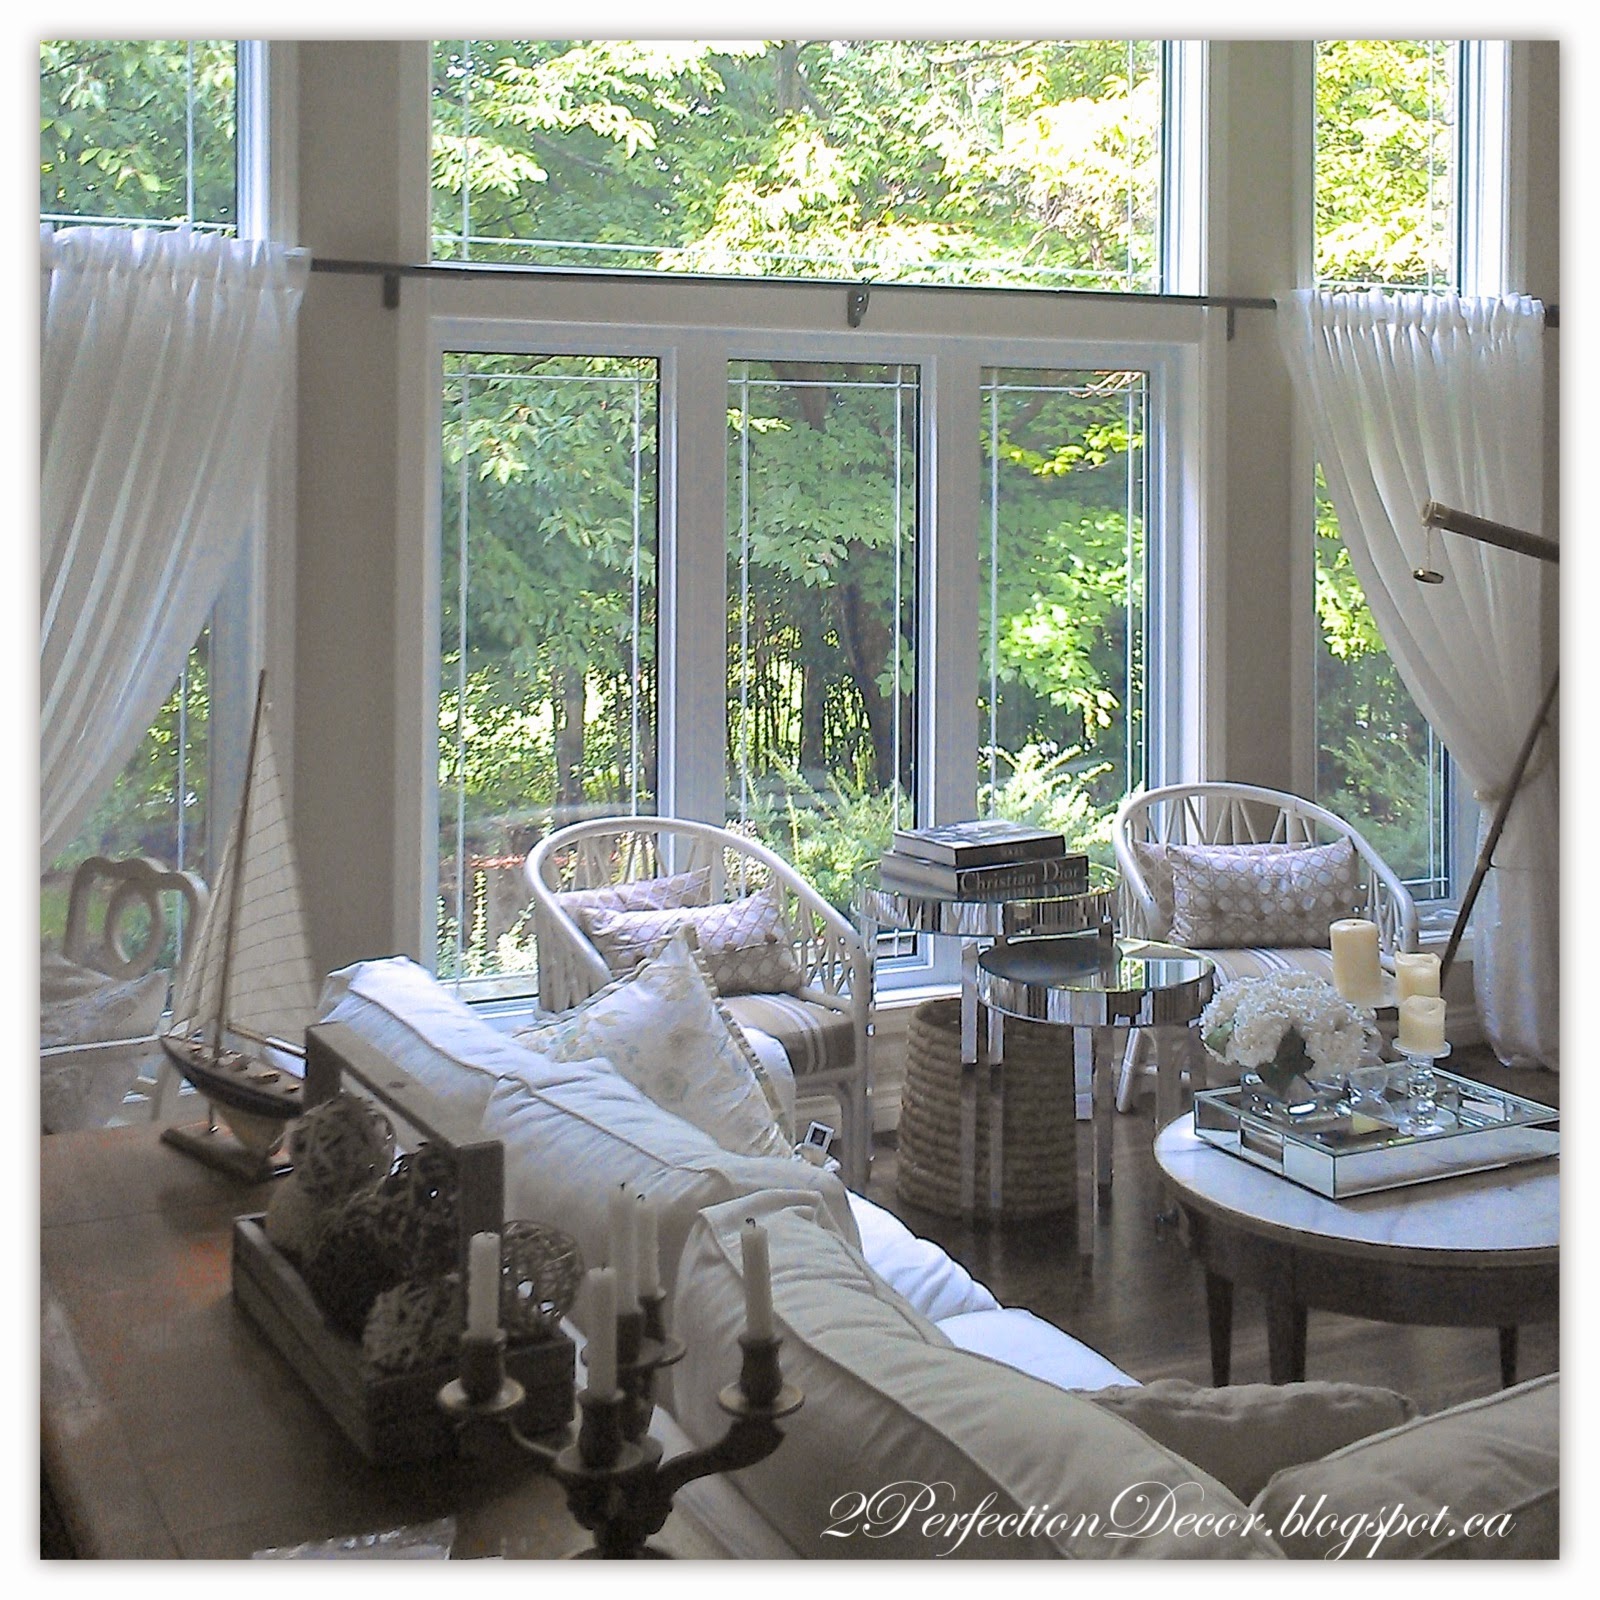
Here is the Final reveal of our neutral French Country Inspired Family Room.. Natural materials like Burlap, jute and wood are used throughout our Home with touches of red and glittering accents.
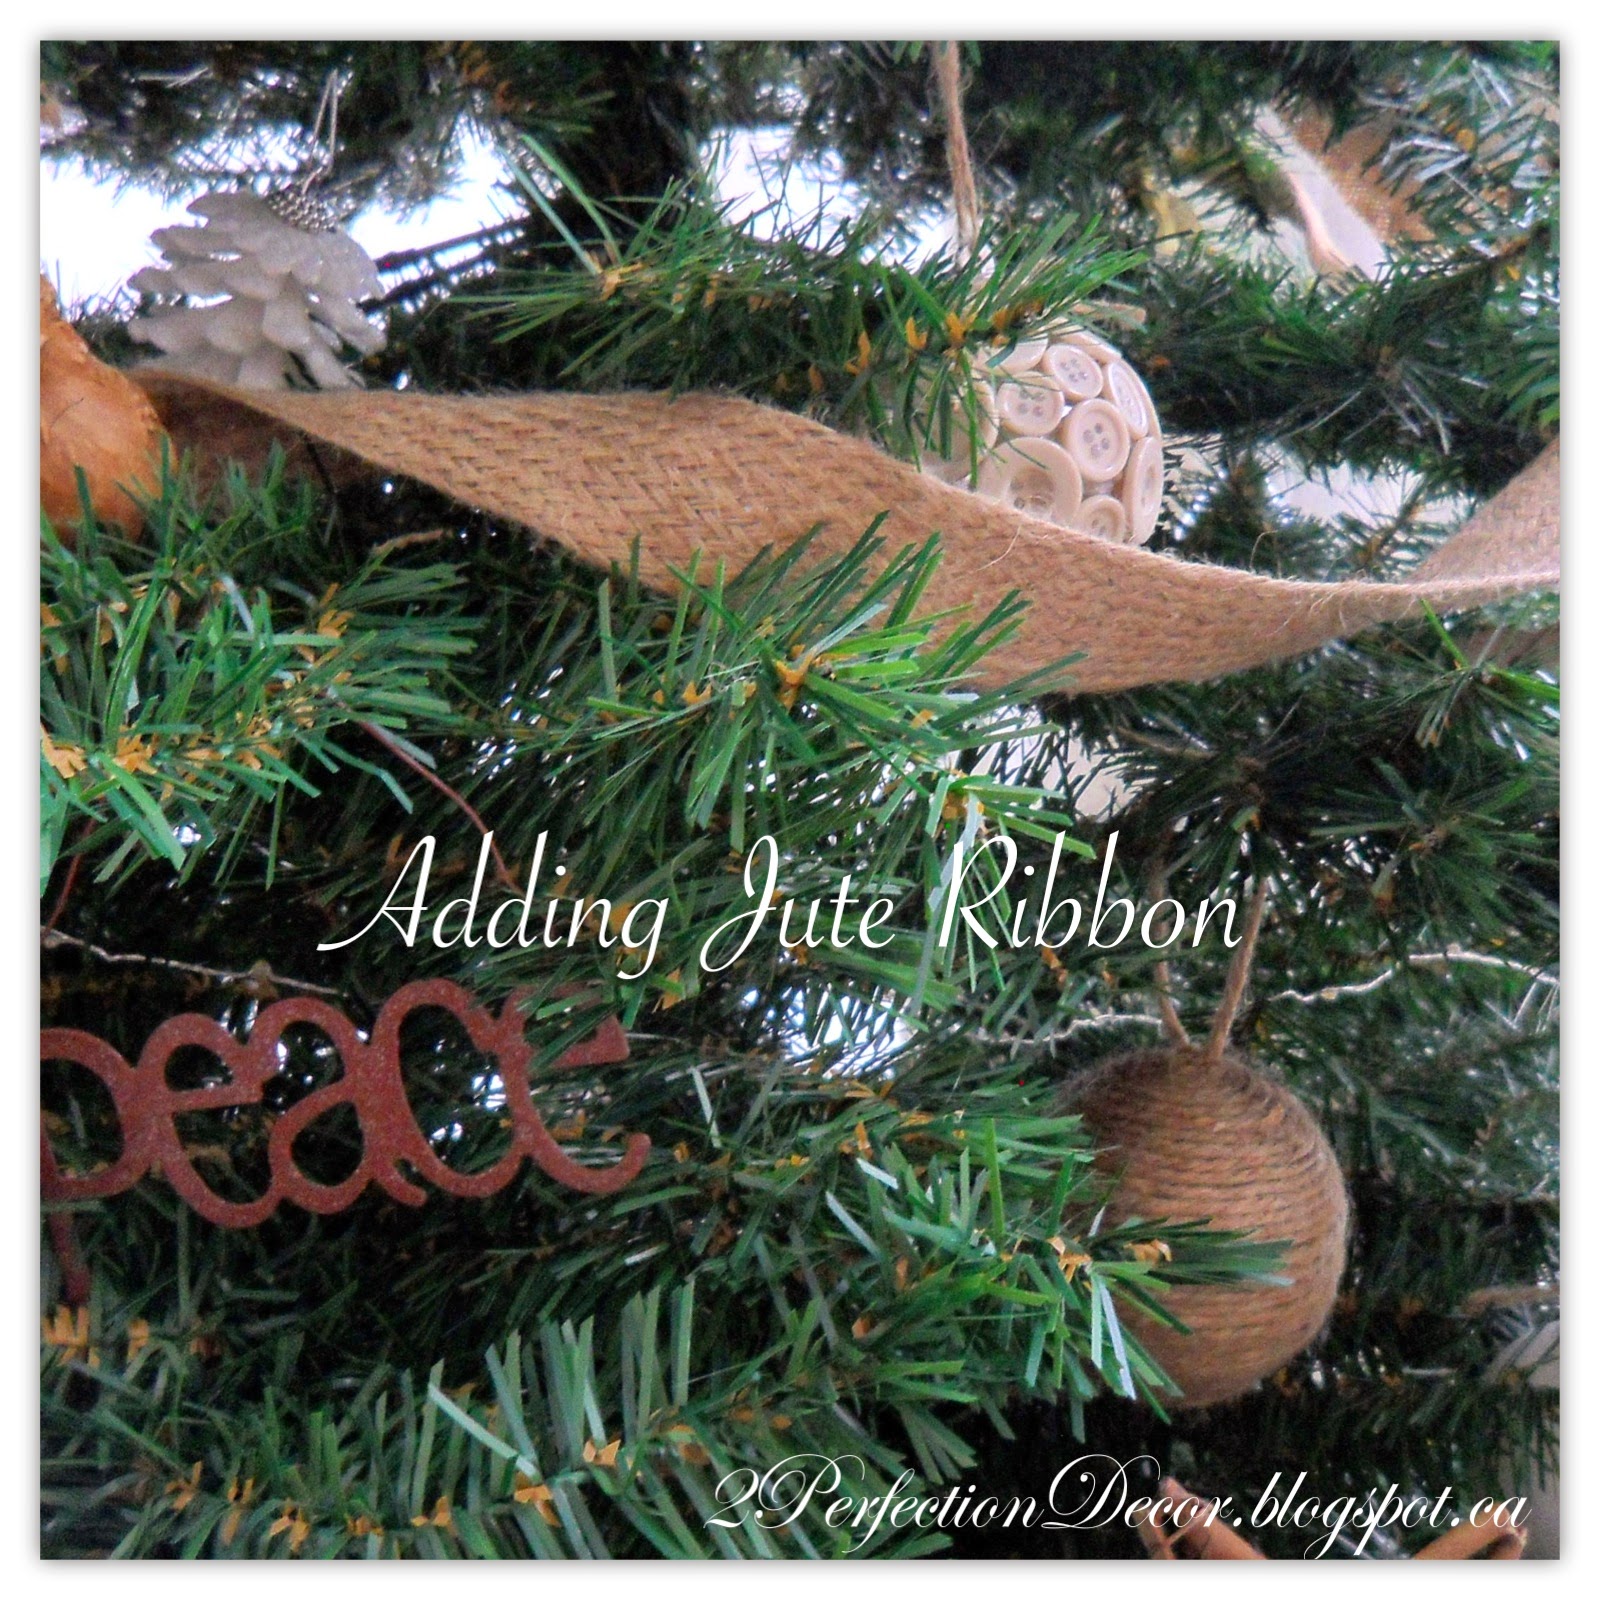
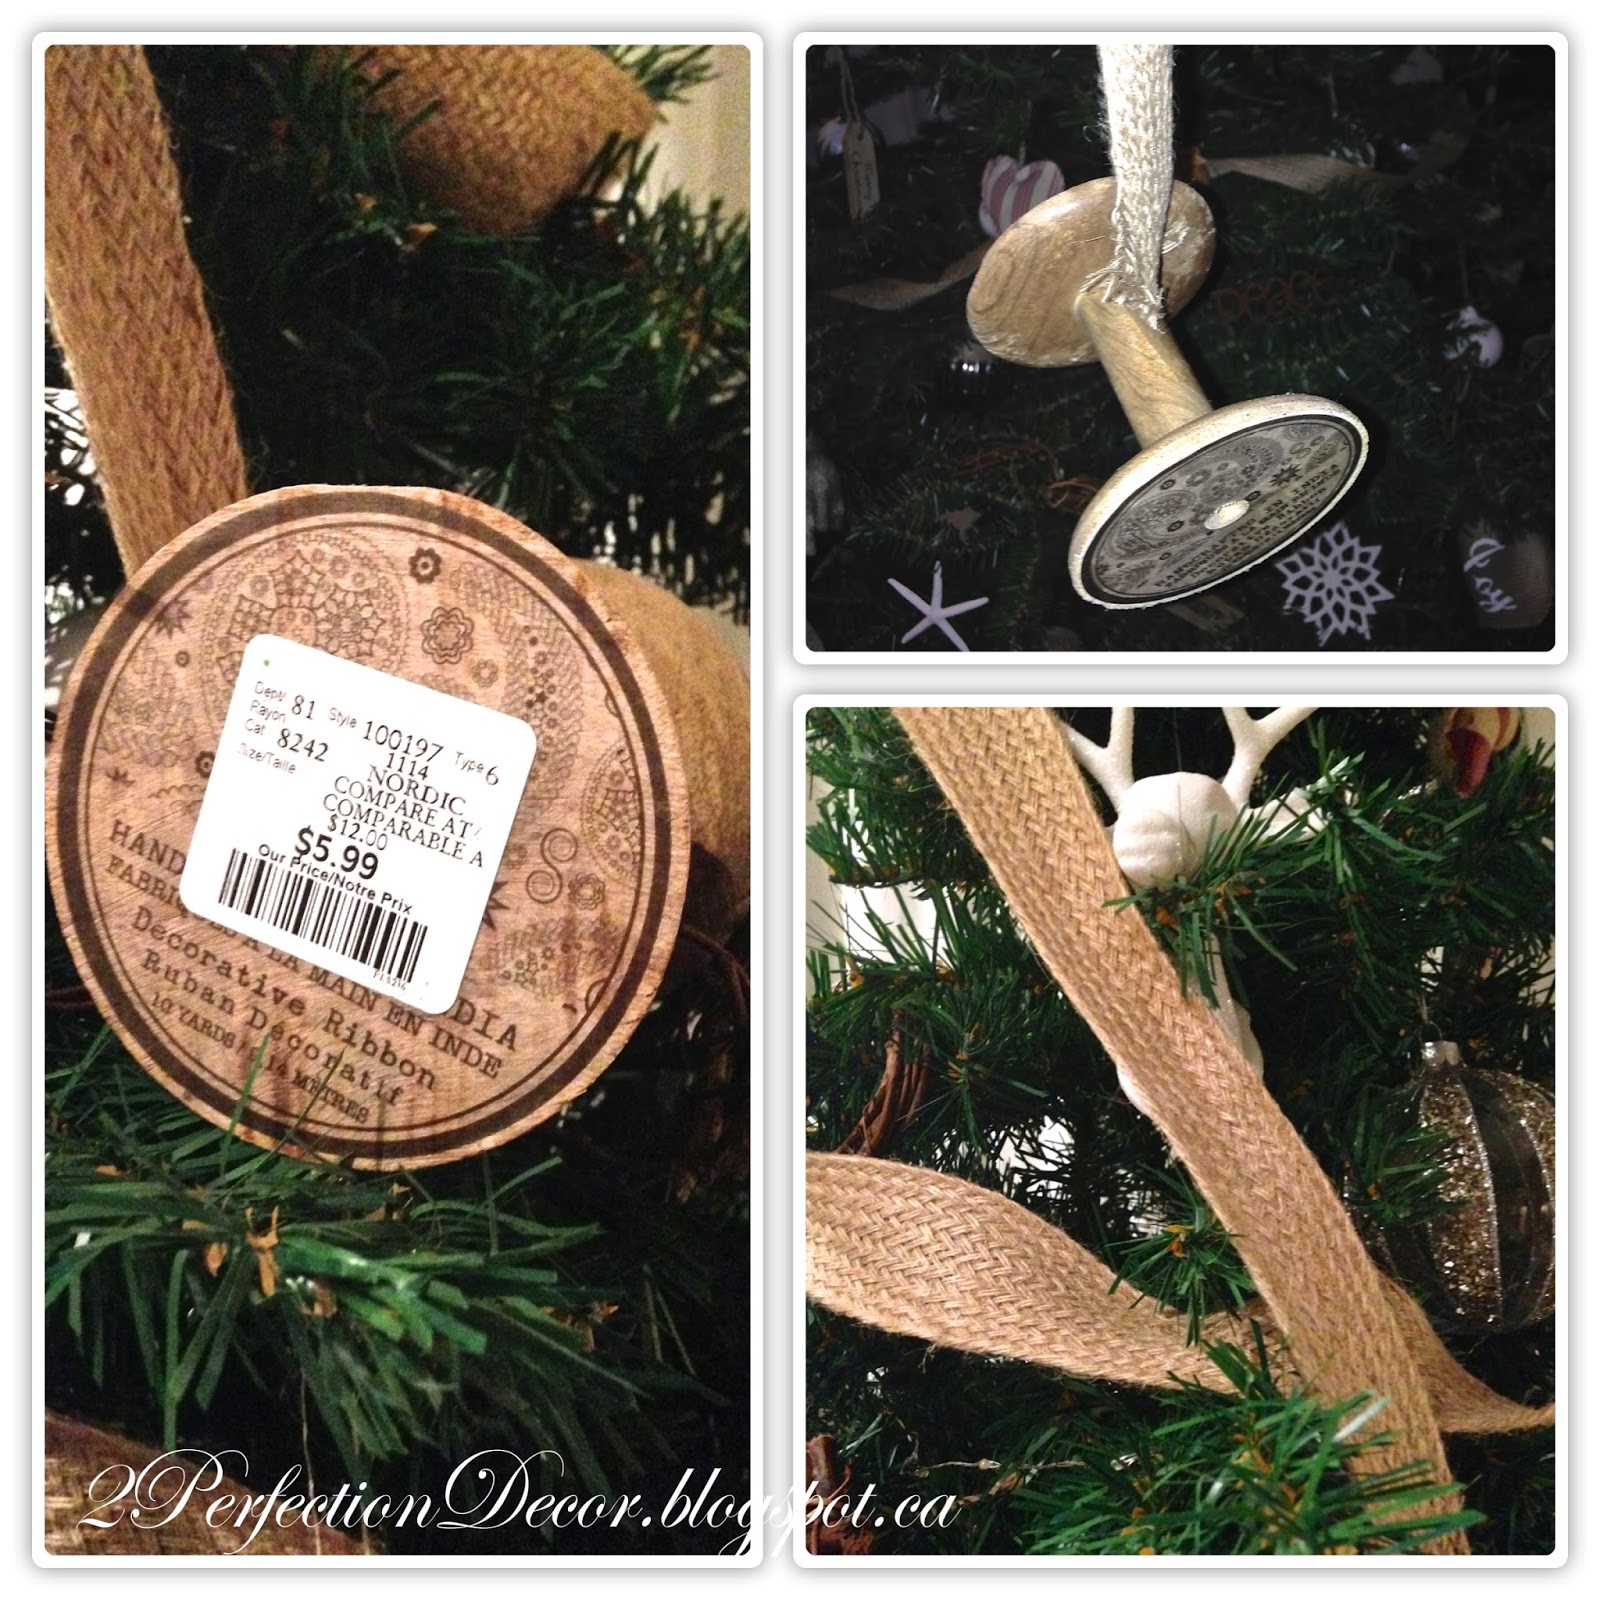
Our Tree is a mix of Handmade and Rustic store bought ornaments
Find out more info on Our Christmas Tree and Tree Skirt HERE
We kept our 
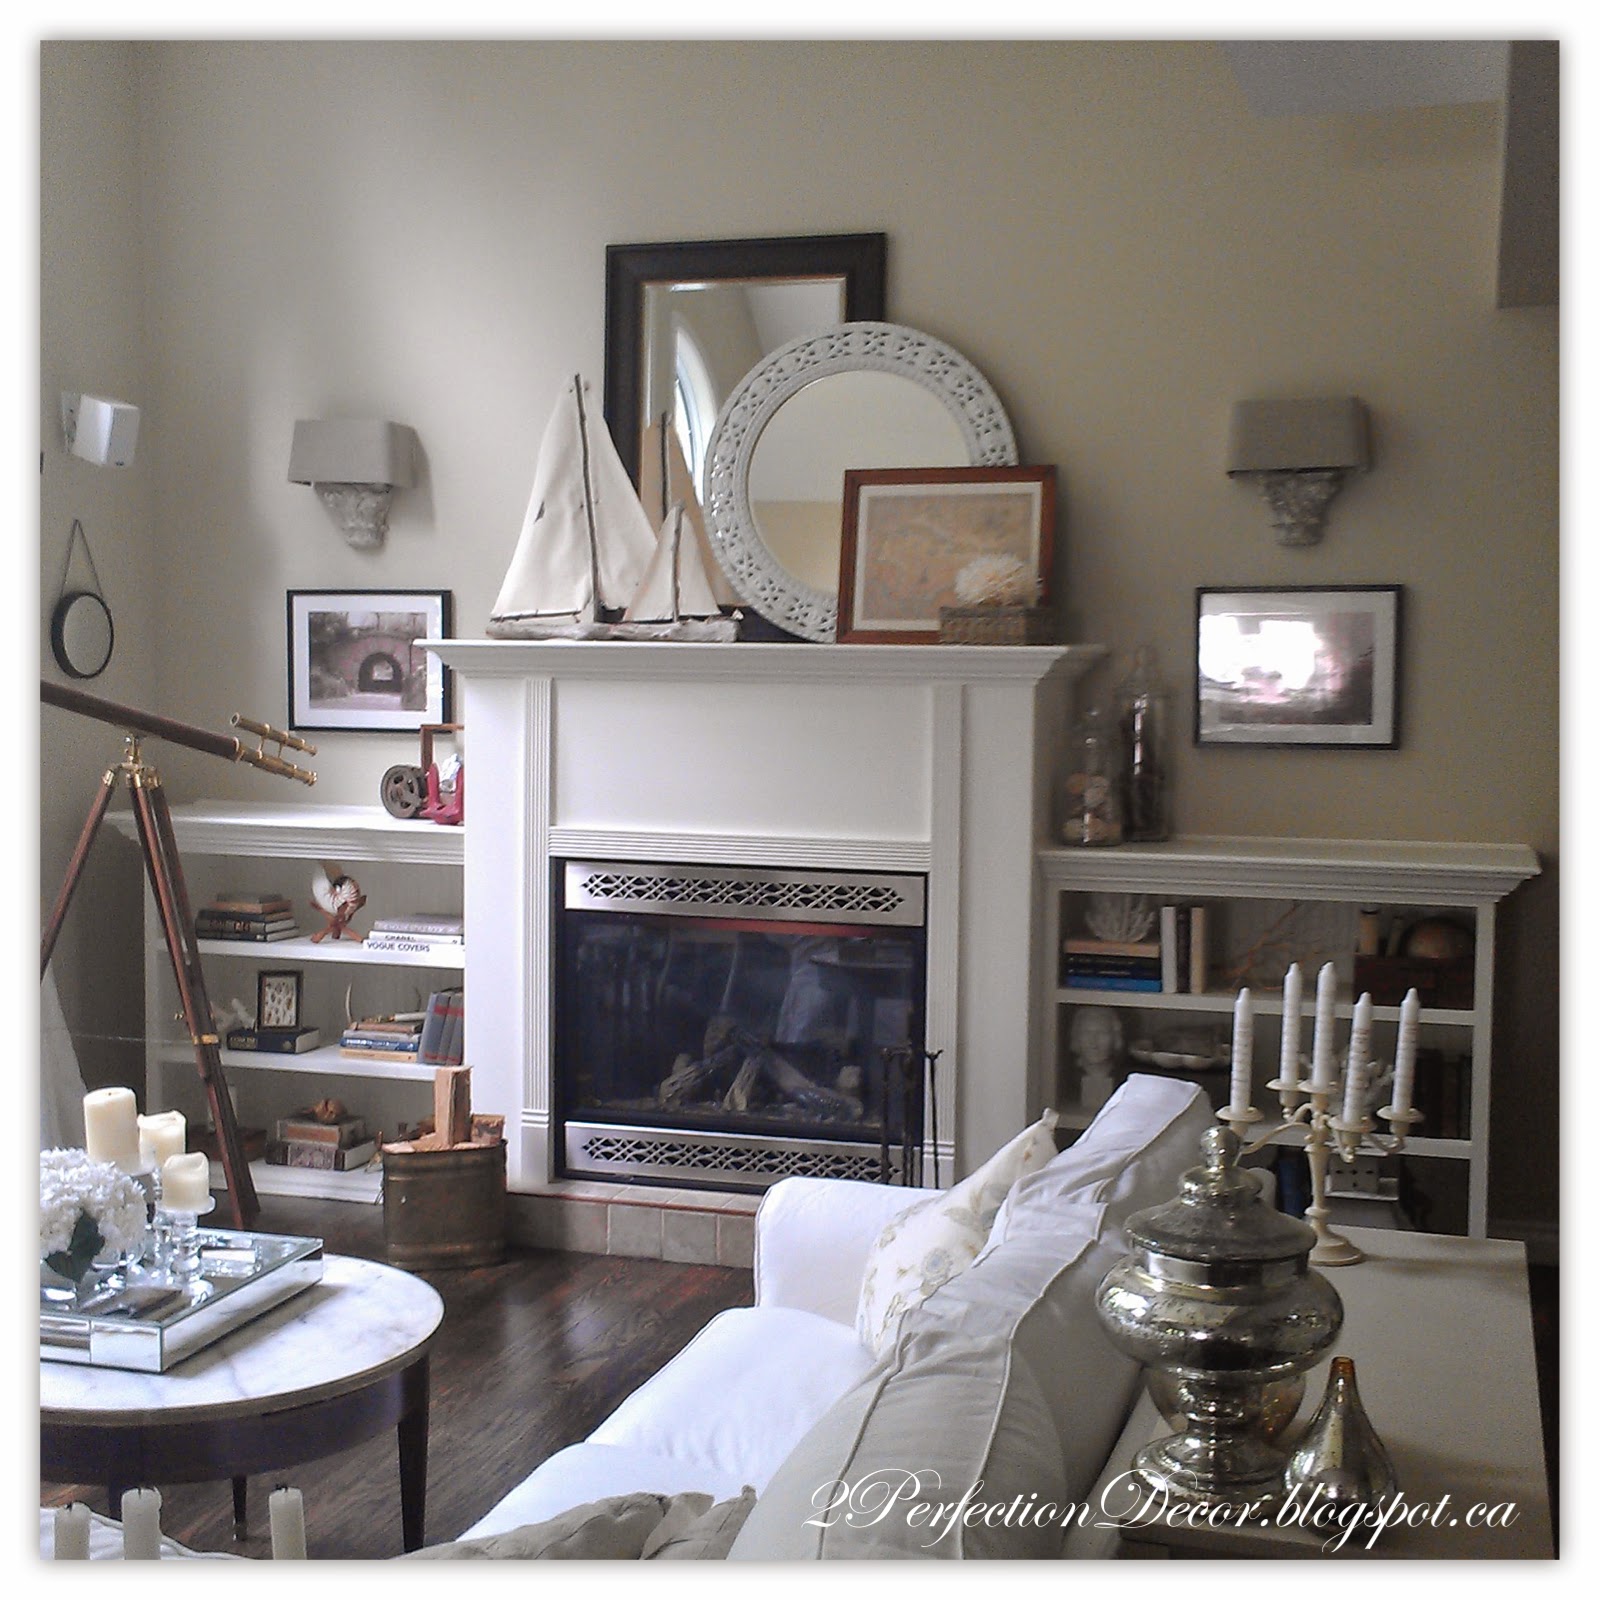
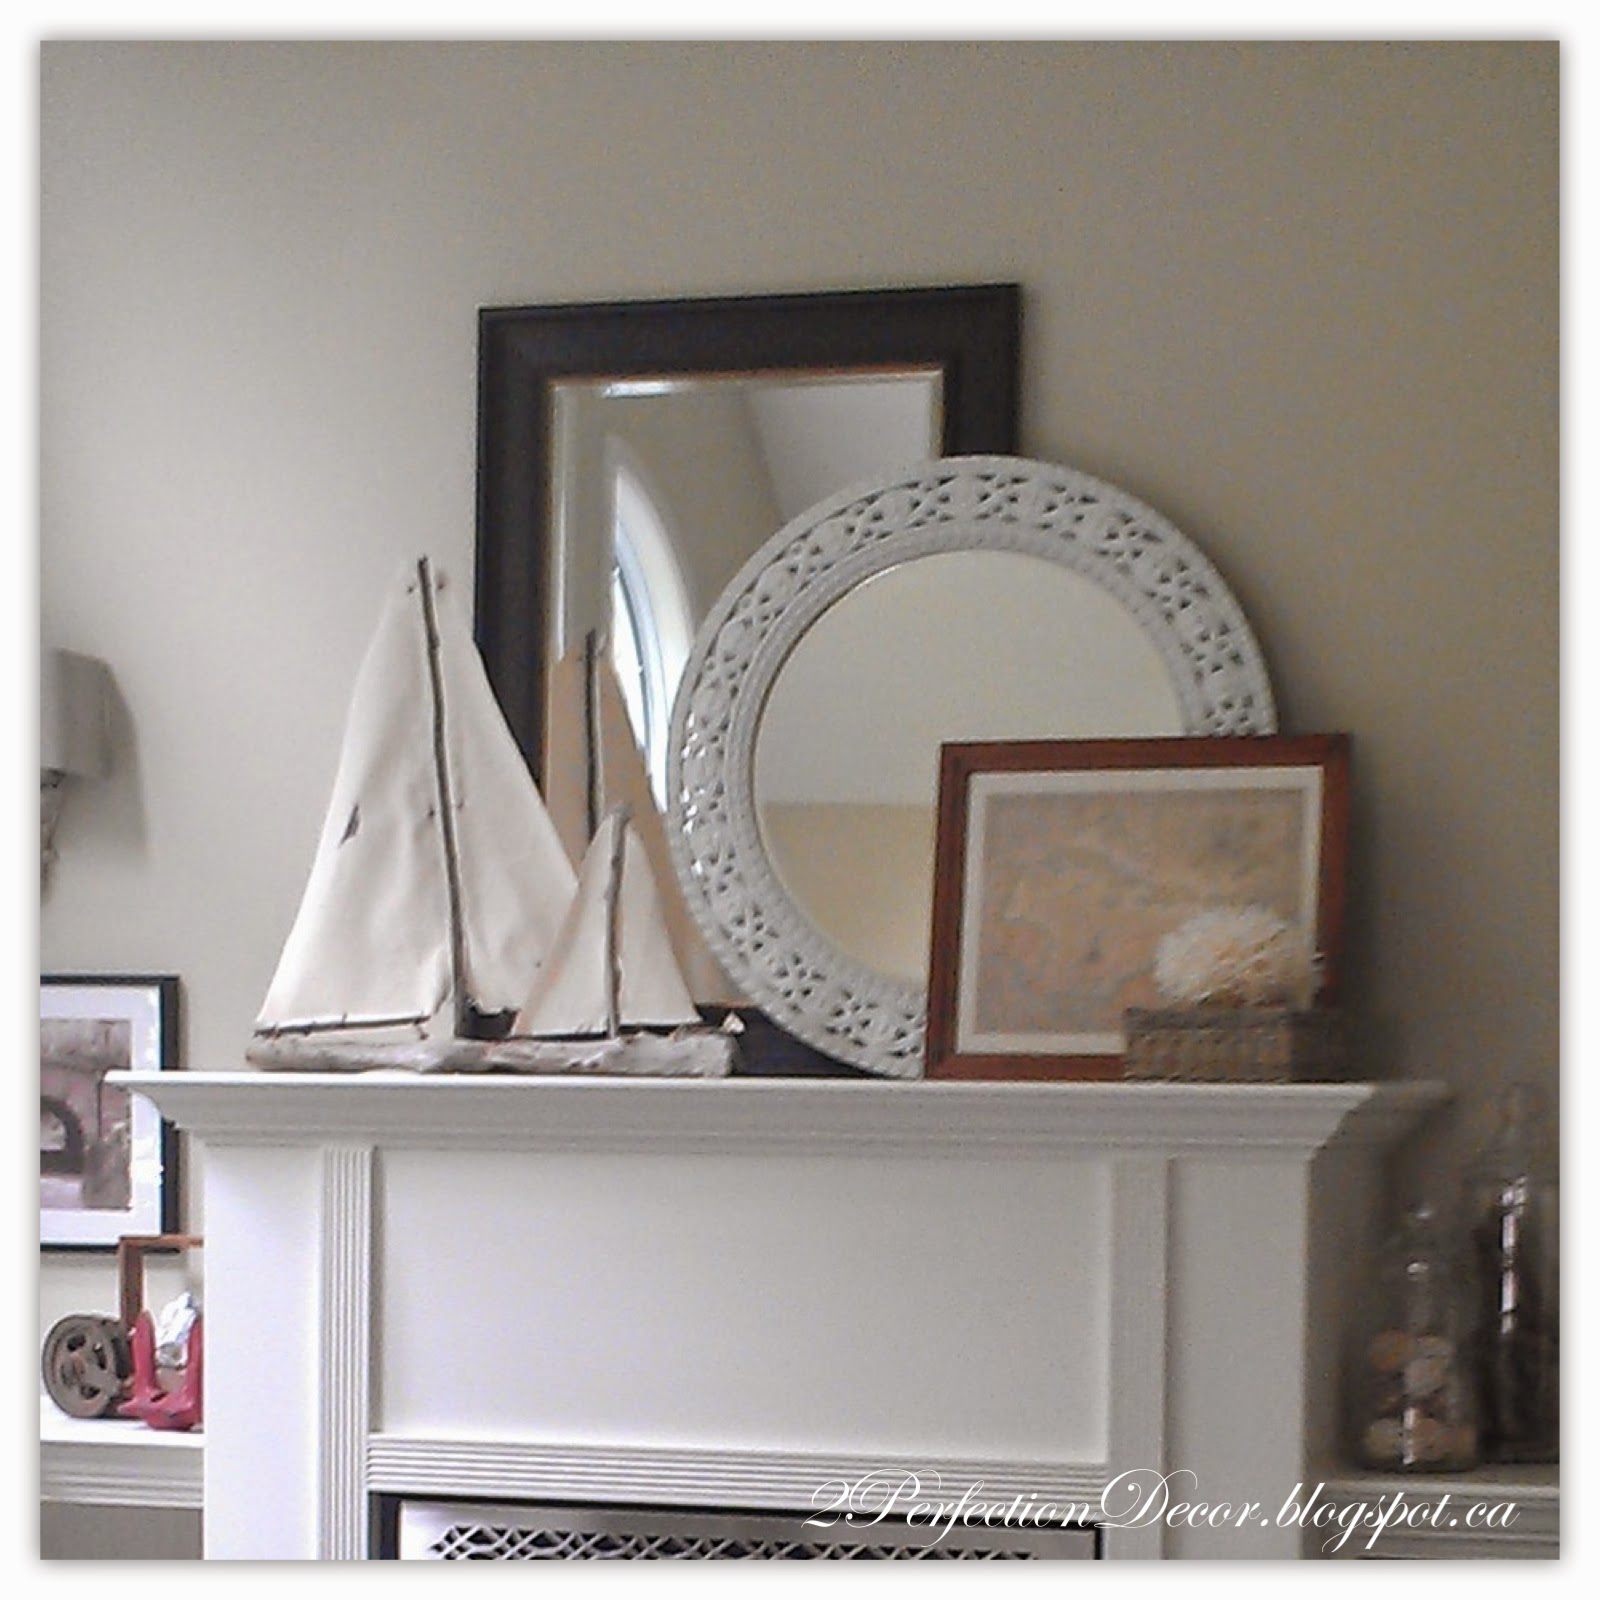
Holiday Mantel simple with Rustic touches.. The burlap stockings flow perfectly with the tree bases and our ornaments. The RH wooden rocking horse in front of the fireplace adds a touch of whimsy for the season...
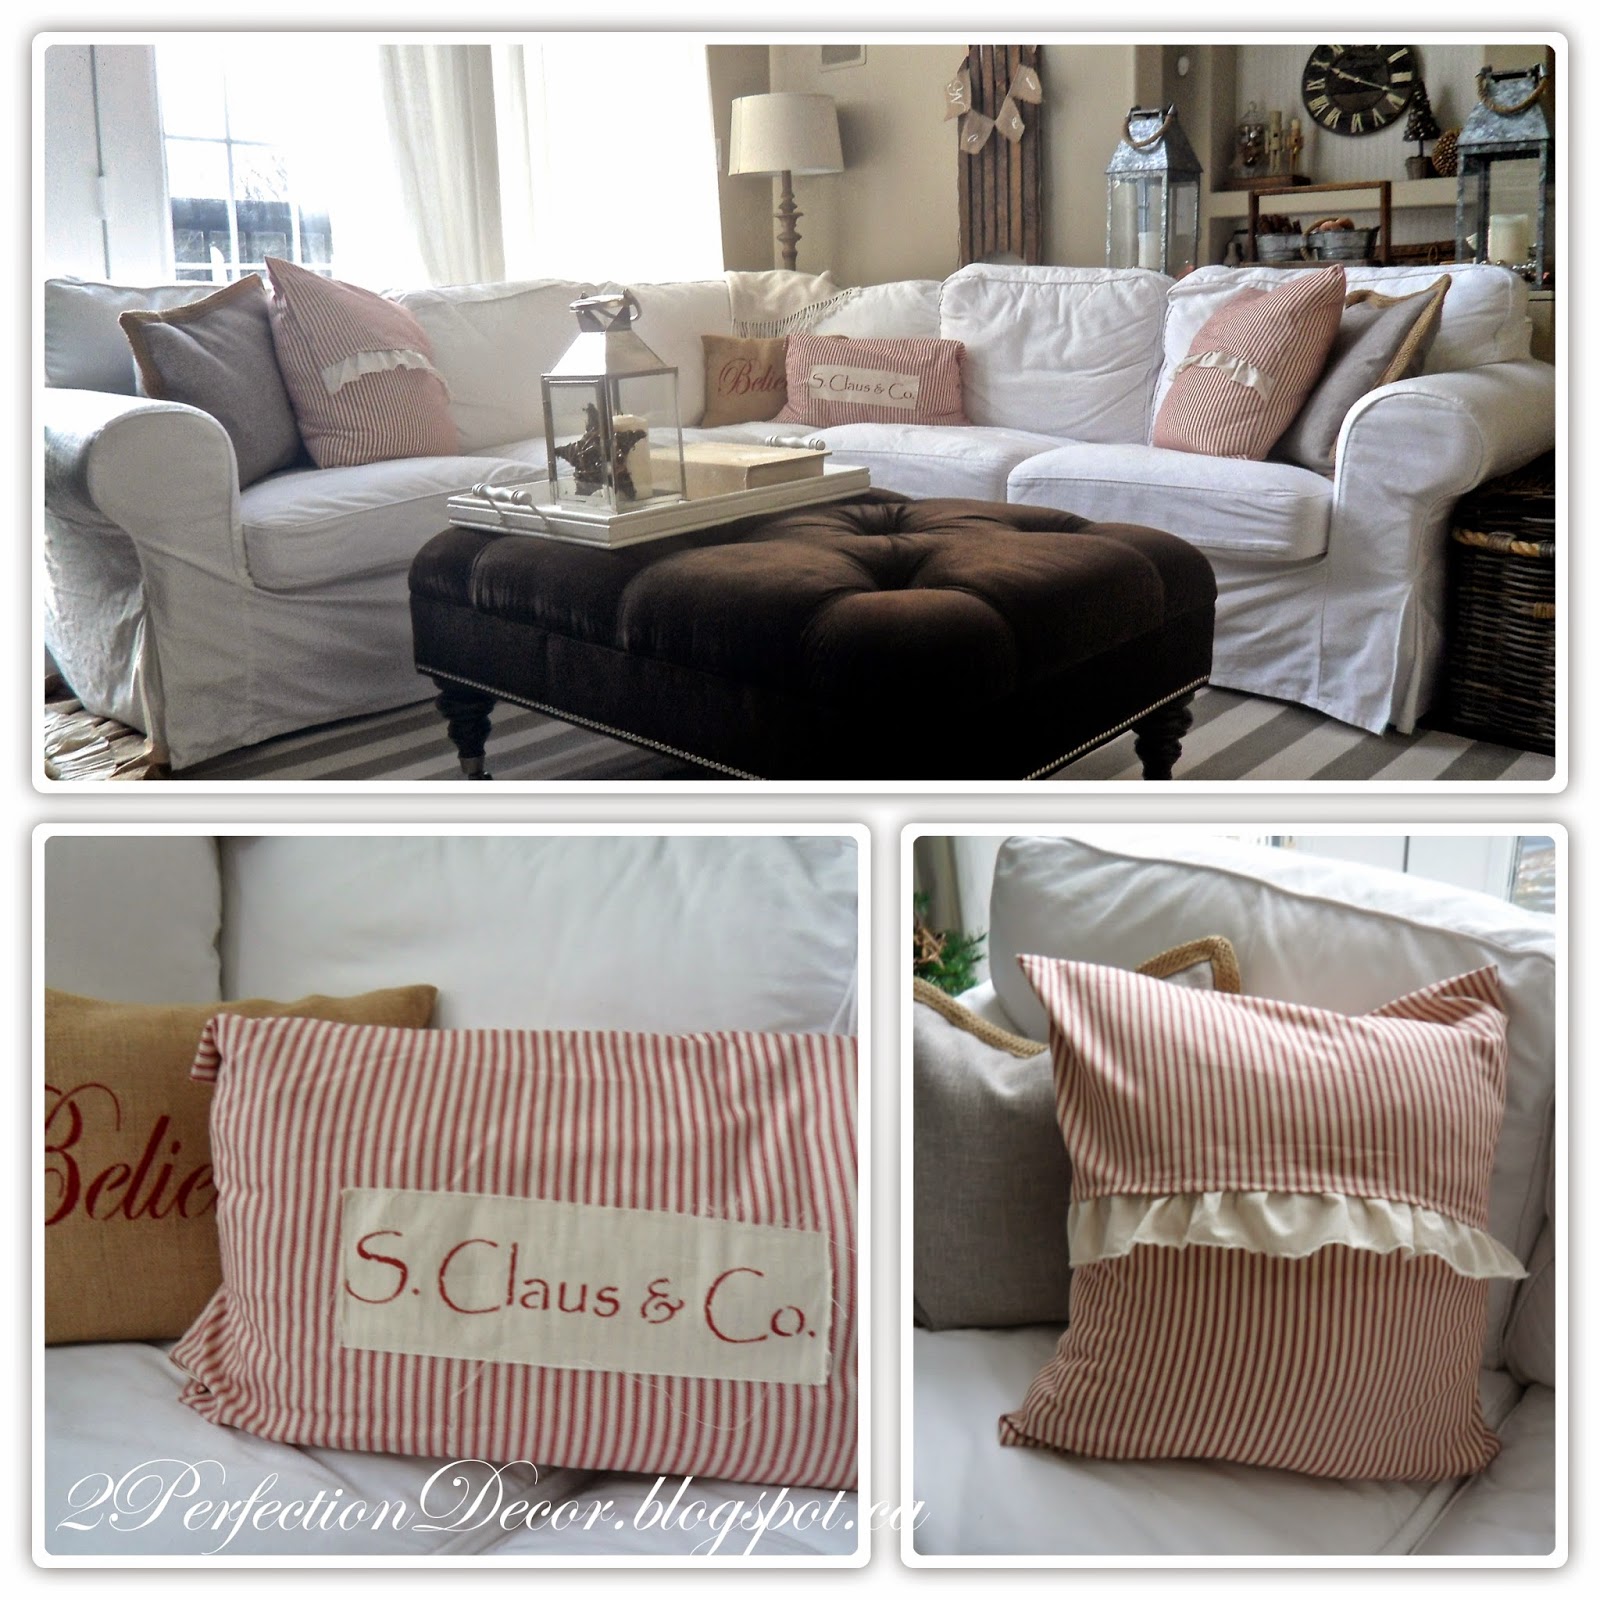
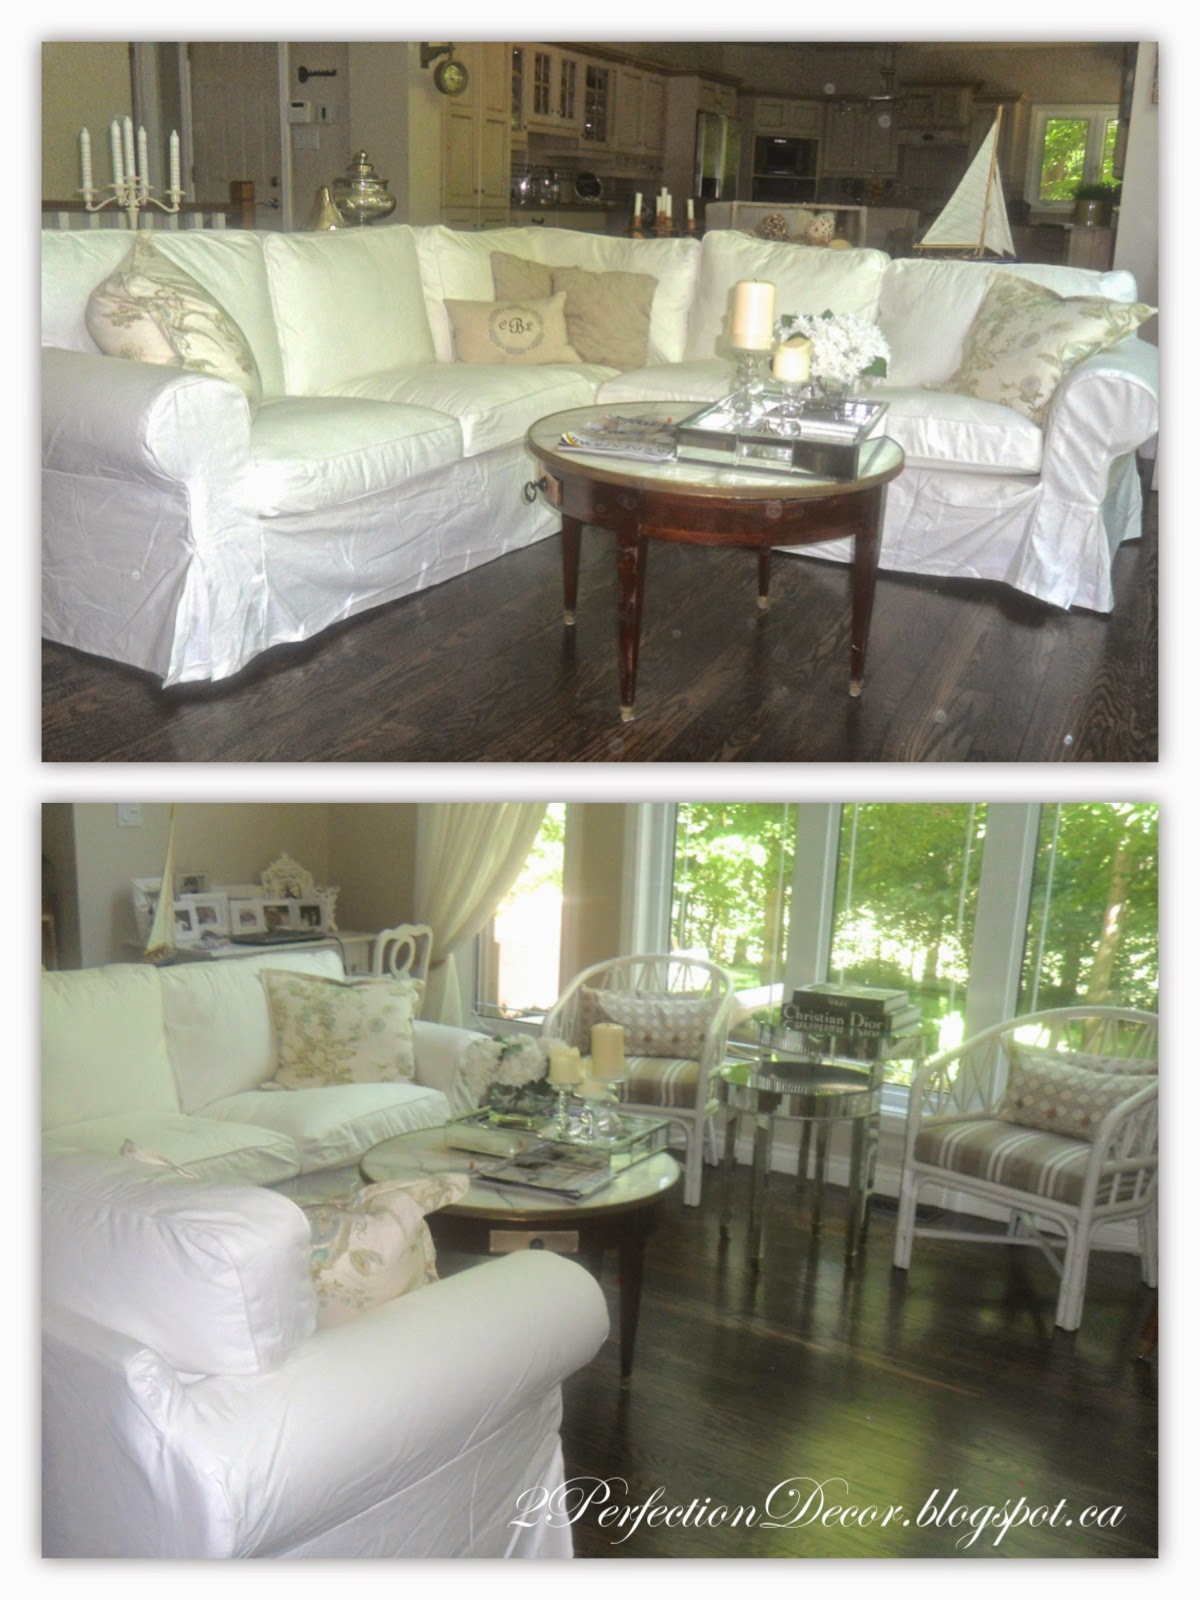
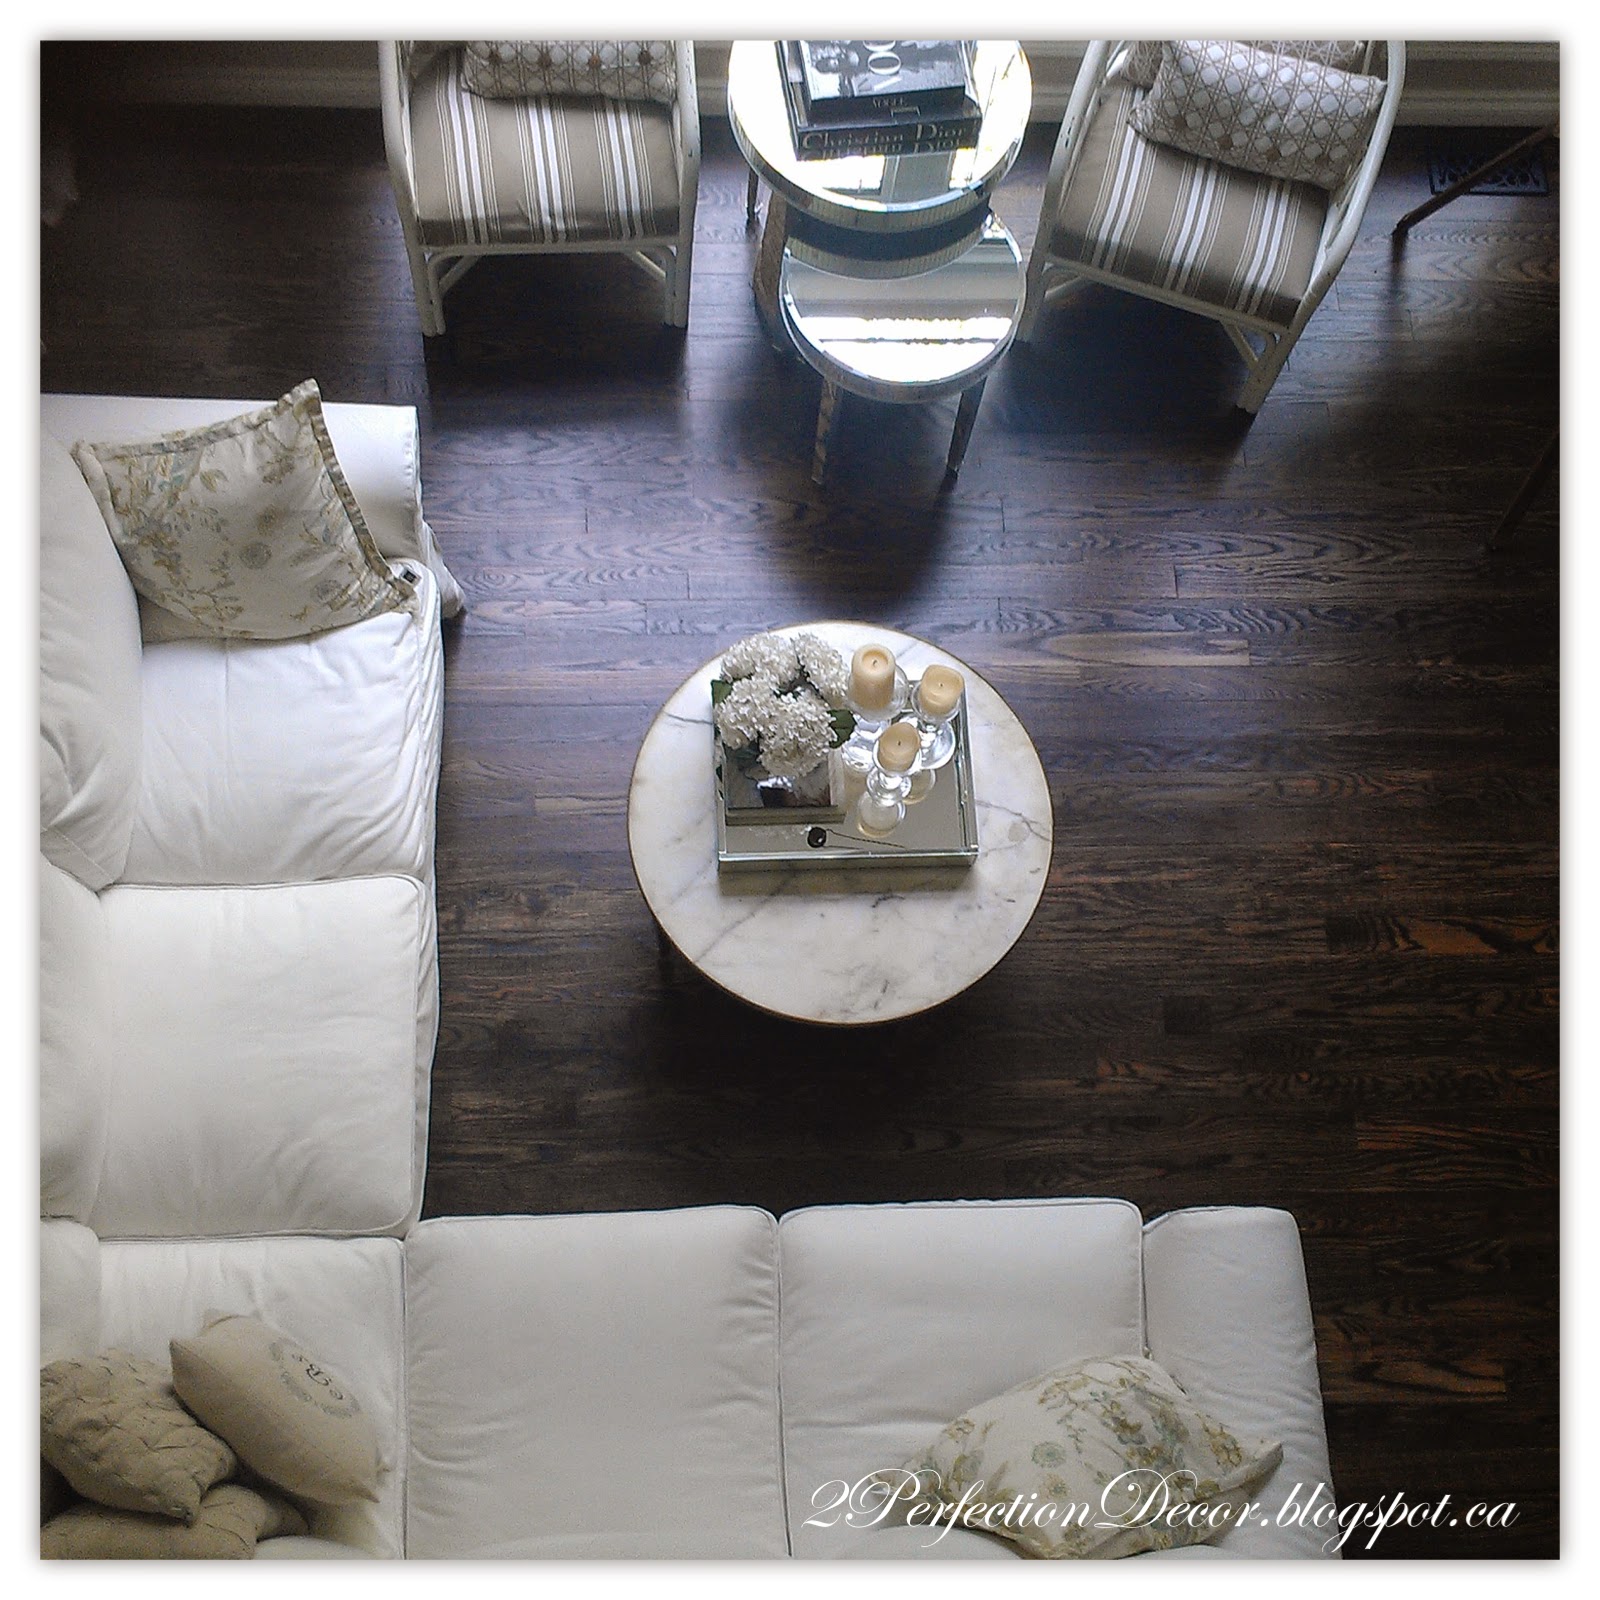
Our white sectional features a mix of seasonal throw pillows
This is our simple Coffee table decor.. I added this glittery wooden star ornament inside the lantern.. We kept it very simple this year as our daughter is only 19mths and gets into everything!! Overall this faux book opens up and hides our remote and the lantern she doesn't seem to touch.. not sure why?? so that's why I've been really boring this last few months..
I made these ruffled, red and cream ticking stripe pillows myself to go with the S.Claus pillow cover I bought on this Etsy a few years ago. The Burlap Believe Pillow is available HERE.
I changed up the display on top of our antique radio to a vintage wooden toolbox full of candles and these silver and rope detailed ornaments...I fell in love with these ornaments as they reminded me of nautical glass fishing floats..I used a vintage barrel and filled it with birch branches that I bought from Homesense two Christmas's ago.
I wrapped the base of the banister with a faux garland that I basically stole at a garage sale this summer for $2!! And hung a believe sign that I made from Jute webbing underneath.
I made these Burlap and metallic silver polka dot lumbar pillows from fabric that I picked up from Joann fabrics online. I also made one for our front hall and stencilled it with the word Believe.. I was going to stencil festive words on these one's too but decided against it.. This way I can use them for more than just Christmas.
On my side table I displayed a glass cloche with a wooden star wrapped in starry lights from Restoration Hardware. The cloche looked lonely alone, so I styled it with this wooden reindeer... I just found the reindeer at a second hand shop close by my house for $1. I just love inexpensive Holiday finds!! Don't you?
This is the look with the starry lights all lit up.. It looks really pretty at night!
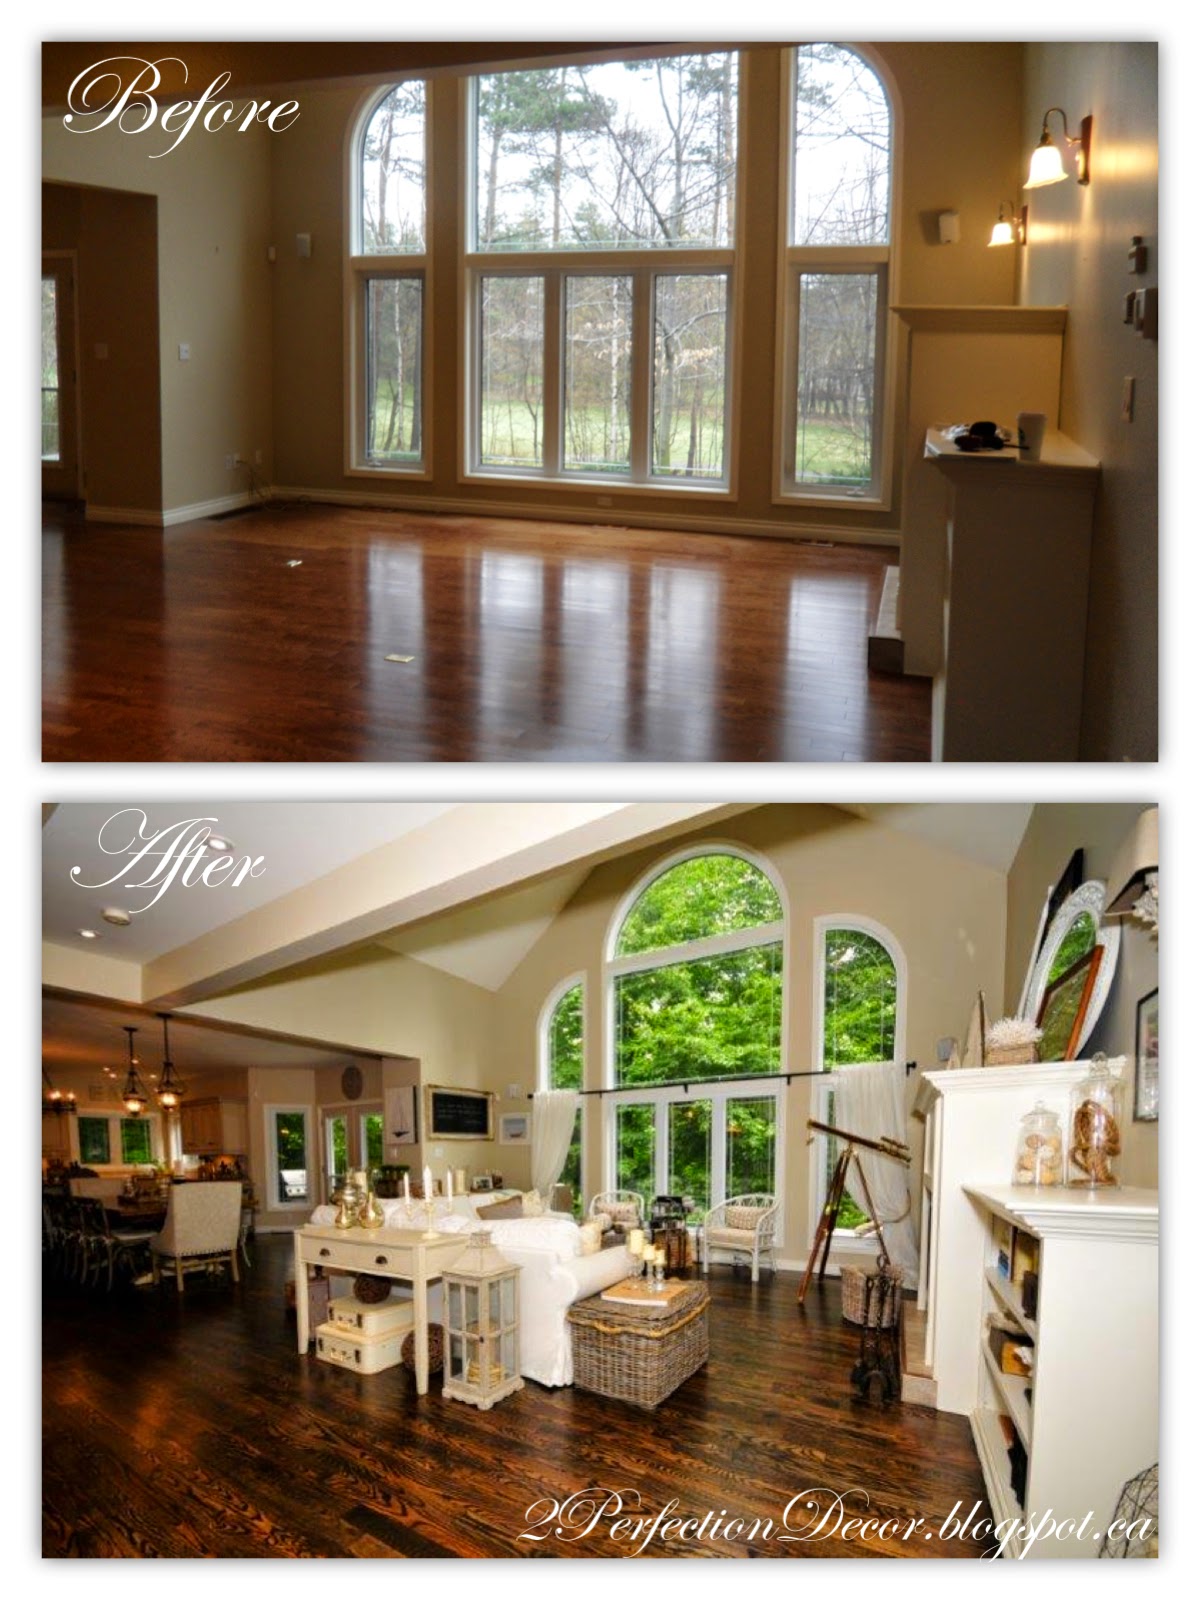
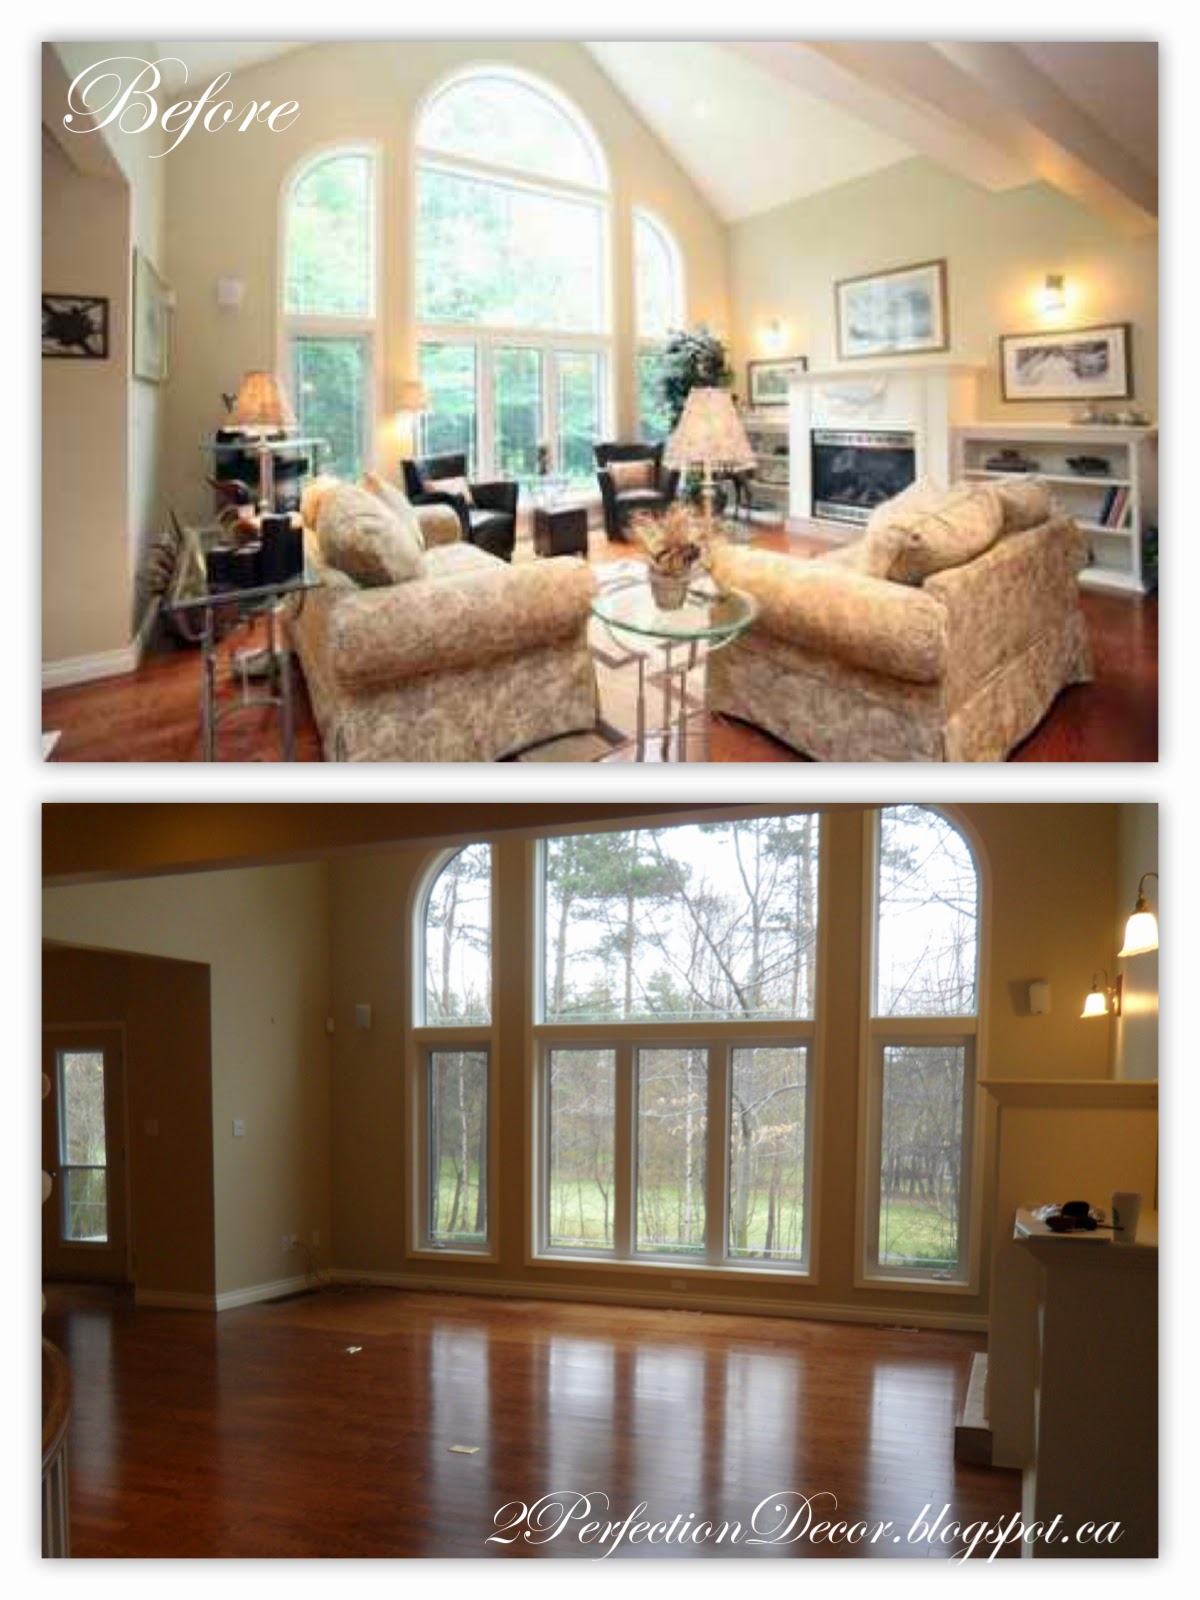
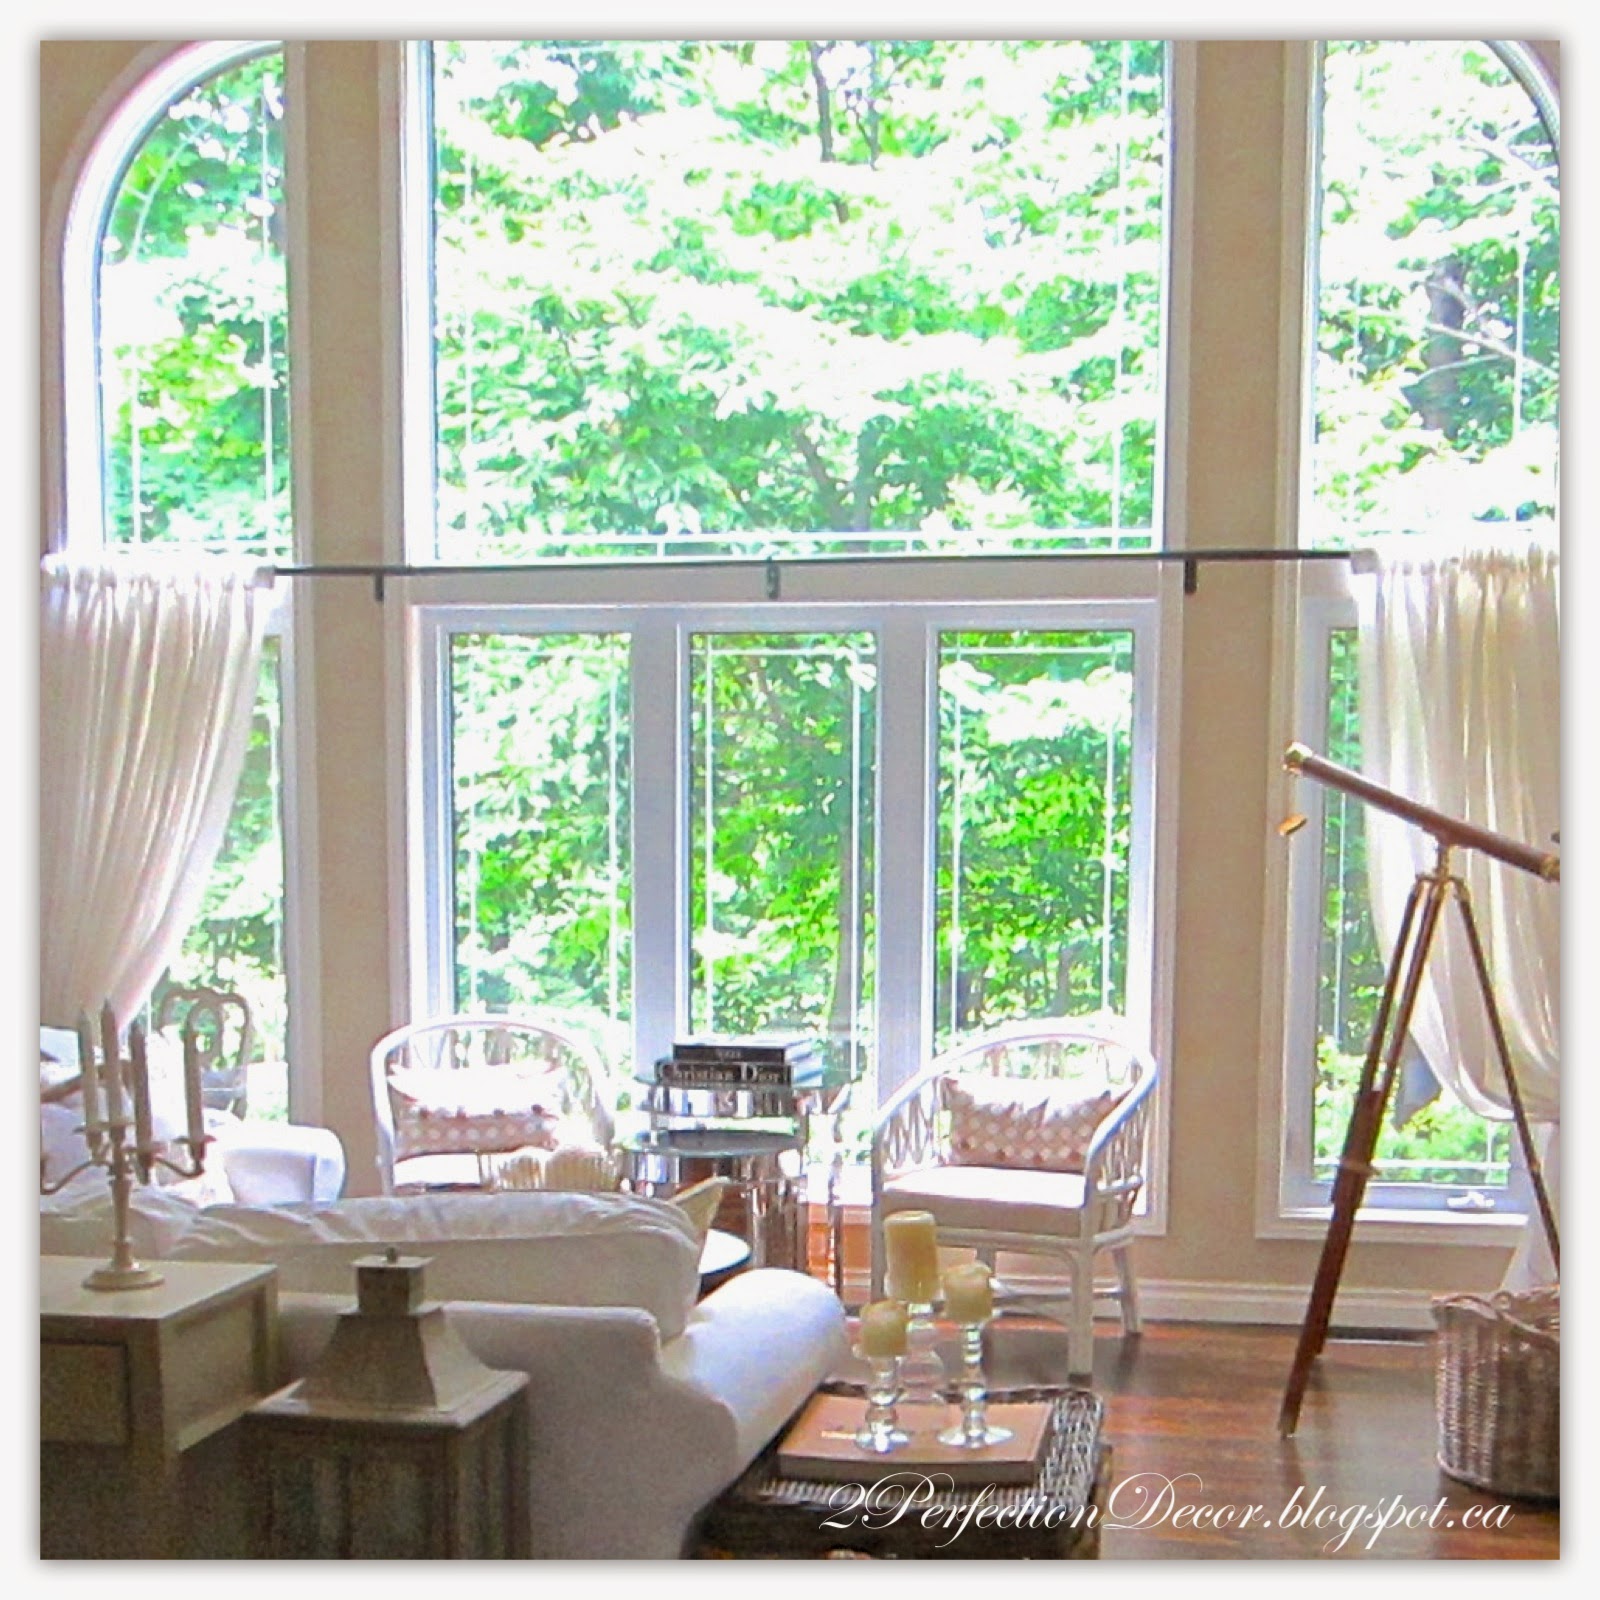
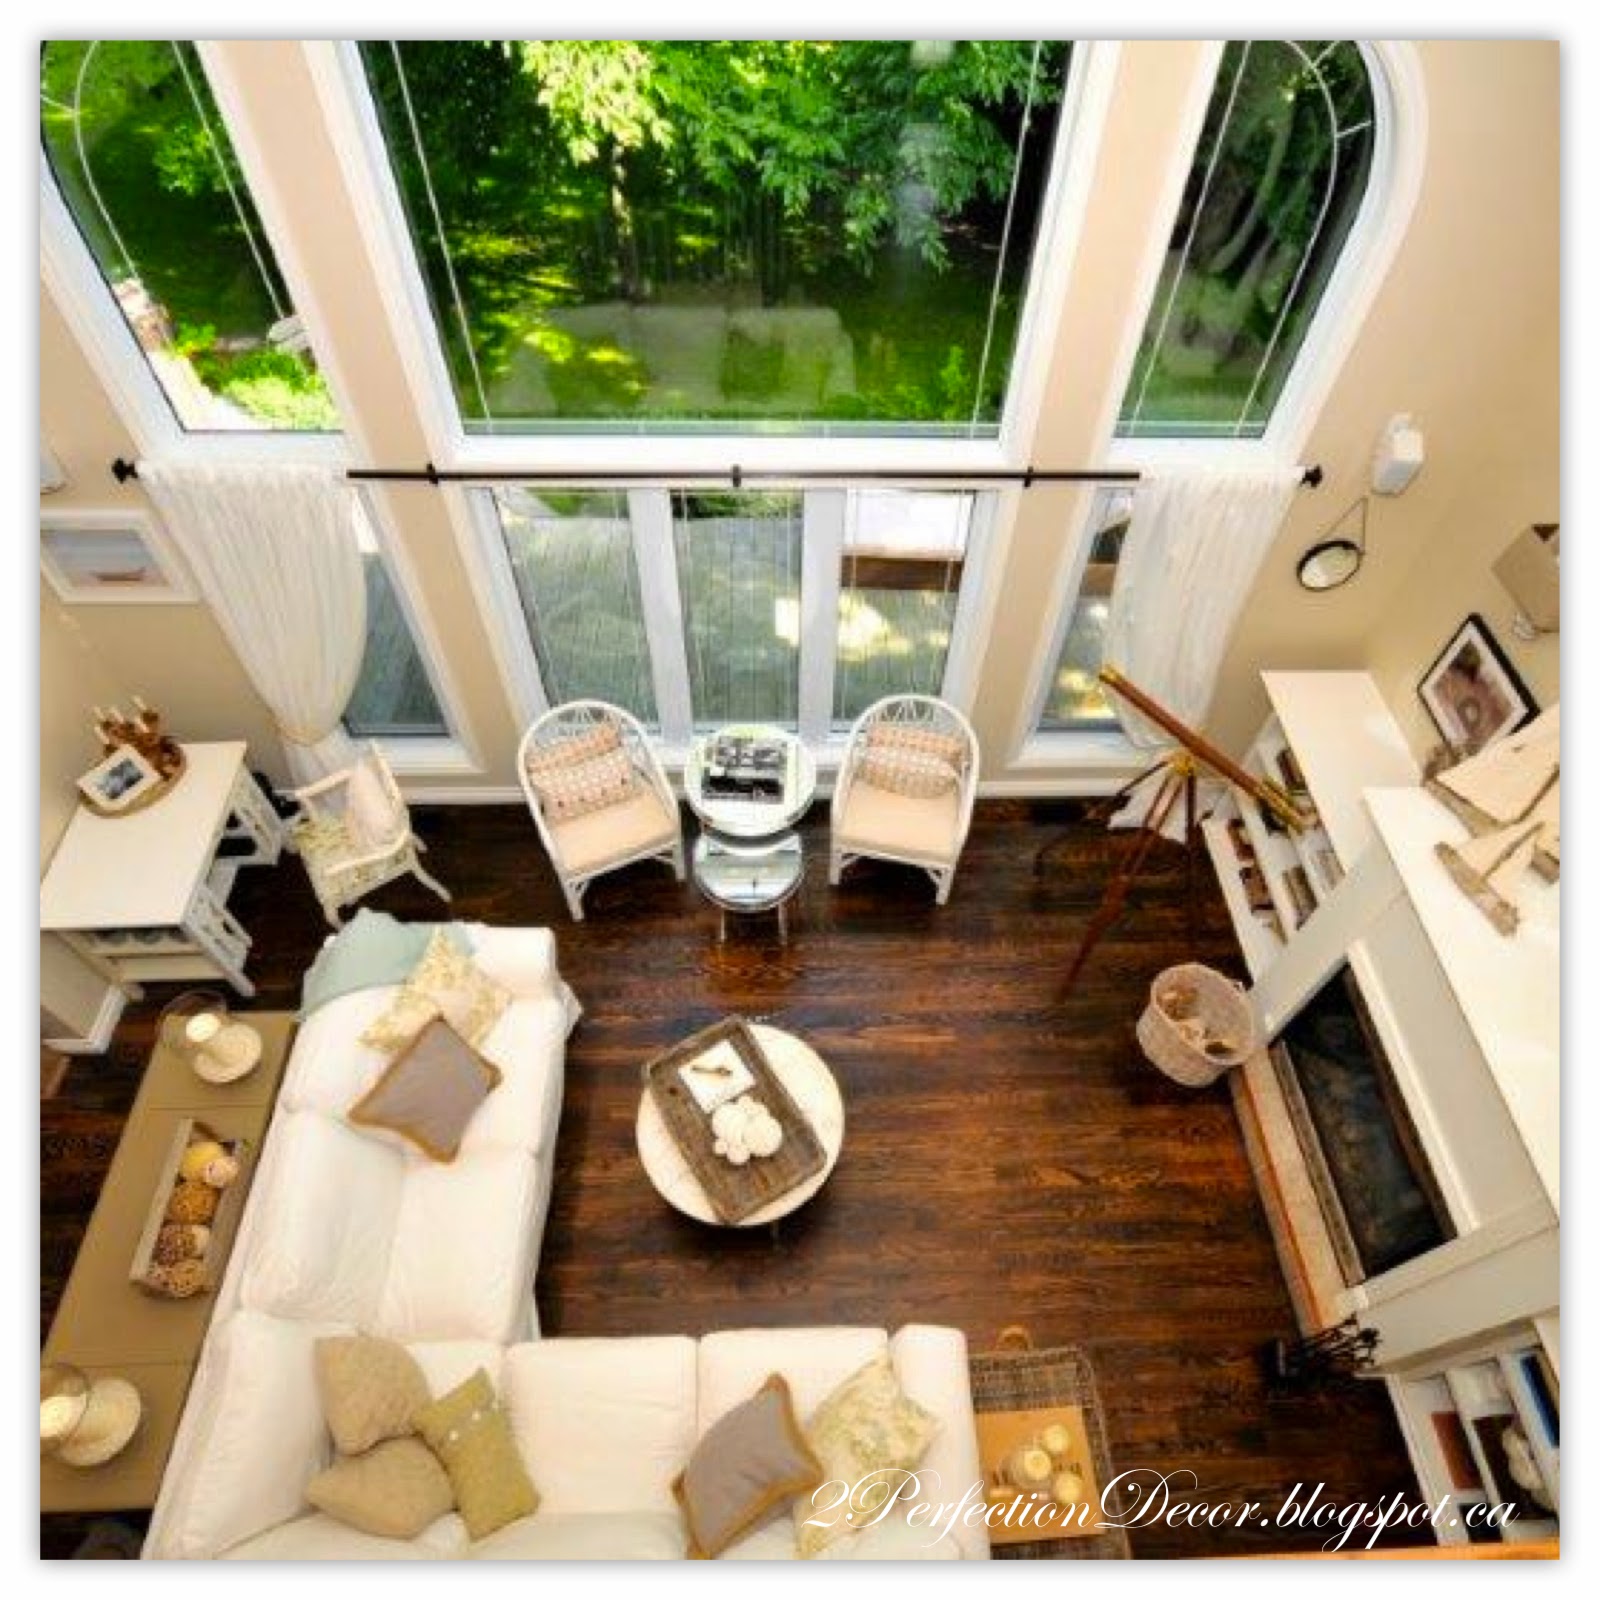
Here is the view of our Kitchen from our Family Room.. I have Christmas displays almost everywhere on our main floor.
Behind the couch I normally have a vintage telescope and a large vintage Map sketch. So I hid those in my storage area and hung up a large wooden sled instead. I draped the sled in a Noel Burlap banner made by Mom's Etsy Shop.
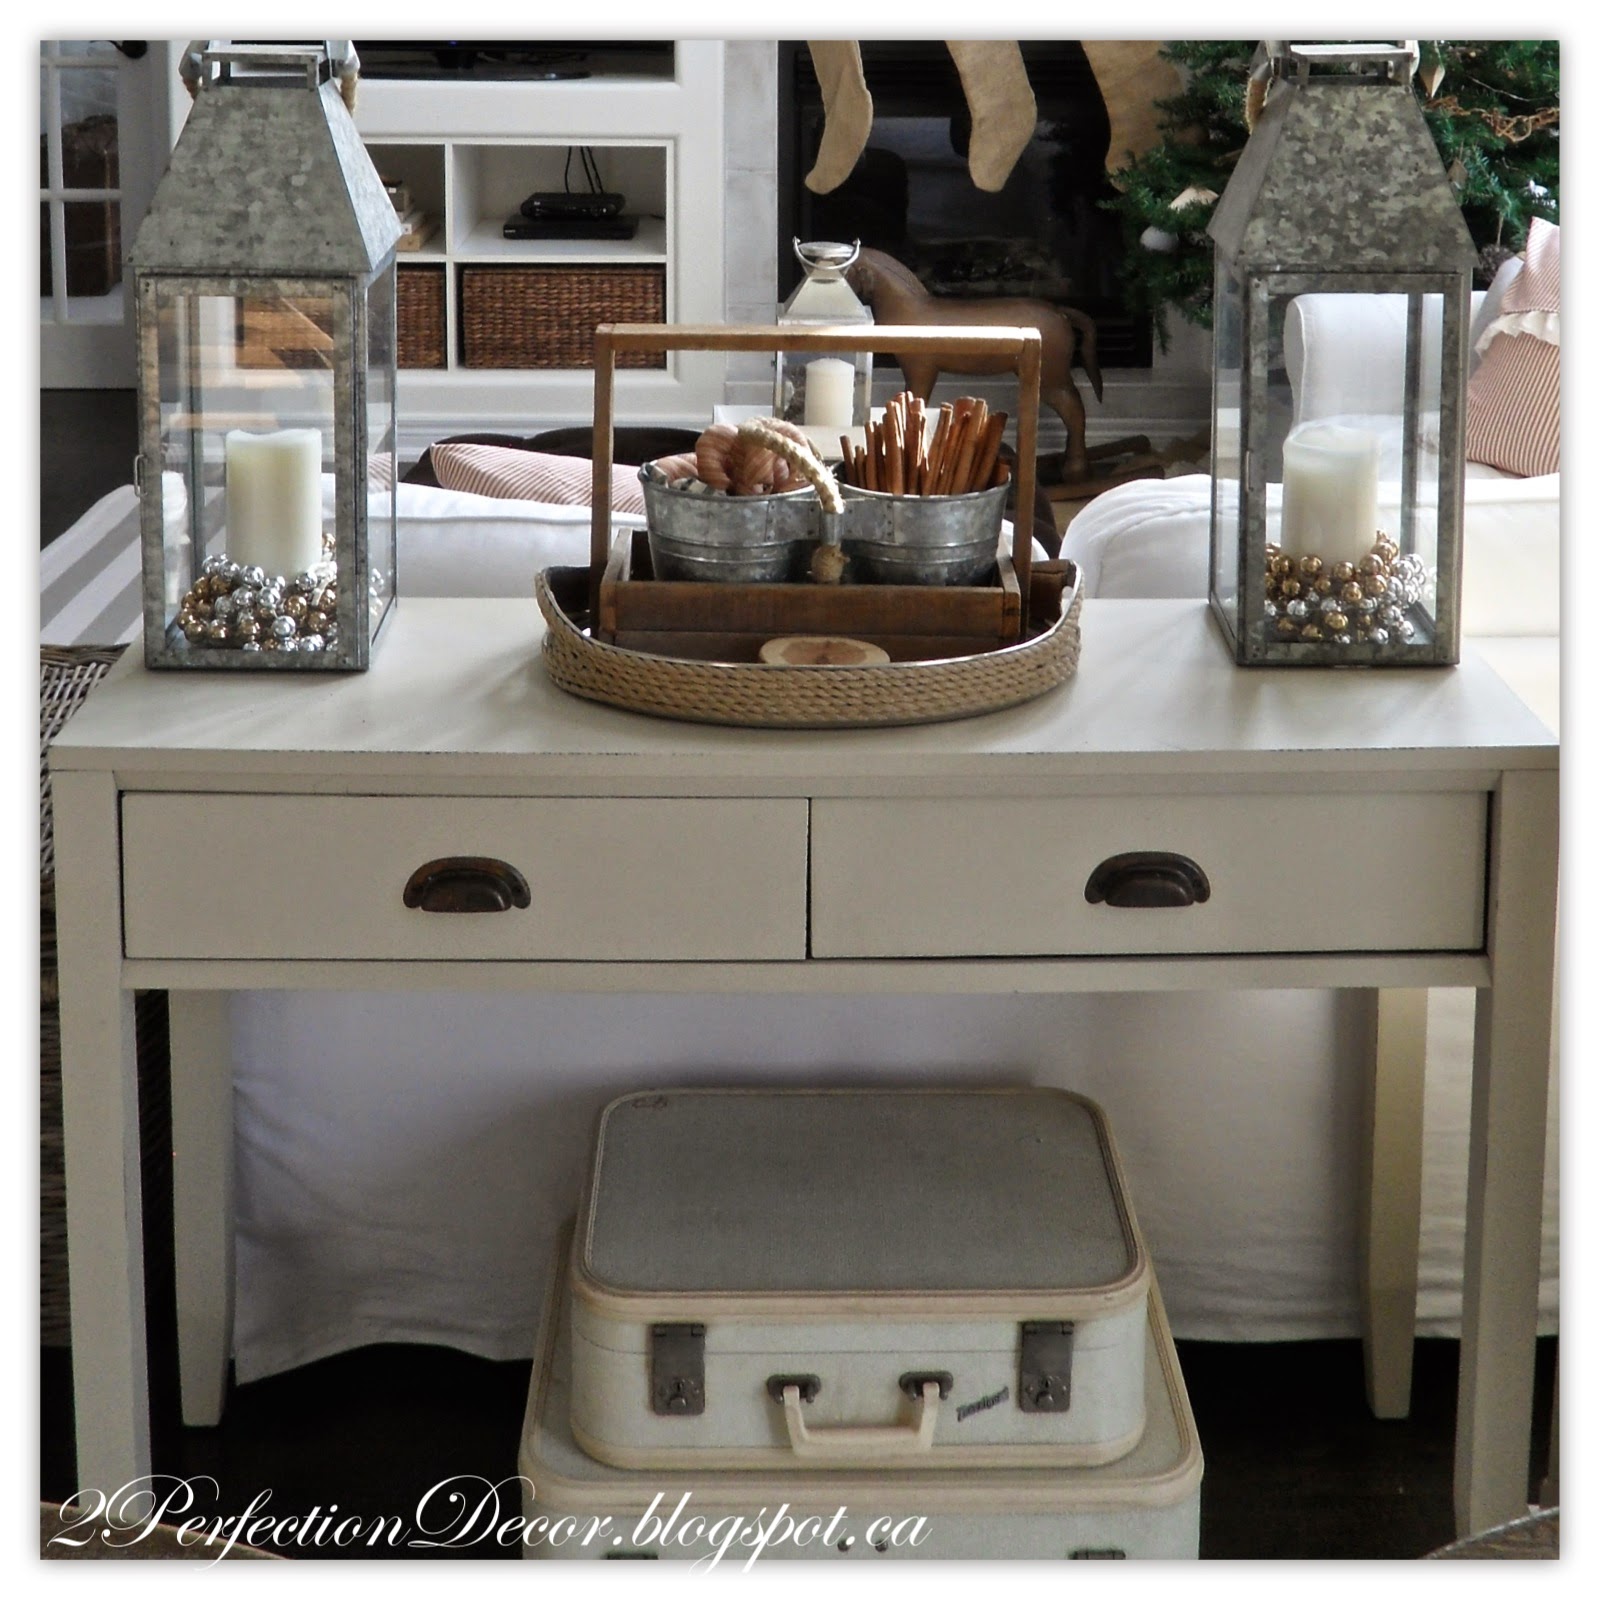
Behind the couch I have a sofa table that I refinished, you can see more on that makeover here. I used 2 galvanized lanterns from our front porch on either side. and used a silver and jute wrapped tray as a centrepiece. The tray holds a vintage wooden toolbox with a galvanized planter, also from our summer porch.
I filled one side of the planter with fabric candy canes and the other with Natural cinnamon sticks...
I just love the scent of Cinnamon!!
I placed my pillar candles in my galvanized lanterns but realized my candles seemed too short in comparison so I used these metal tart shells that I had and turned them upside down. It increased the height of the candle then I wrapped the base with 2 different colours of metallic beaded garland.
This is our media unit all jazzed up for winter. You can see the full Built-in unit Makeover HERE. Check out our Detailed Christmas Mantel HERE.
This is my view every morning as I walk down the stairs ;) It Makes me so happy.. For the first time I feel at home and don't have the desire to move!! Let me tell you.. That makes my hubby Happy! ;)
If this is your first time checking out my blog.. You can see how this Room looks on an everyday basis here ;)
See our FULL HOLIDAY HOUSE TOUR HERE
Shared With:
Finding Silver Pennies - Sundays Link Party
Stone Gable Blog - THE SCOOP #147
French Country Cottage - Feathered Nest Friday
Cozy Little House - Tweak it Tuesday
Lil Mrs Tori - Do Tell Tuesday
Savvy Southern Style - Wow us Wednesdays
Cherished Bliss - Moonlight & Mason Jars #85
Friday, August 29, 2014
Neutral Living Room Reveal
This turned out to be my favourite room in the house.. It's the very first thing you see when you walk in the door!! It's a super open space to the rest of the house so everything really had to flow together seamlessly.. even the second floor overlooks it! We didn't have to paint it (thank goodness! look at that ceiling!) It had been recently painted in one of my fav. paint BM Natural Linen. We made the conscious decision not to place a TV in this room to keep it Tranquil.. A place to talk, read a book or relax and enjoy the view..
We chose to go with a sectional for this room to create some definition and basically create a room from a pretty open floor plan. The two chairs in front of the window allow for even more seating. Also sharing this space is a Antique cream painted desk which was given to me as a gift from my Aunt Maryanne. The round marble coffee table was a lucky goodwill find and seemed to flow well with the mirrored round nesting tables. The picture below shows the room in its natural light glory... The floors look so much darker and richer. You can see how we refinished them here.

In front of the window we have our 2 painted white bamboo chairs that I got off Kijiji. The mirrored nesting table between the chairs holds some of my larger designer books. Underneath the table I have a large wicker basket (a garage sale find for $1) that holds are my extra magazines.
The fireplace Mantel was a huge selling feature for us. We loved it, not sure if you can tell from this picture but it is like 5 ft high.. Instead of hanging a single picture above the fireplace. I decided to layer some items we had.. Wall art here we come.. We layered 2 large Mirrors, a wood rectangular one and a white round mirror from our old bathroom. Paired the mirrors with a map that I framed from the Bahamas. I also picked up some driftwood boats that were made locally from a local home decor shop, they flowed perfect with the coastal theme I was going for. On either side of the fireplace I used my black and white pics that my mom had taken from our trip to NYC, framed in Ikea Ribba frames. The wall sconces were changed to vintage Corbel looking sconces (Restoration Hardware Baby) with squared Linen shades.
The white bead board backed built-ins showcase a mix of new and Vintage finds.
This was the view from the upper hall... I eventually changed the striped fabric on the chairs to a simple light beige linen fabric so I could have more pillow options for the different seasons.. I have a slight pillow addiction!!
When my niece was 2 she told me "too many pillows Aun Aun!" It was soooo cute!.. It has stuck ever since... ALTHOUGH I didn't listen.. she's only 2 what does she know? :) 

As this room progressed it really took on a Nautical theme, I tried to go with natural materials whenever possible. The new additions to the room are.. The wicker storage basket currently used as a end table, a wicker tray on the coffee table replacing the mirrored one and the large basket in front of fireplace. 


Thanks for looking. Check out my other Home tour here.
Thursday, July 3, 2014
Tweaks on how to Personalize a Builder Home on a budget!

I painted the tiny dining room Brown Sugar by Benjamin Moore.The vintage buffet and dining table were painted BM Ferret Brown and sprayed handles Chrome For a more modern look.
For the Master bedroom I spray painted my childhood bedroom furniture 'Antique White' and painted white stripes over the builder beige painted walls.
For the bathroom first I splurged on neutral wallpaper....I just did the 1 main accent wall in white and beige Damask.. One because it was quite graphic and I didn't want it to be too overwhelming, and secondly because it was too expensive to buy more walls. ( It was my first time wallpaper.. and an hour after wallpapering.. I went upstairs to find my wallpaper on the FLOOR!!!) Note to self and everyone reading... PRIME newly drywalled walls BEFORE adding wallpaper. So back to Benjamin Moore store I went. I took off the bathroom vanity/Cabinet Doors and sanded, primed and painted them in a off white paint. (Originally they were a light natural oak.) When I originally picked out my options at building design centre I went tooooo neutral.. and all you ended up seeing in my bathroom was BEIGE! beige walls, beige cabinets, beige counters..yikes! so I felt it needed to be lightened up a bit.) And it worked in my opinion. Lastly I tackled the builder mirror.. I was going to remove it but I had heard so many horror stories of the drywall being destroyed. So I decided to just add moulding and trim around what I had... The result is above.
You can also check out Pictures of our next home at our Home Tour here
Subscribe to:
Posts (Atom)