First I measured the bag, decided how big the frame would need to be. Then I went to Rona and had THEM cut cedar planks and a big backer board for me ;).. so all i had to do was go home and assemble it all.
I cheated and used wood glue and fabric glue. It holds amazing!!! Then all you do is wait ( I did this project once the little ones went to bed so once I let it dry all night) Then once dry.. Ta-da! New wall art!
Here are some other DIY wall art projects I have done around the house...
This is my Papa's Vintage Canvas Army Bag that i've washed :) and pinned to a chicken wire frame that I picked up from Homesense.
Here is a little wall art from our daughters nursery using a vintage frame and a beaded wooden initial from Restoration Hardware Baby and Child. You can see more on our daughters Nursery HERE and Big Girl Room HERE
Here is a plaque I bought at a garage sale and changed it up.. just a tad! ;)
This is another vintage Frame from a garage sale that I added a scrap piece of Beadboard too and glued white clips to.. So now it can hold family pictures in our son's Nursery.
This was another DIY chalkboard for our sons bedroom wall. You can see all the details HERE
This was another simple chalkboard frame that I made.. It's currently in our kitchen.
This wall art was made using another RH beaded heart and this great shabby vintage frame with burlap covered wood as a backer.
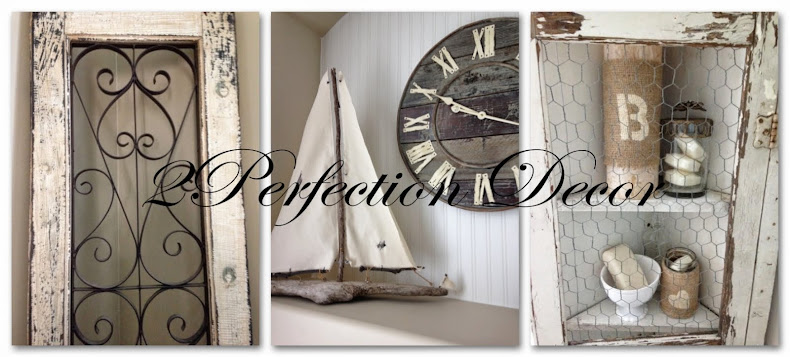
And lastly I used this antique frame to make the wall piece 'grand-er'! Adding a simple frame around metal ornate grate helped fill the empty space on our Main Bathroom Wall. You can see more on our Bathroom Reveal HERE.
Shared with:
Dagmar's Home - Thrifty & Vintage FindsPosed Perfection-Creative Ways
Don't Miss a post... Follow me by Email, Bloglovin & now Instagram!


No comments:
Post a Comment