01
Showing posts with label before and afters. Show all posts

Saturday, January 3, 2015

Recap of 2014

Wow my first post of 2015!! Can't believe how fast 2014 came and went!! Last year I started this blog in the middle of the year not sure of where it would go.. I wanted to track all the progress of our latest housing adventures :) Here is a Recap of 2014 and how 2Perfection Decor began ;)

First I shared our first house from 2012. You can see more pictures in our House Tour HERE
Next I shared, the latest house we just moved from: House Tour 2 Pics HERE

Next came our latest home adventure.. Our current home ;)
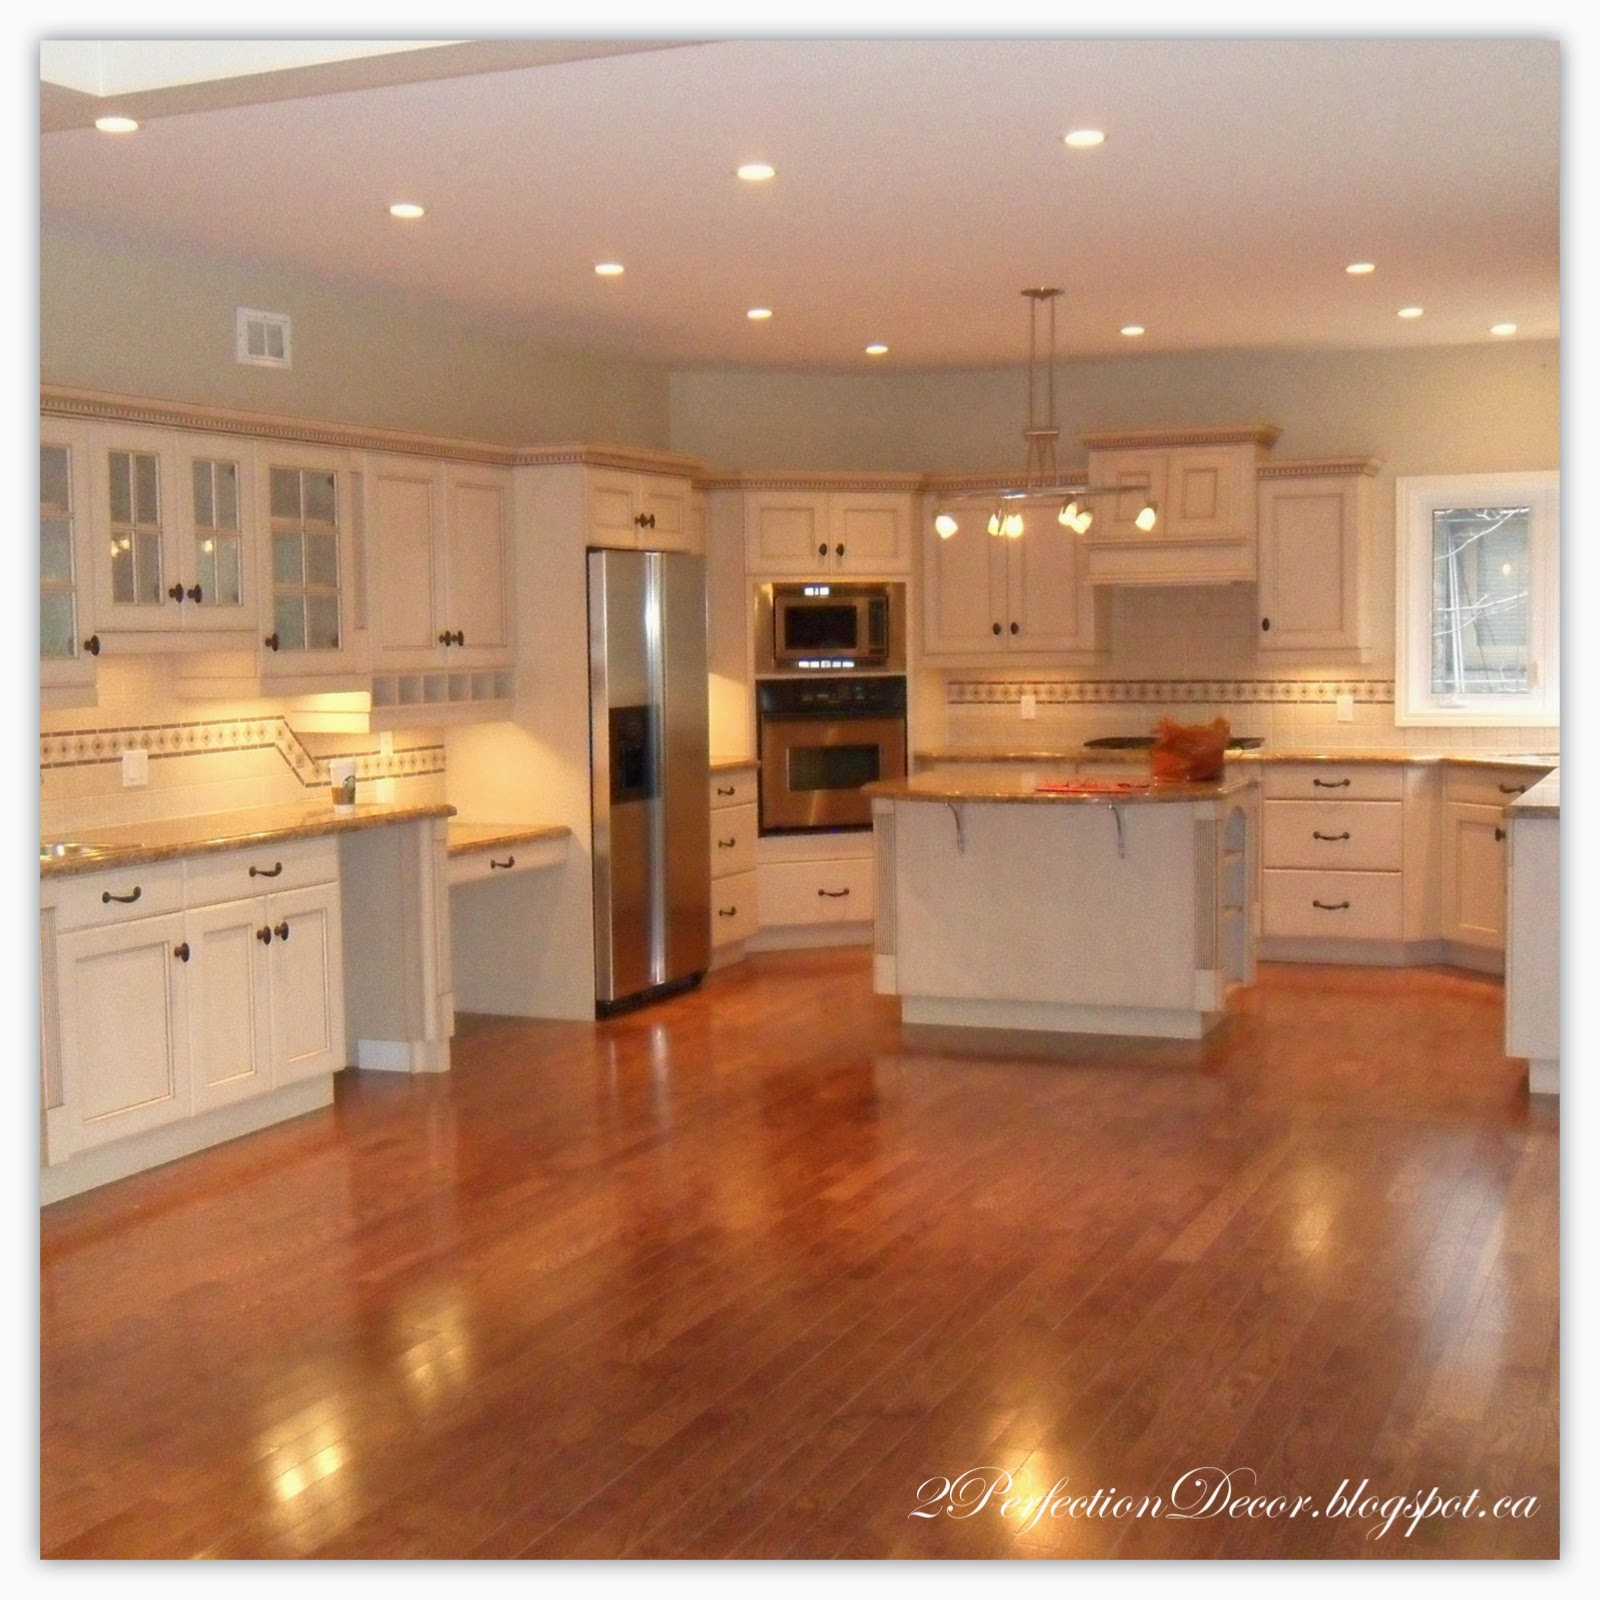
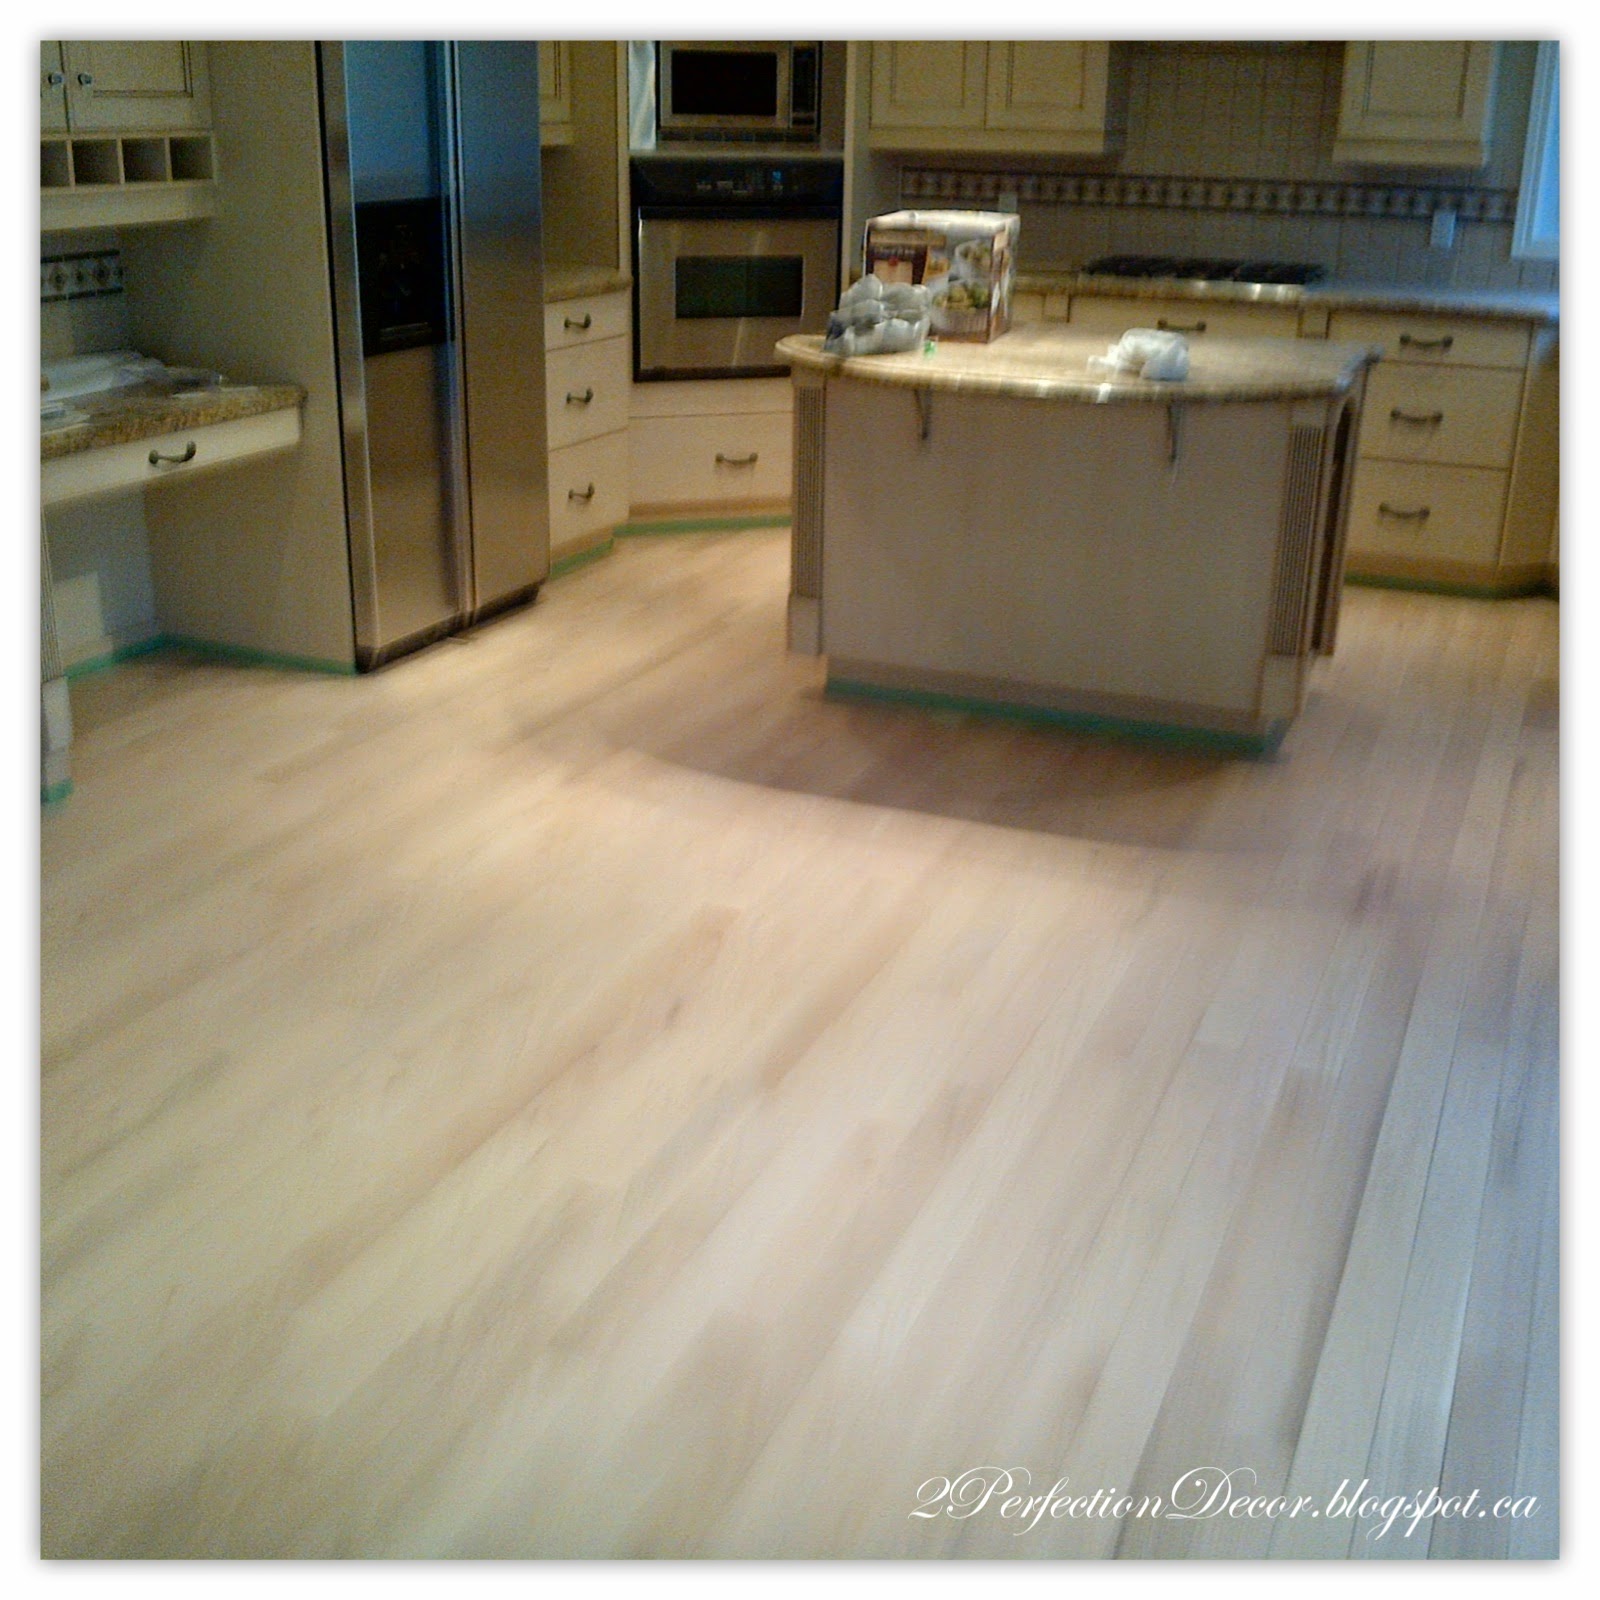
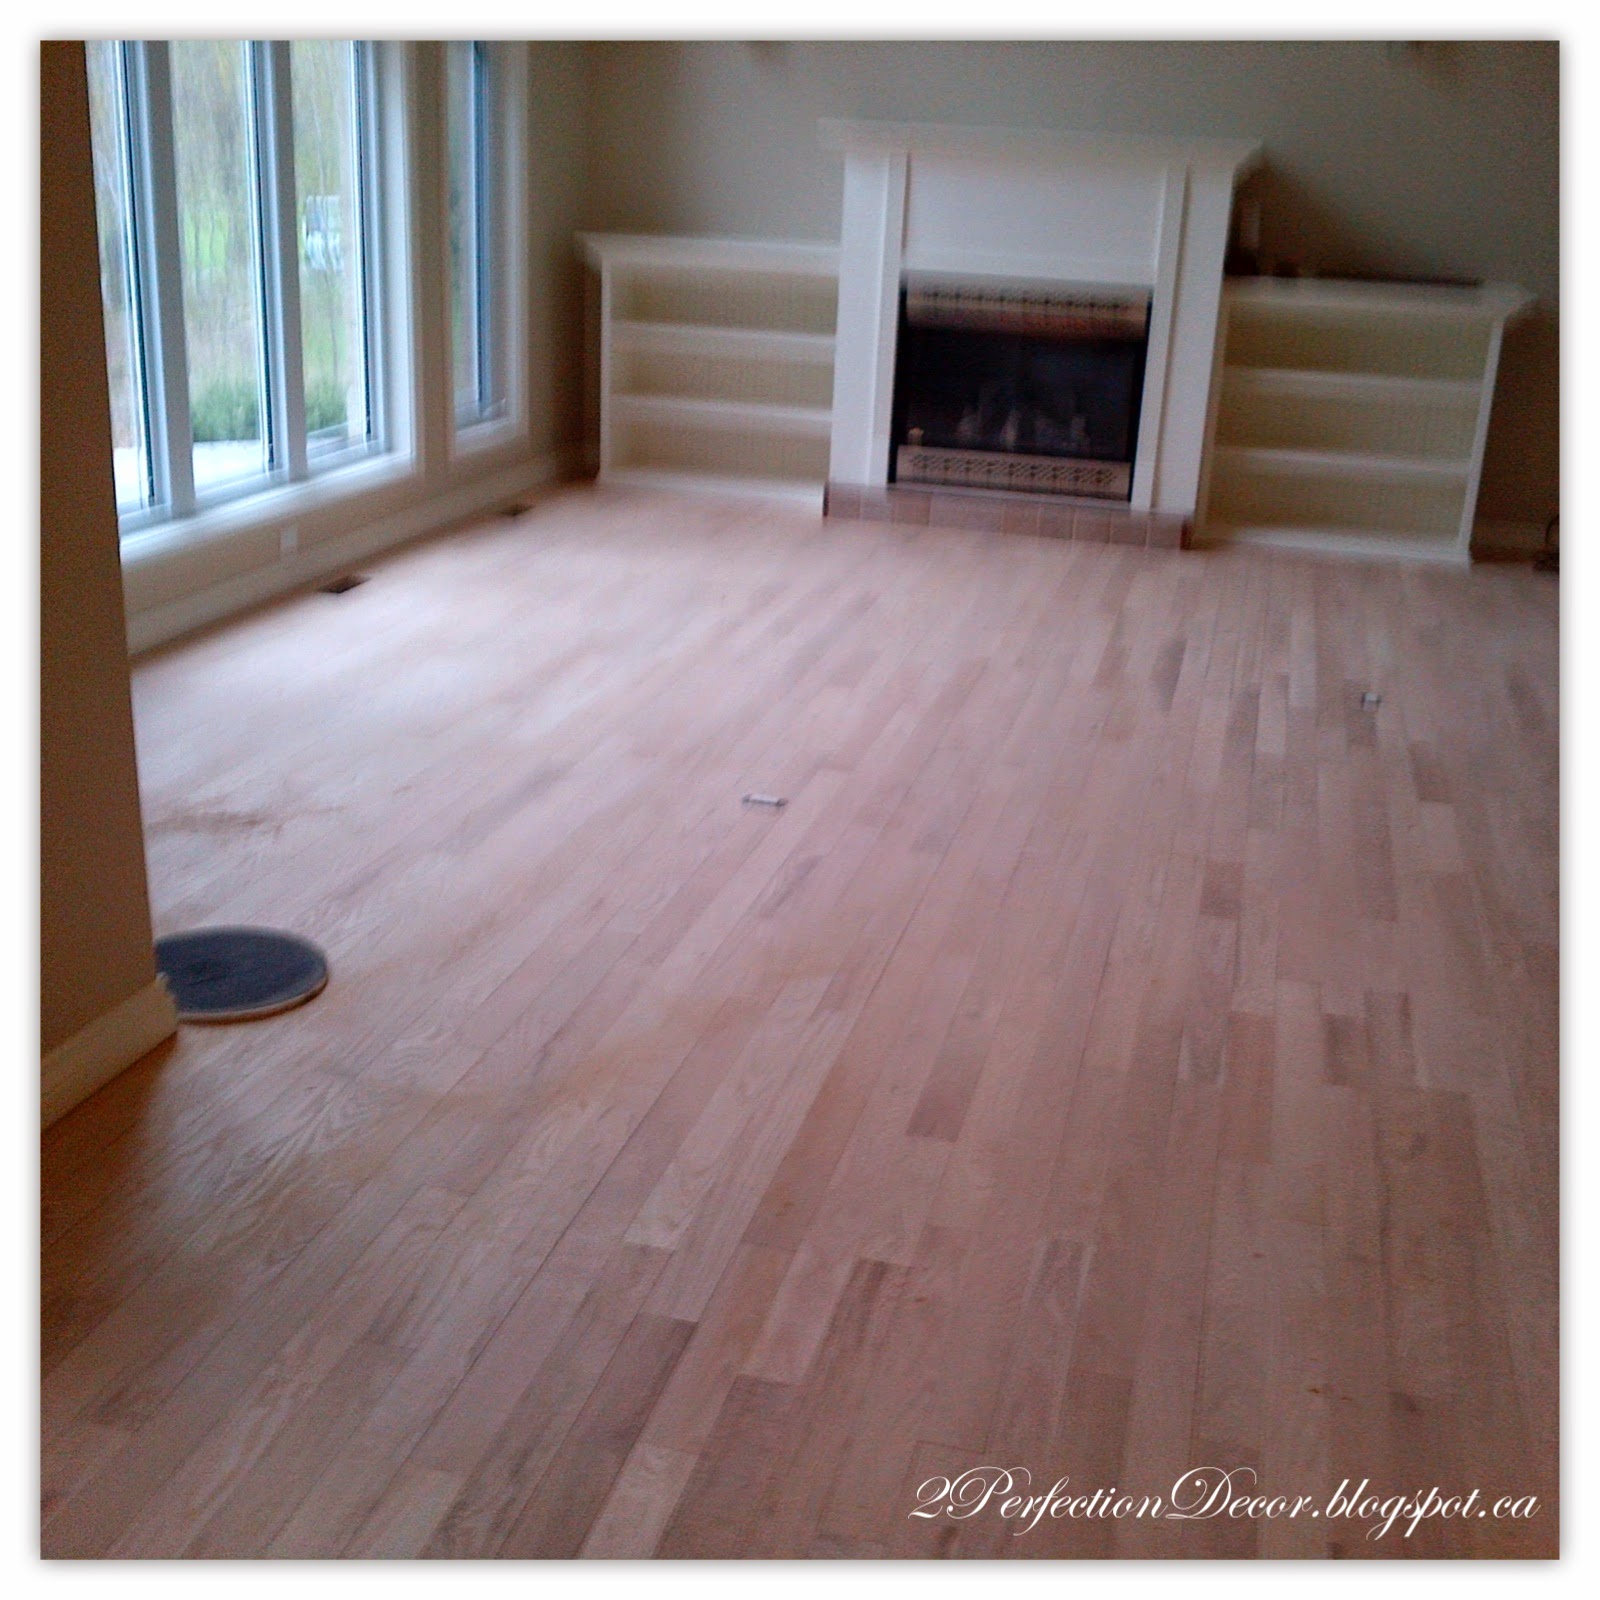
This is our new Kitchen after some tweaks .. first was painting all the cabinetry, adding new thicker crown mouldings, adding beadboard wallpaper as a backsplash, new hardware, and lastly trimming the decorative hood fan. See the FULL transformation HERE.
Our Kitchen Eat-in Area 
 Next we added character to our basic builder built-in niches in the kitchen.
My proudest DIY of 2014 was our Small Space Kitchen Island made from a Vintage desk.
 The laundry room got updated with splashes of blue and white for a subtle nautical theme. 
See more on the full transformation HERE.
 The family Room was brightened by hanging new white drapes, a new rug and furniture.. Check out the full before and after Family Room Reveal HERE
 The builder drywall media built-ins in the Family room were completely overhauled.. We painted them, added beadboard wallpaper as backdrop to each niche, added shelving for more display space and a decorative mantel to complete the fireplace look. See more on the full transformation HERE.
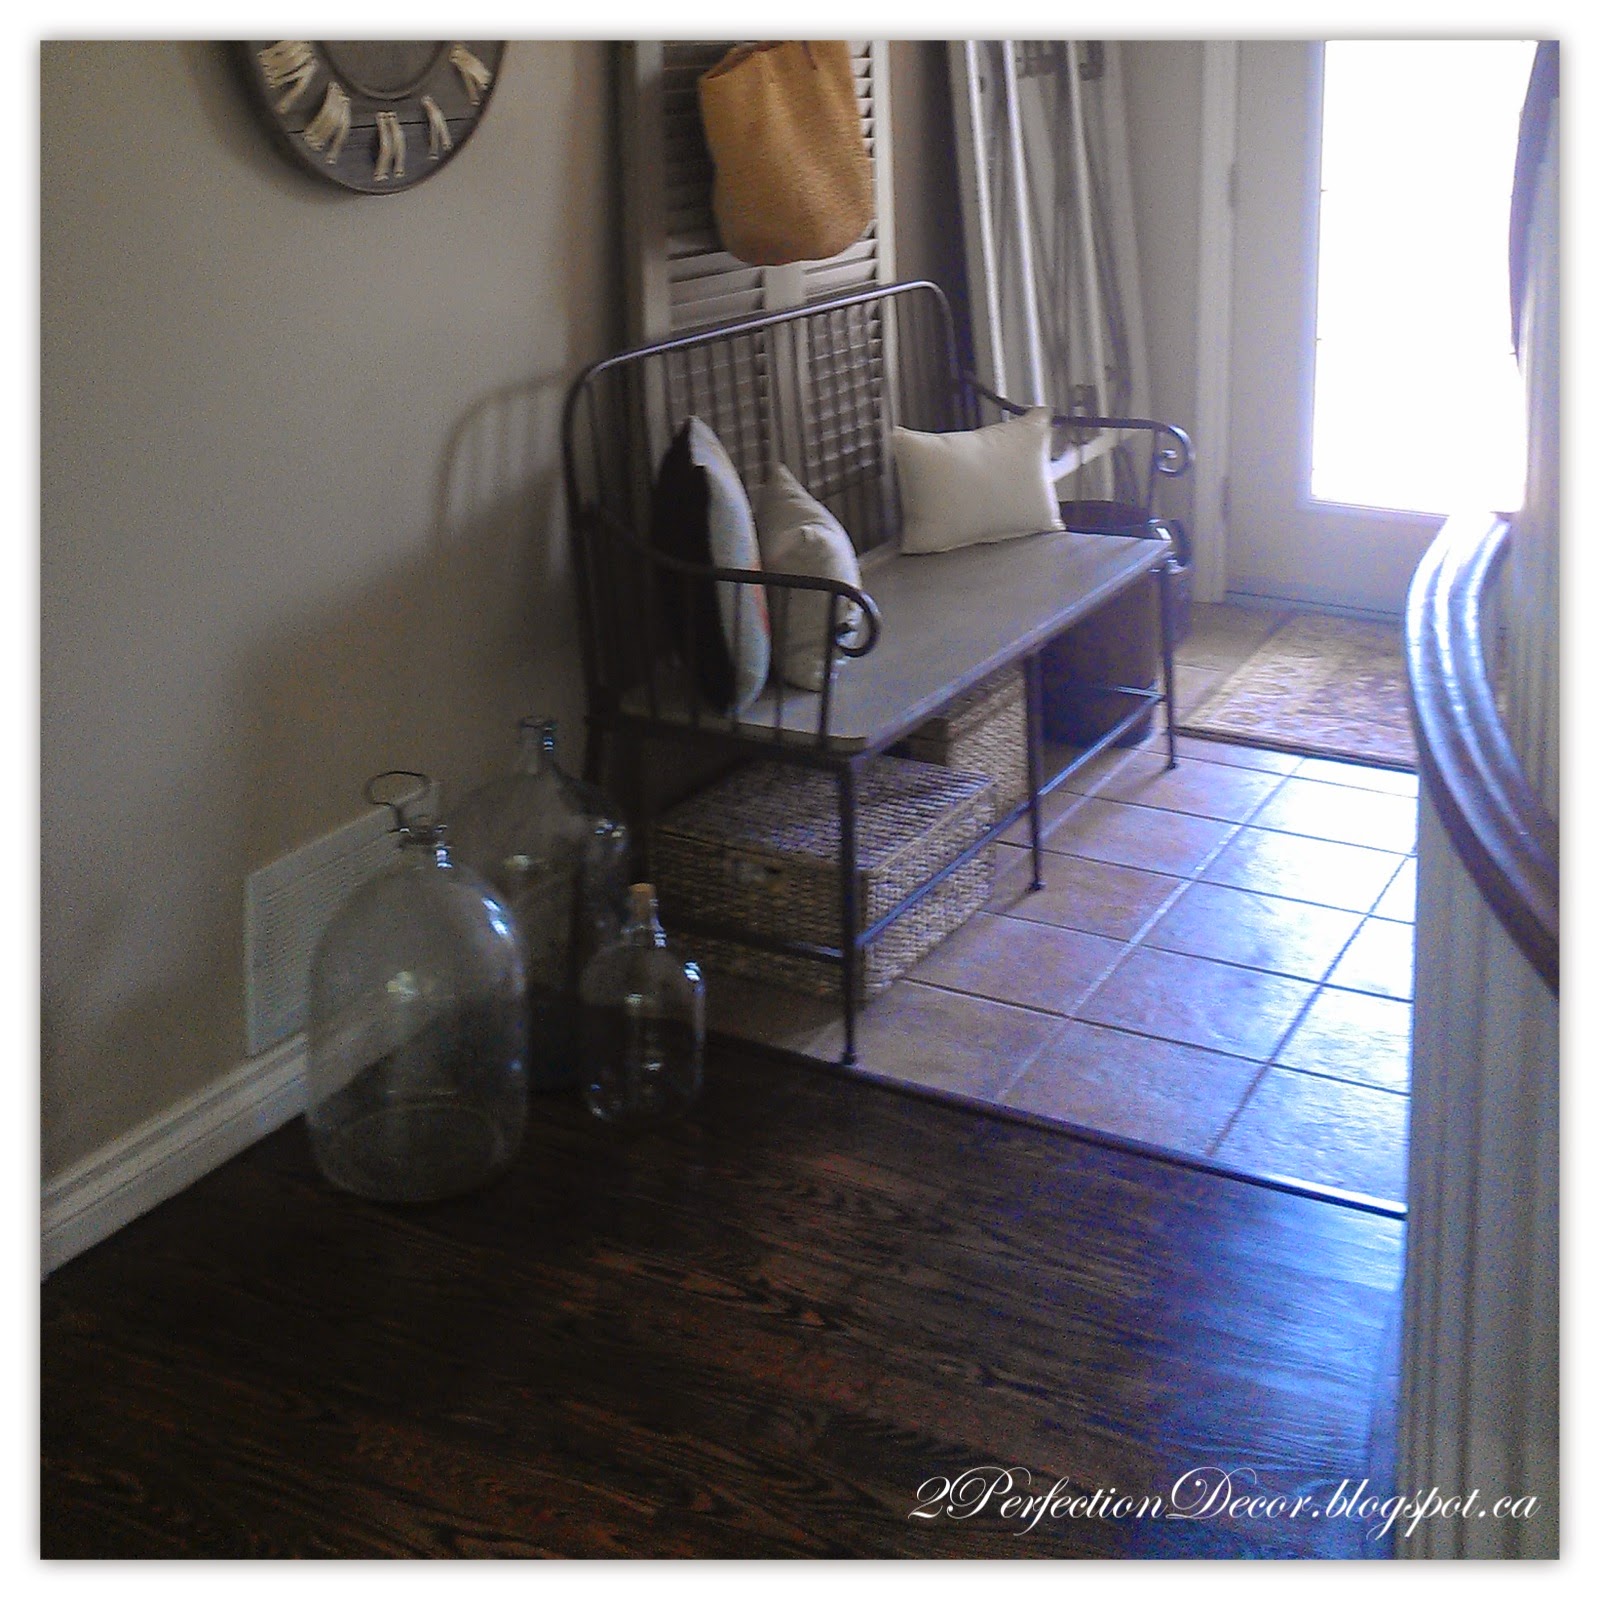
 Our Hall went under a Transformation HERE
 Our Dining room went under a full transformation HERE with the addition of our painted vintage Hutch, see more on the before and after hutch HERE
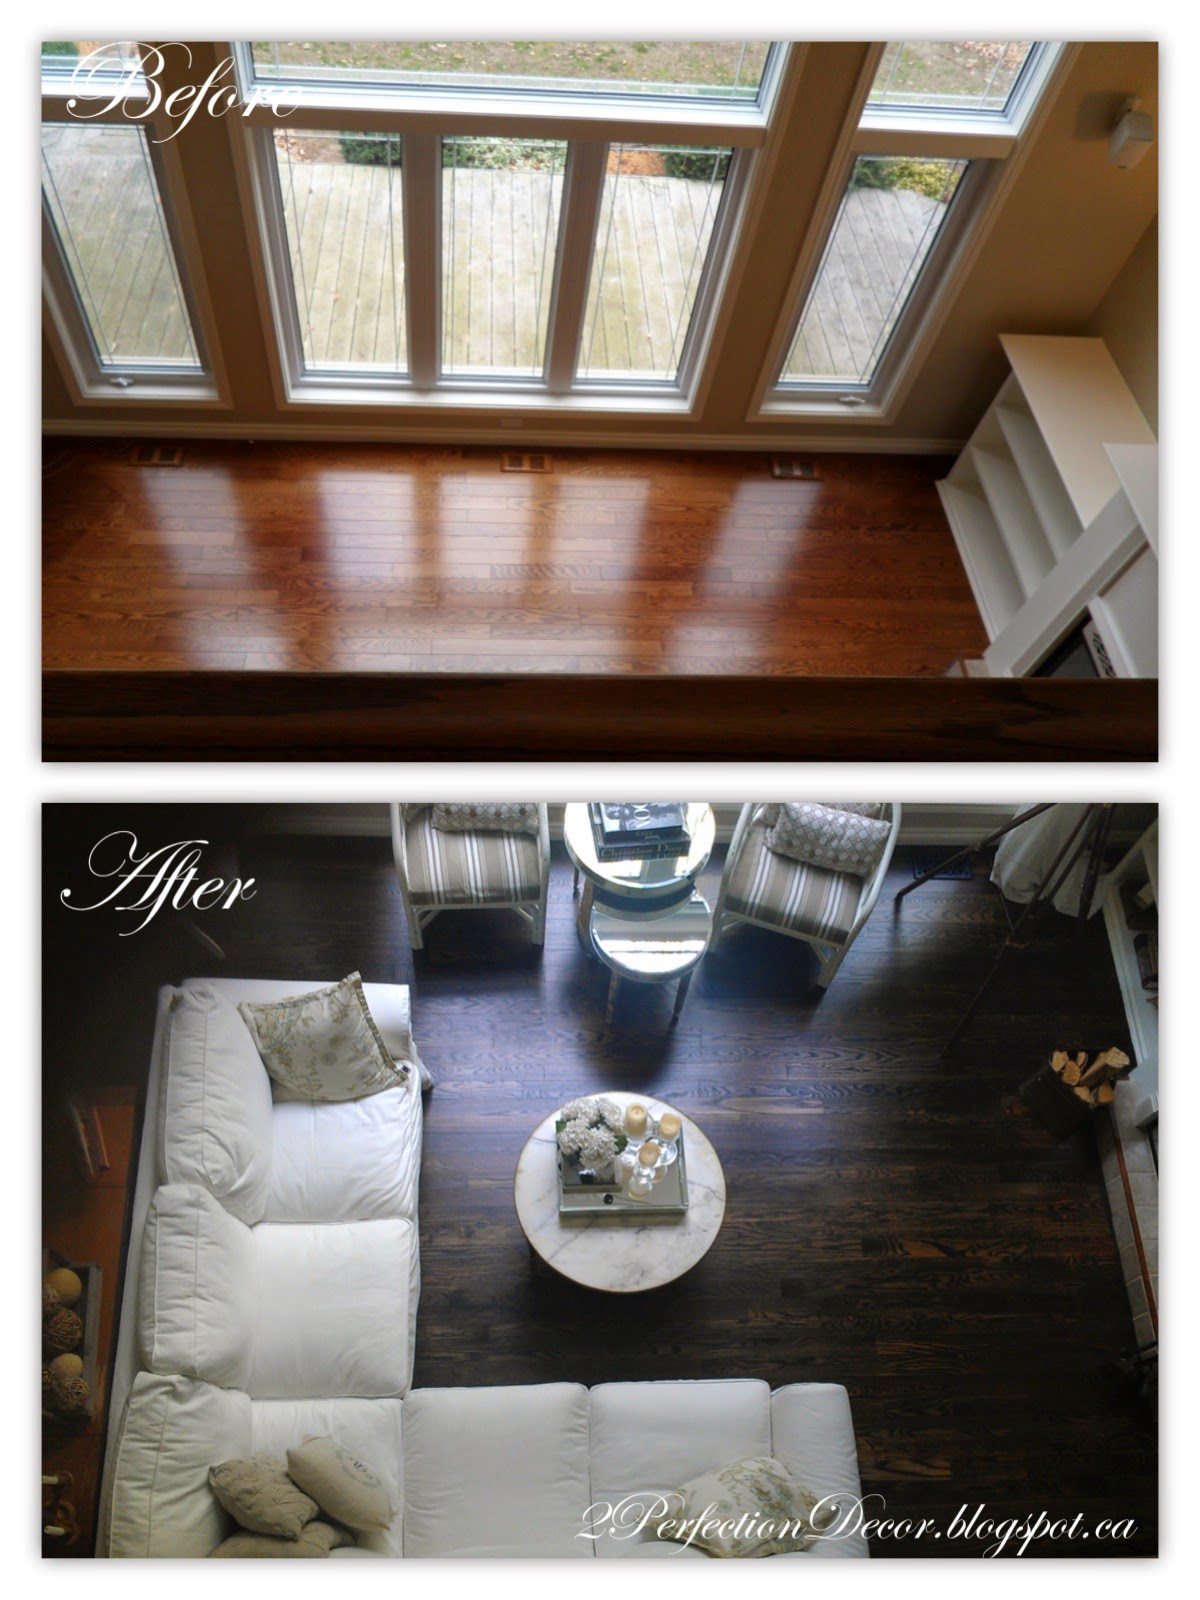
You can see our Living Room Before and After HERE
My Hubby's office.. See more of our Office Reveal HERE 
Lastly I shared Our Neutral French Country Christmas Home Tour HERE

Thanks for looking today.. I hope you all had a fabulous Holiday and a Happy New Year!! All the best for 2015!!


Don't Miss a post... Follow me by Email or Bloglovin!


Tuesday, August 5, 2014

Hazelnut Oak floors Re-Finished to Dark Java

 The floors were in Good condition overall.. so some of you reading this may think we were CRAZY! But the Orangey- Hazelnut Floors are not for me!! So Dark they must go!!  We chose JAVA stain. Its pretty Dark but not Black so it doesn't show as much dirt or dust. 

BEFORE:
Java Hardwood Stain Swatch:
The Floors had just been sanded... I am definitely a dark floor kind of girl.. But when they sanded it, It looked so good LIGHT ..I was LOVING the Light wood!! Its kind of surprising that I didn't keep it light considering how much I like White and soft Neutrals..
I did ask if I could leave it natural wood BUT they said that oils from skin/ dirt would change the wood over time and stain it.. so we proceeded with the Dark Stain.
Here the floors are Still wet from being stained.. I hate SHINE!! But I LOVE what the stain did to the grain of the floors!! It looked Amazing... You really see all the details in the wood.. It kind of looked animal print-y but I liked it!!
The thing with Java stain is its fairly dark but I would of liked it a bit darker.. Its always hard to tell how the Oak will pick up the colour. Certain Hardwood strips turned out super dark and others fairly light... Which is why I called it animal print-y.. The hardwood appears slightly Reddish in the picture below and sometimes when our pot lights beam on it. The last 2 pictures really show its true appearance in daylight, which is when I think it looks best. 
 Finished Product! :) So happy with them. The Mat finish held up nice and gave a more rustic look to our Oak Hardwood floors. And the detail of the wood grain really shows with the Java stain. Bye Bye Orange!!
 See the rest of Our Home's Before Pics Here