01
Showing posts with label how to. Show all posts

Thursday, March 12, 2015

Ikea Varde Cabinet transformed into Rustic Wood Bar

So this is my favourite project to date.. yes I think even more so than my kitchen island transformation... So my philosophy has always been if you can't find it or afford it.. MAKE IT!!!
So thats just what we did.. I was on the hunt for months for a basement Bar , we even looked into having a carpenter build one custom for us.. but the price was upwards to $2000 plus it wasn't really the look we wanted.. I sourced and sourced thrift shops, local ReStores and antique markets for the perfect piece and every time came up empty handed.. until one day I started talking to a local Antique shop owner about what I wanted and she said she didn't have any Vintage bars in stock, but she did have a old island that was the approx. size I needed but it would need A LOT of work!! She wanted to get rid of it so she sold it to us for only $25!!! I was in heaven!! Next came the design.. I wanted barn wood but usable! SO we decided to plank the base of the bar in a barn door style and add a galvanized top.. Easy right?? Not quite.. See How we made our custom Rustic bar below..
Friday, January 9, 2015

Fav's Friday! - How-To TIPS

Here are a few tips and tricks that I found interesting this week along with a easy decor how-to for around the house. Hope you enjoy!!

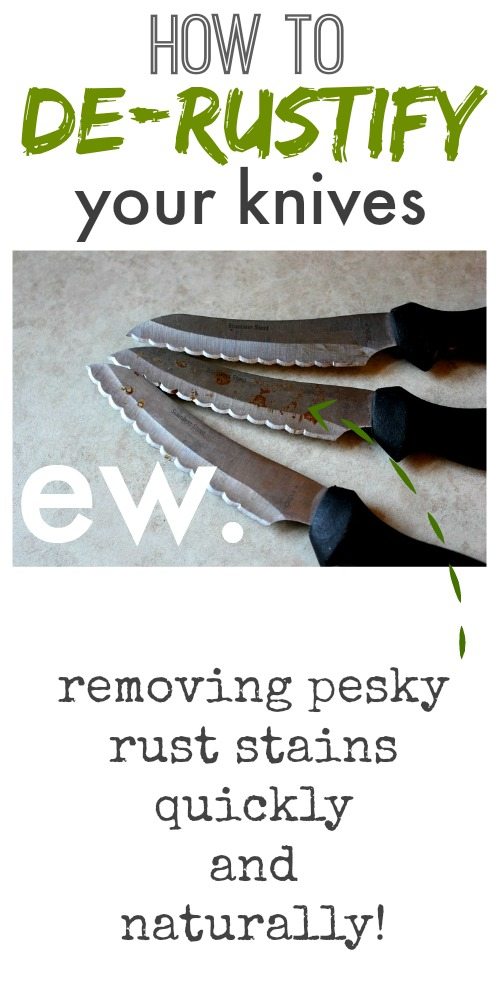
Creek line house shared this great tip on How to remove Rust stains from Knifes... and the best part is its NATURAL!!!

Remodelando la Casa shared her special secret on how she cleans her stainless steel.. I don't know about you.. But I can never seem to get mine clean enough.. never mind sparkling like here's.. Check out her blog for the full product details
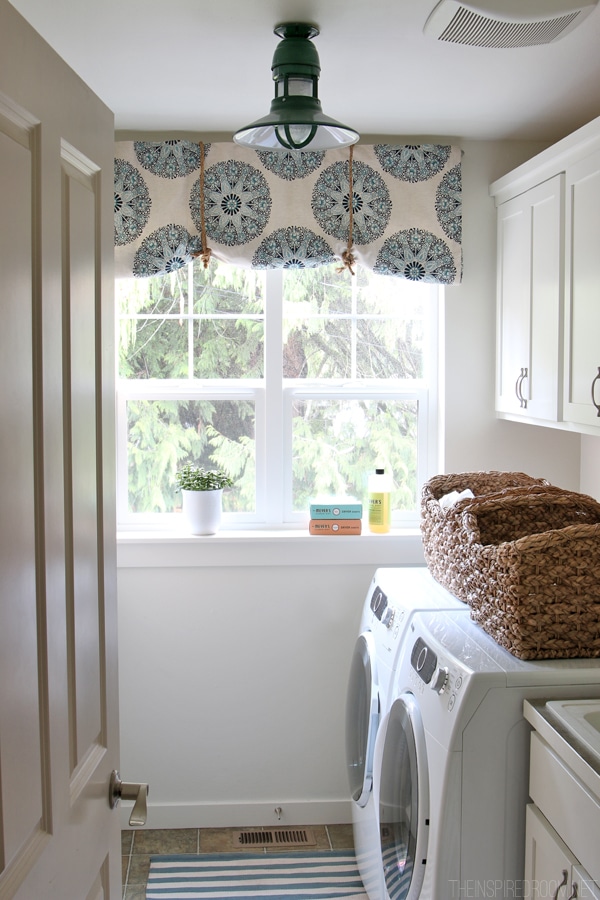
Melissa from The Inspired Room created this unique window shade idea.. Made of fabric and rope.. Check out her blog for her full tutorial on how to make one for yourself!


Check back every Friday for my Fav's of the week!!

Don't Miss a post... Follow me by Email or Bloglovin!

Saturday, July 5, 2014

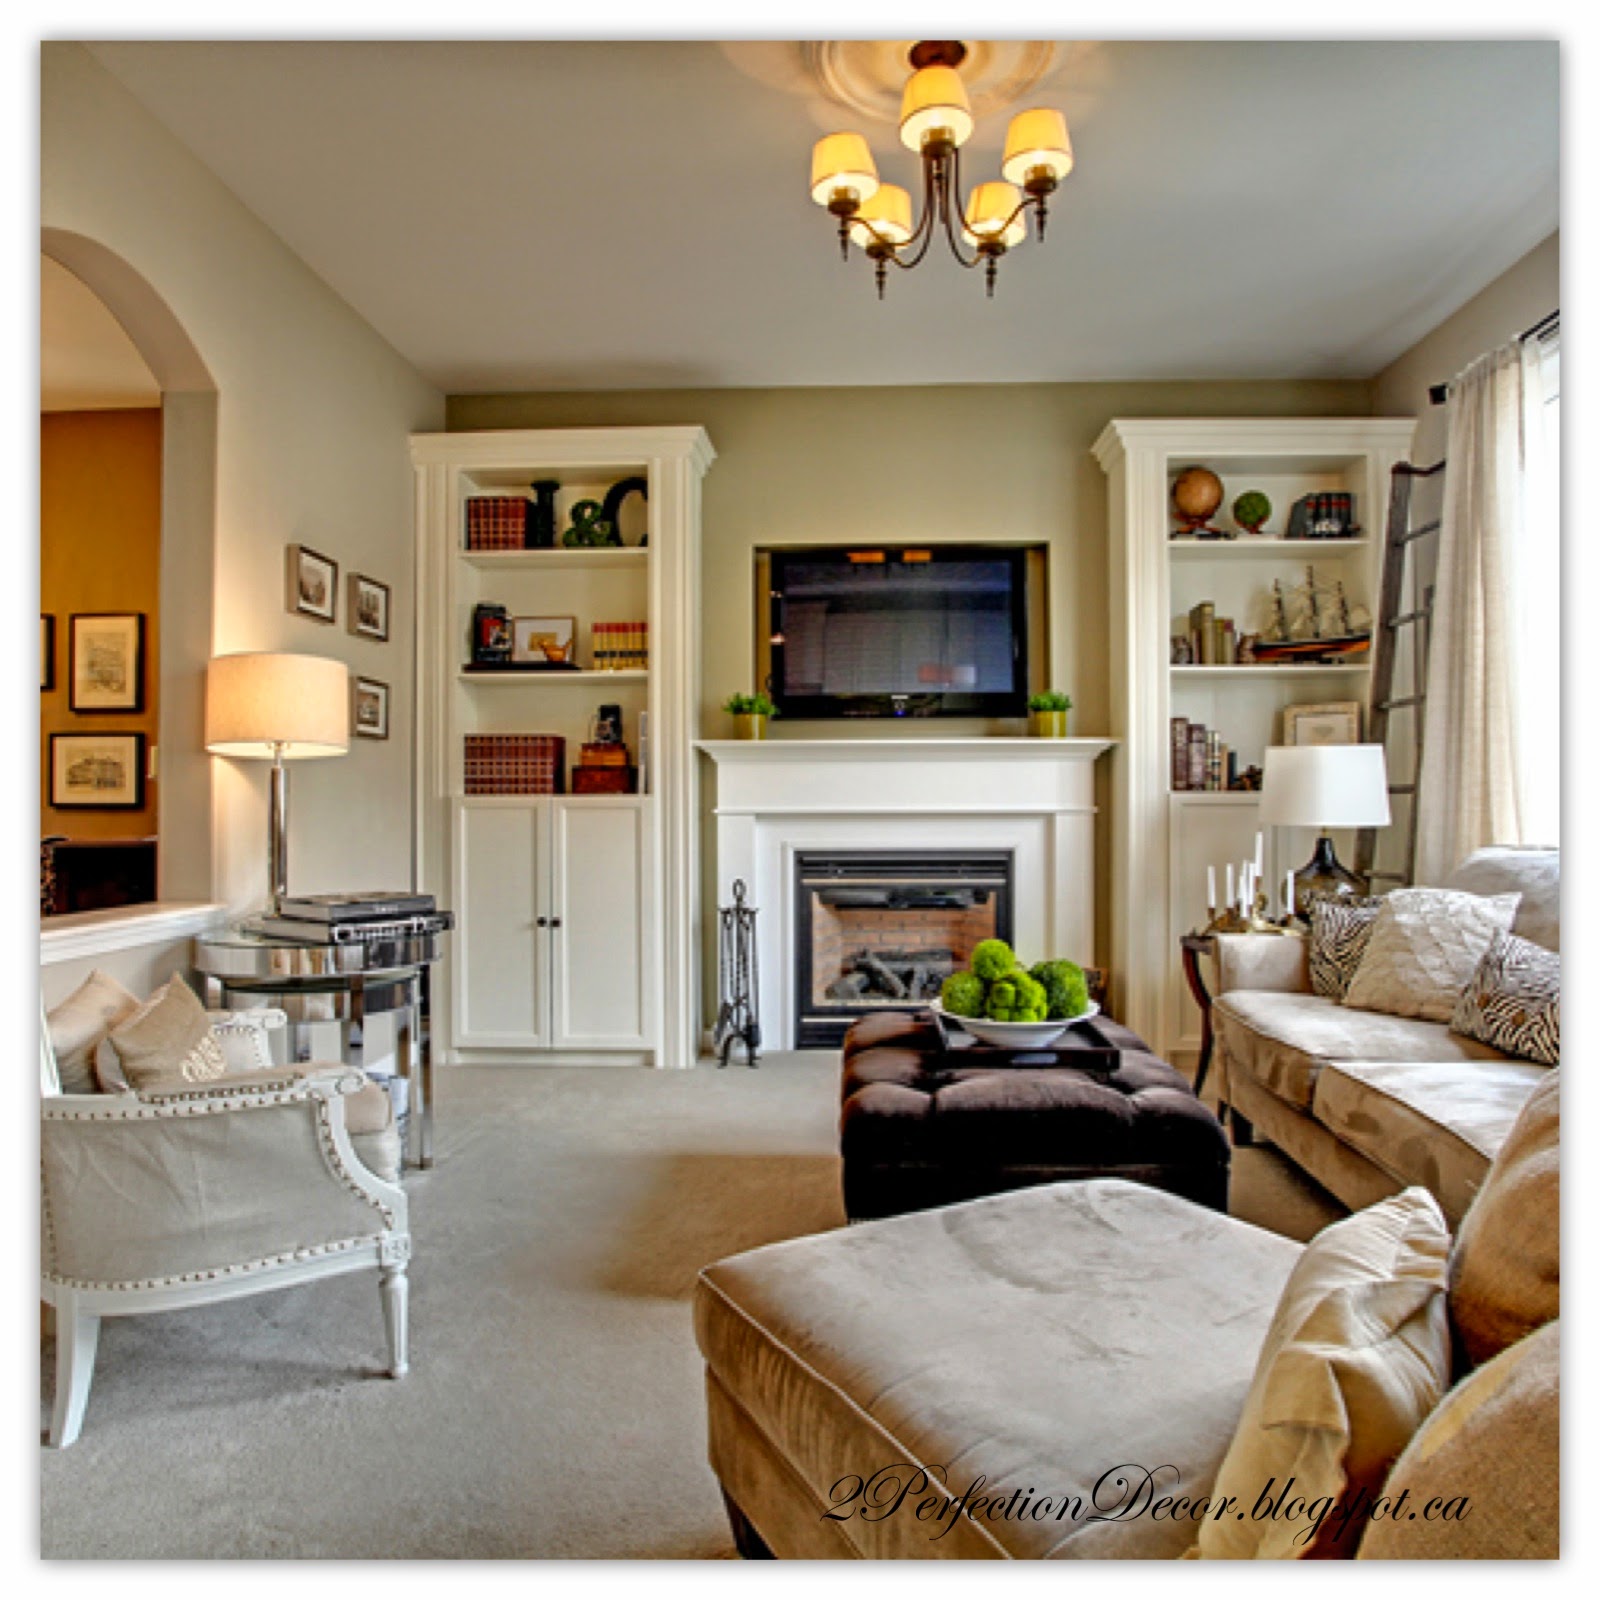
Built-in Bookshelves to flank fireplace

I have always wanted bookshelves to display all my goodies . So when we purchased this house I knew I was definitely getting my gas fireplace and bookshelves!! We decided to go with Ikea Billy Bookshelves for the starting base as they are a great price for what you get. We also Bought the Billy doors. We started by adding thicker trim on either side of bookshelf with L brackets, no more nails and lots of caulking!!! We bought 2 large pieces of wood to create a faux side to bookshelf to make the bookcase look wider and finish the side of unit. For the crown we used left over crown from our kitchen cabinets. Lastly for a finishing touch I added my own hardware and painted it. We took our Ikea shelf to our local Benjamin Moore store where they were able to make the perfect paint match! So all we had to do was go home and paint the trim and crown. See below for pics of our transformation. You can also check out the rest of our Home Tour here.

Before: The room just looked like it was missing something..

This is after we added the faux sides, trim and crown moulding on one side.. Missing crown,  caulking of the trim and Paint! 
 Mission Complete! So happy with the results!! Love our new Bookshelves!! Once painted and caulked you could never tell that they were simple Ikea bookcases. All in all, total cost was under $400 for built-ins! Last pic shows how we painted the back wall a light Khaki green to make bookshelves just pop. Thanks for reading.