01

Wednesday, October 8, 2014

Kitchen Eating Area Reveal

So here it is .. Our kitchen eating area.. I posted our kitchen reveal a few days ago.. If you missed it, you can see it here. Here is what some paint and new furniture and decorative accessories can do to a space.
Before the walls were darker and their was a lot of Black and Caramel tones going on..  I wanted to soften the look and create a more natural looking room. We already lightened the kitchen by painting the cabinets a nice light cream, BM Linen White. All the walls in Kitchen eating area and the adjoining kitchen were painted in a light neutral.. Benjamin Moore Natural Linen.. The doors were painted BM Cloud white.
Below is Our Kitchen Eating area this Summer. Bright and Fresh. It's a combination of more greens, whites and Shell's of course. 
This is our Current Fall look. For a Centrepiece I used a Antique Dough Bowl filled with dried Moss, Dried Grass and lots of small white Pumpkins. See more of our Fall Home Tour here.
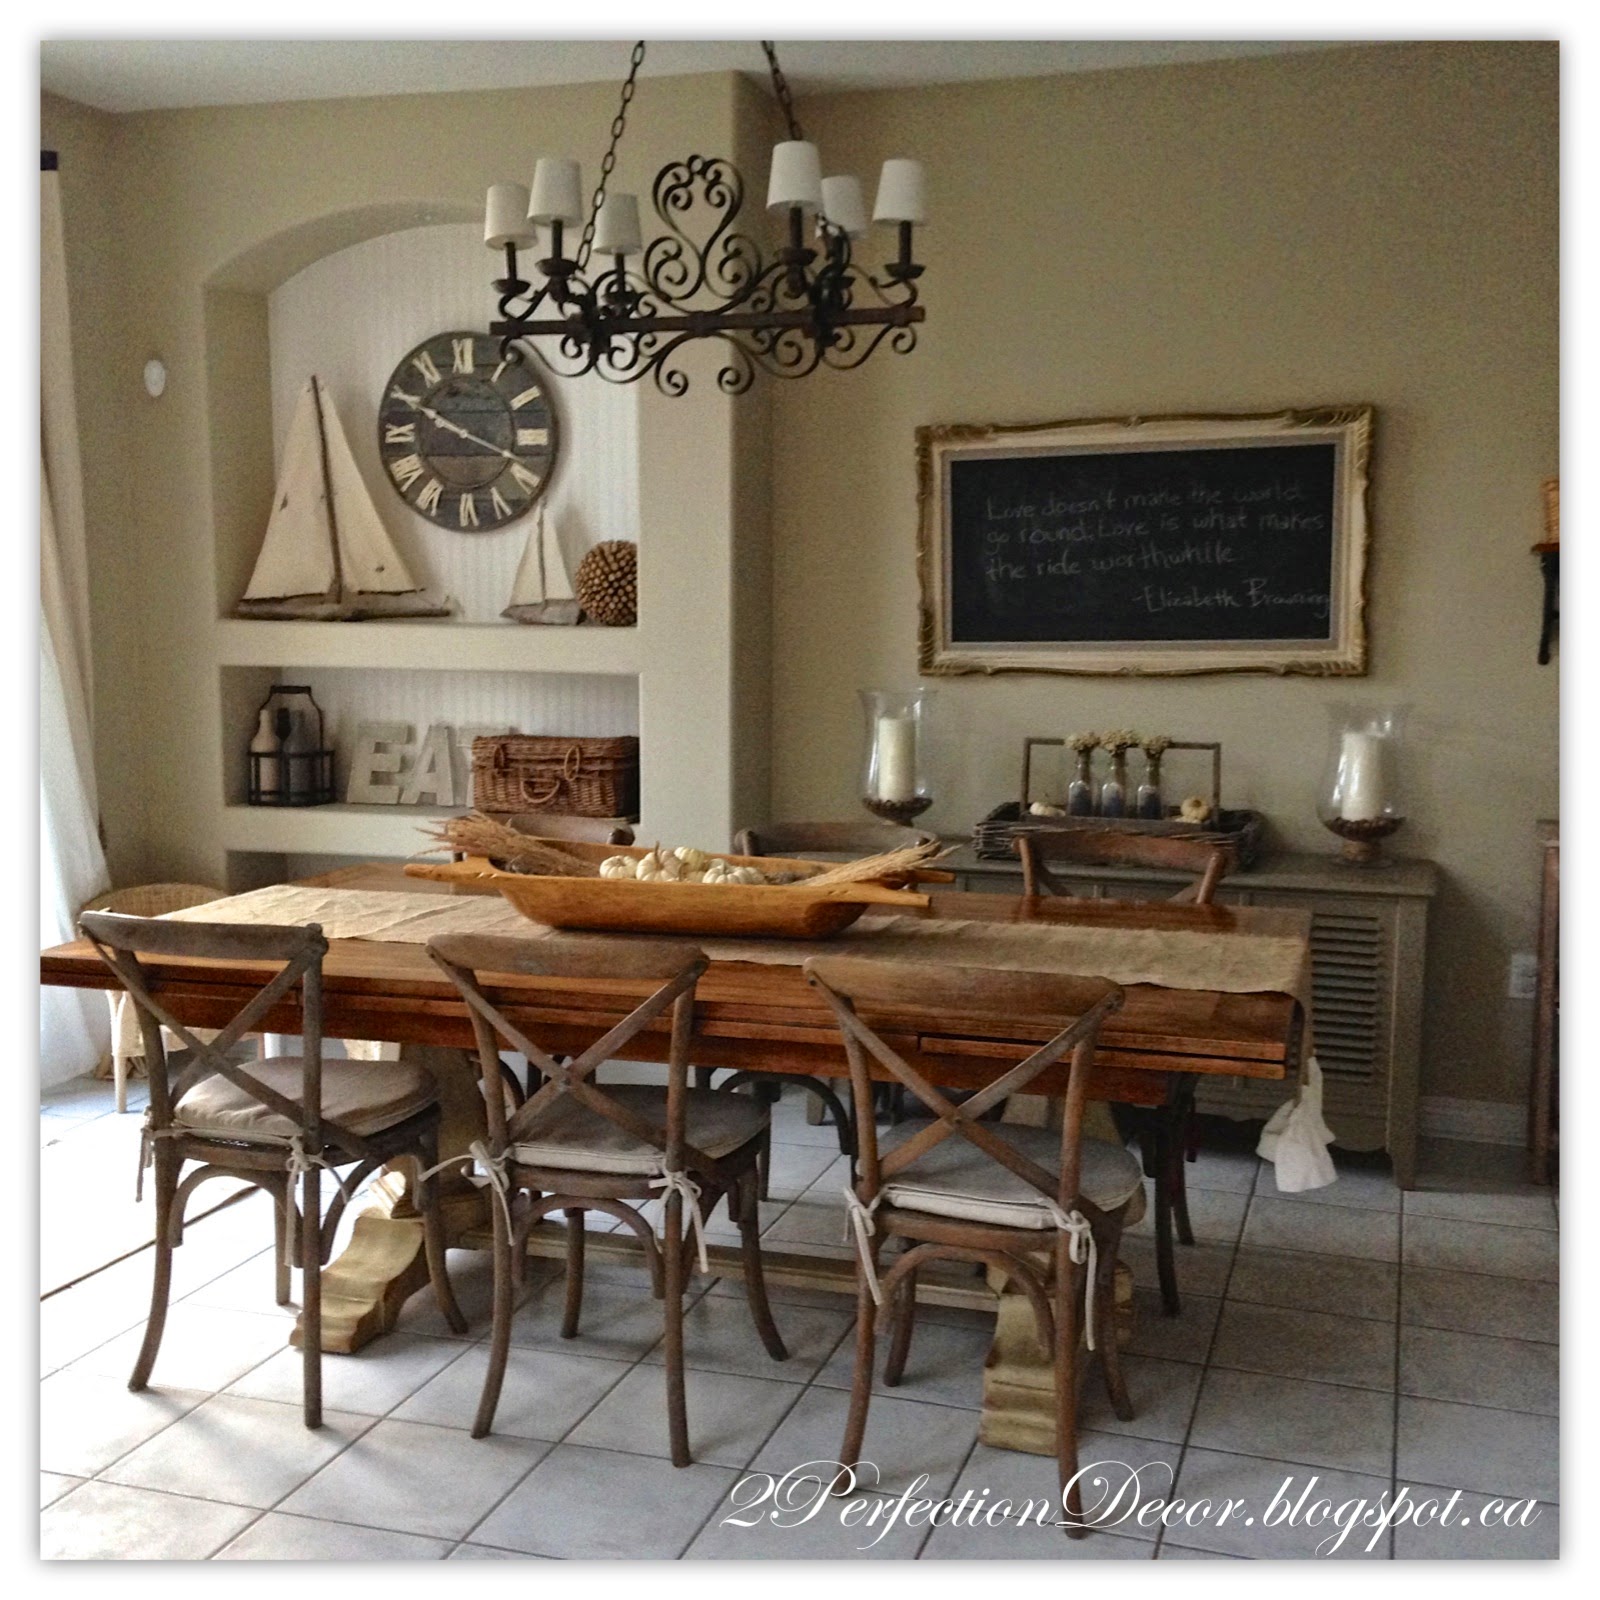
Our Kitchen Table is our previous home's dining table.. It's by Hooker Furniture. What's great about this table is it extends to 11ft if we ever need it to.. The chairs are from Restoration Hardware, I just love the X-back style. 
 
Who doesn't love a good chalkboard???  In the kitchen above our vintage radio console we have an antique framed chalkboard.  When we first viewed this house a year ago I knew it was my future chalkboard wall.  This Chalkboard has been a focal point in many our homes in various locations. In our last home we had it in our Living Room.  It's the perfect spot to display one of my favourite quotes. The menu chalkboard is a necessity .. Its my brain some days.. On Sundays I TRY!! And I mean Try...To talk out and write out a meal plan for the whole week.. Then Grocery shop on Monday's.. It doesn't always happen.. It's still a work in progress.. Sometimes it's just easier to pick up the phone and order in.. ;(
The Drywall niche was transformed with beadboard wall paper.. Gosh I love this stuff.. It looks real, and its easy to apply.. no real cutting required.. well some .. with scissors! See more Picture's here.
Here is our daughter's colouring station. It's a mix of a Striped Vintage table that already looked this adorable when I bought it from a Antique store and these cute mini Wicker chairs for kids from Ikea. I think it will be her eating area when she gets a bit bigger and has her cuzzie over ;) But for right now she knows it is where the markers and crayons stay.. All I can say is Thank goodness for those clear markers that can only draw on her magic colouring book!! 
Across from the drywall niche display I have an open shelving area. White washed wooden shelves on metal corbels holds some white and creamy useable eye candy goodness. Below the wooden shelves I have a Dark Grey storage Cabinet with 12 drawers. To soften the whole look the Patio doors were painted white and I added subtle Striped Curtains with Rope tie backs on either side.
, 
Below is our handy storage cabinet.. where I hide all my not so pretty stuff.. I don't have a desk in this kitchen. So all our mailing supplies, take out leaflets, extra pens and batteries etc now have a home. Come on we all have a place like this in our home.. Mine just happens to take up 6 baskets and 6 tiny drawers ;)
 
This is heaven! The kids love it!.. It's a Antique Paper Dispenser. We hung it to hold a kraft paper roll.. It's great for a long piece of paper for my daughter to go nuts on.. It's like the Jack Astor's restaurant in your own home! I used the wood top to hold a woven basket from Homesense. The basket stores our daughter's extra bibs and crayons.. I'm a mom so I need practical but I want it to look nice too.
Thanks for looking.. Hope you enjoyed! You can see the rest of our Kitchen Reveals here


Tuesday, October 7, 2014

Kitchen Display Shelves


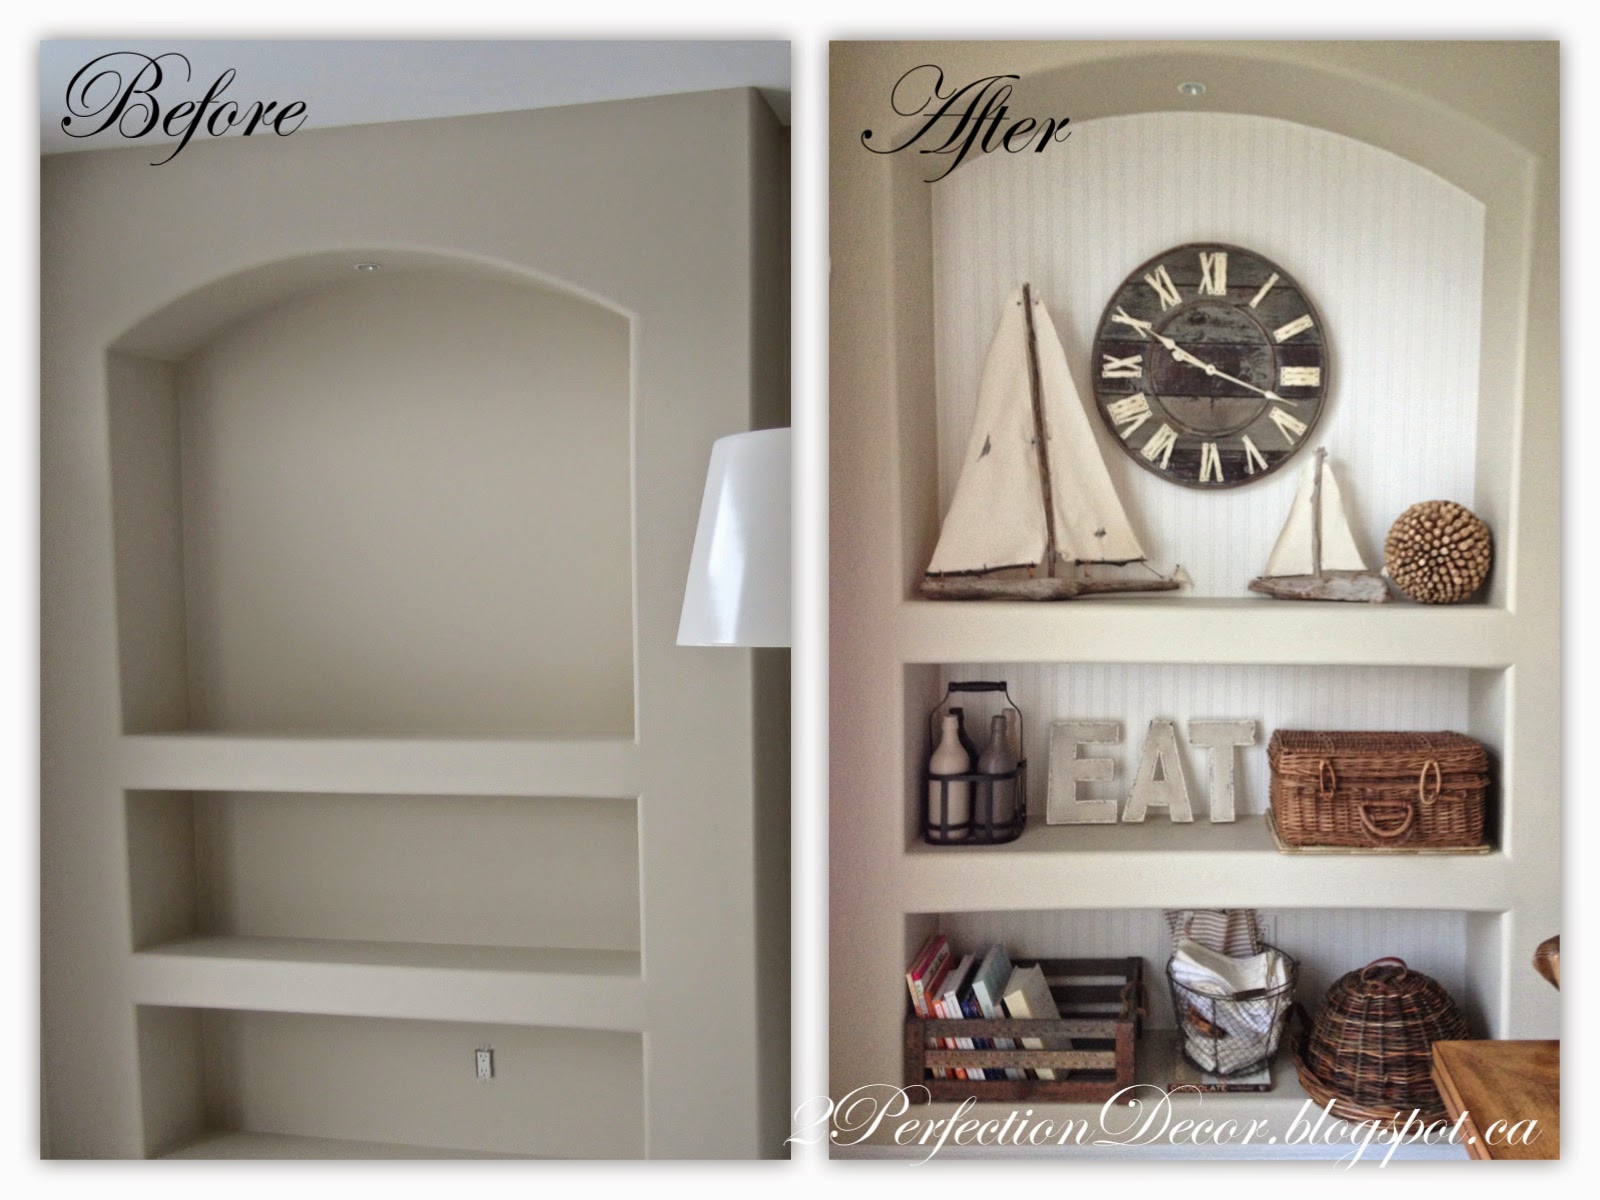
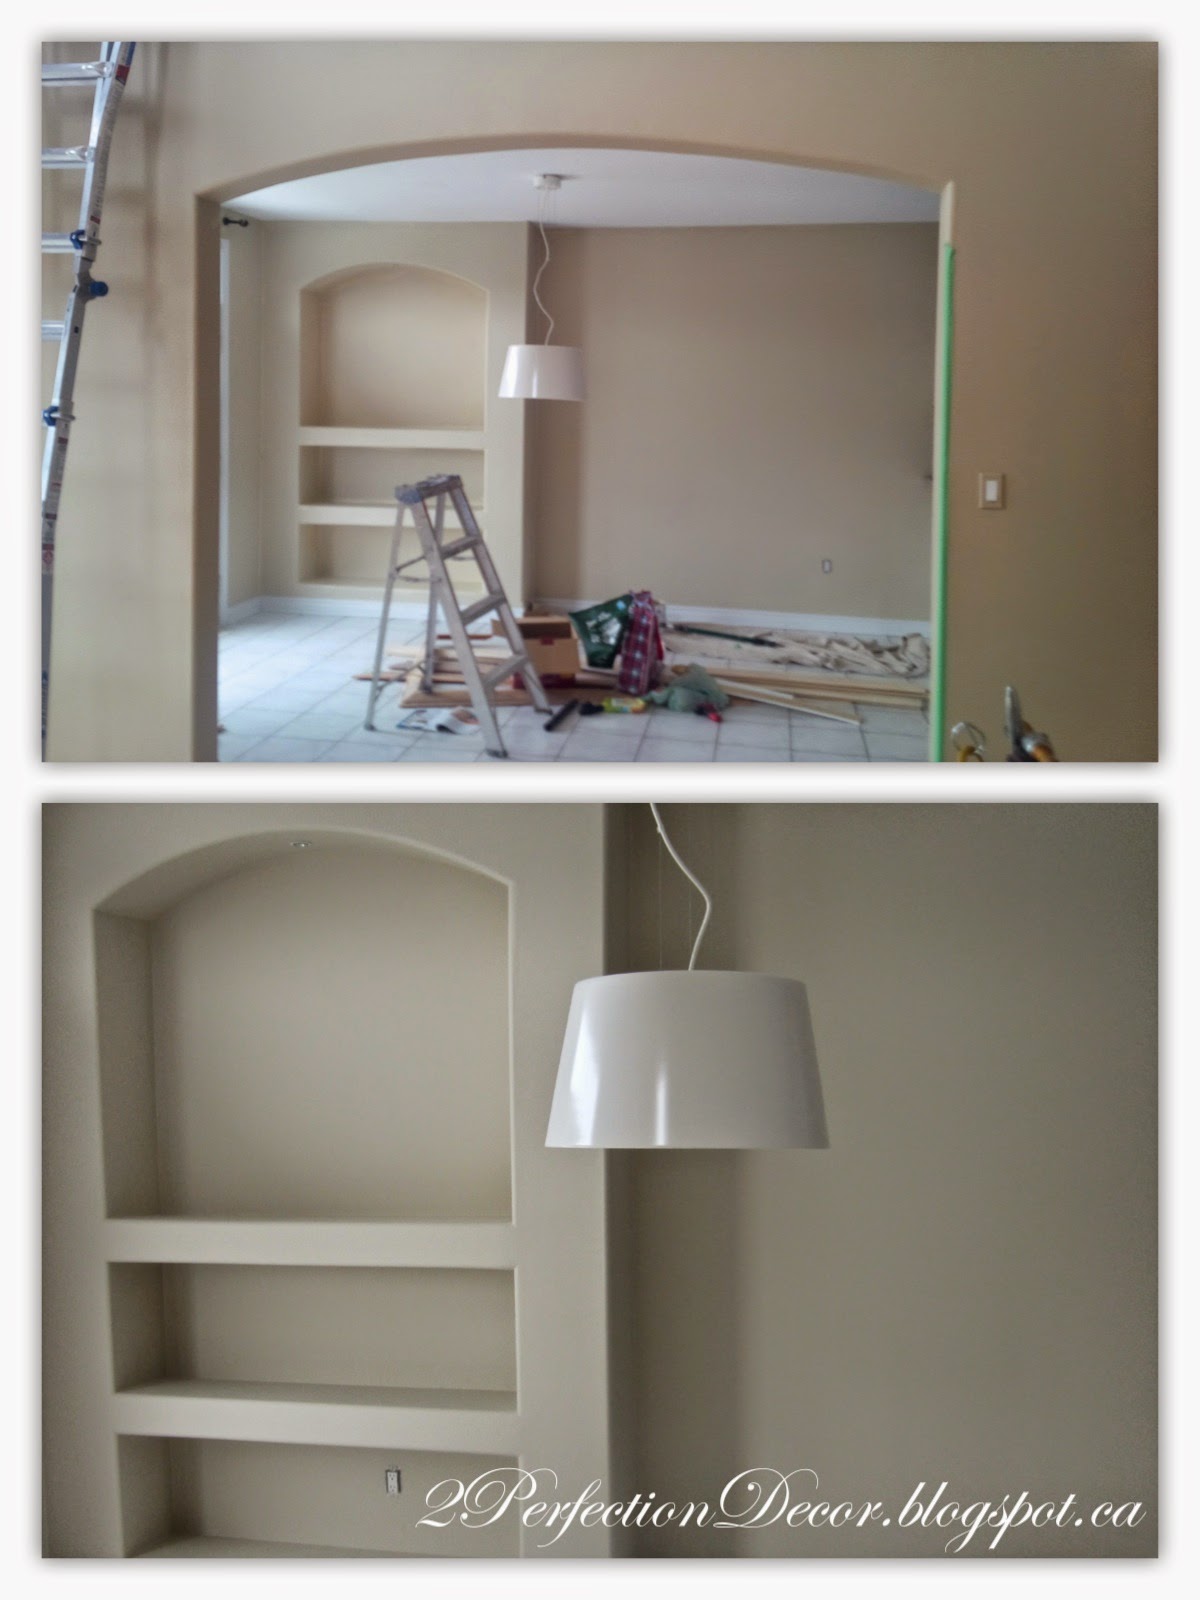
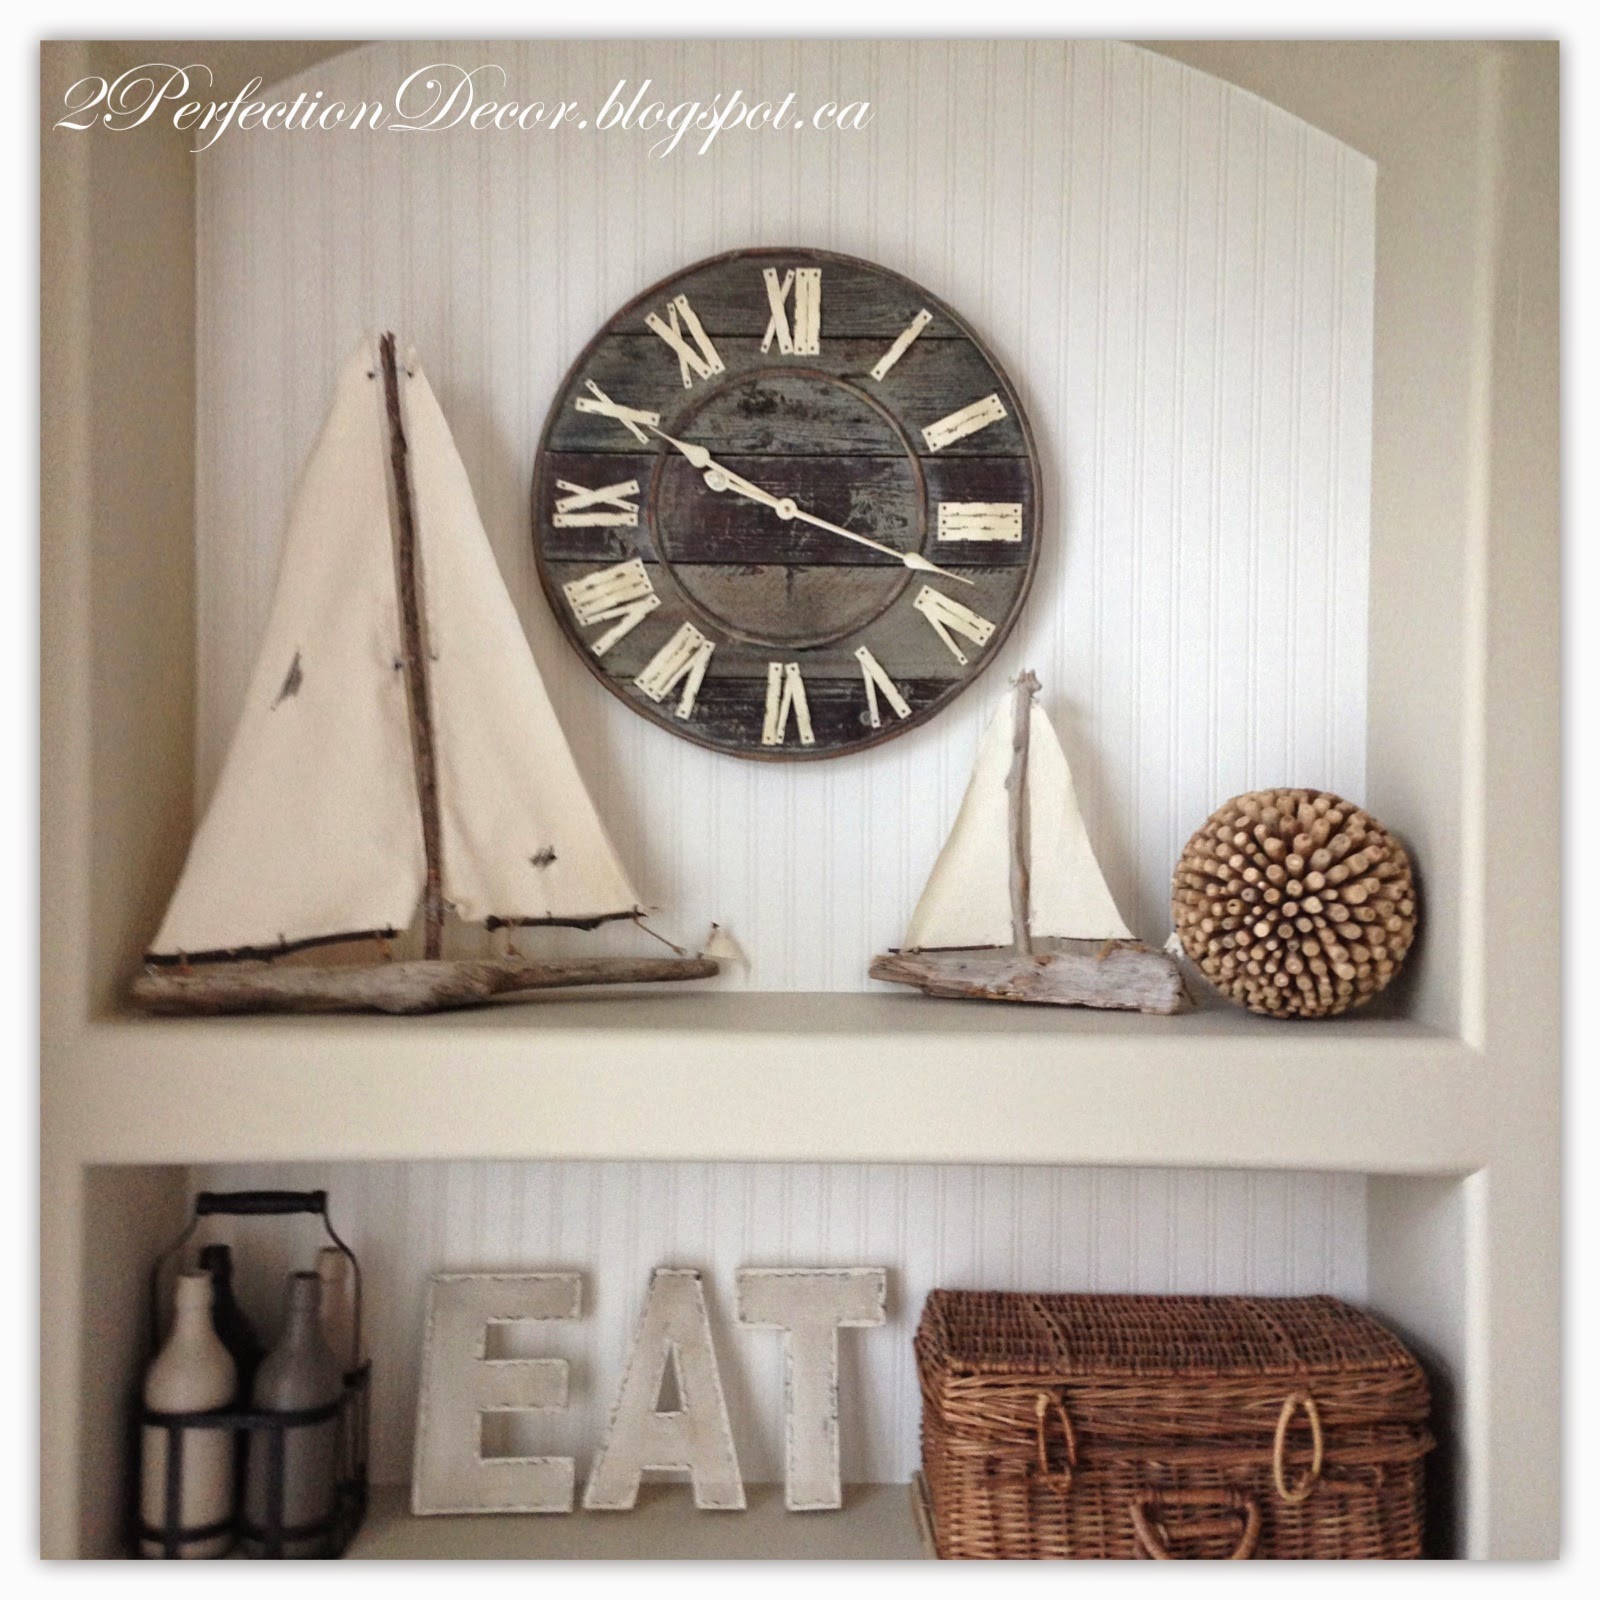
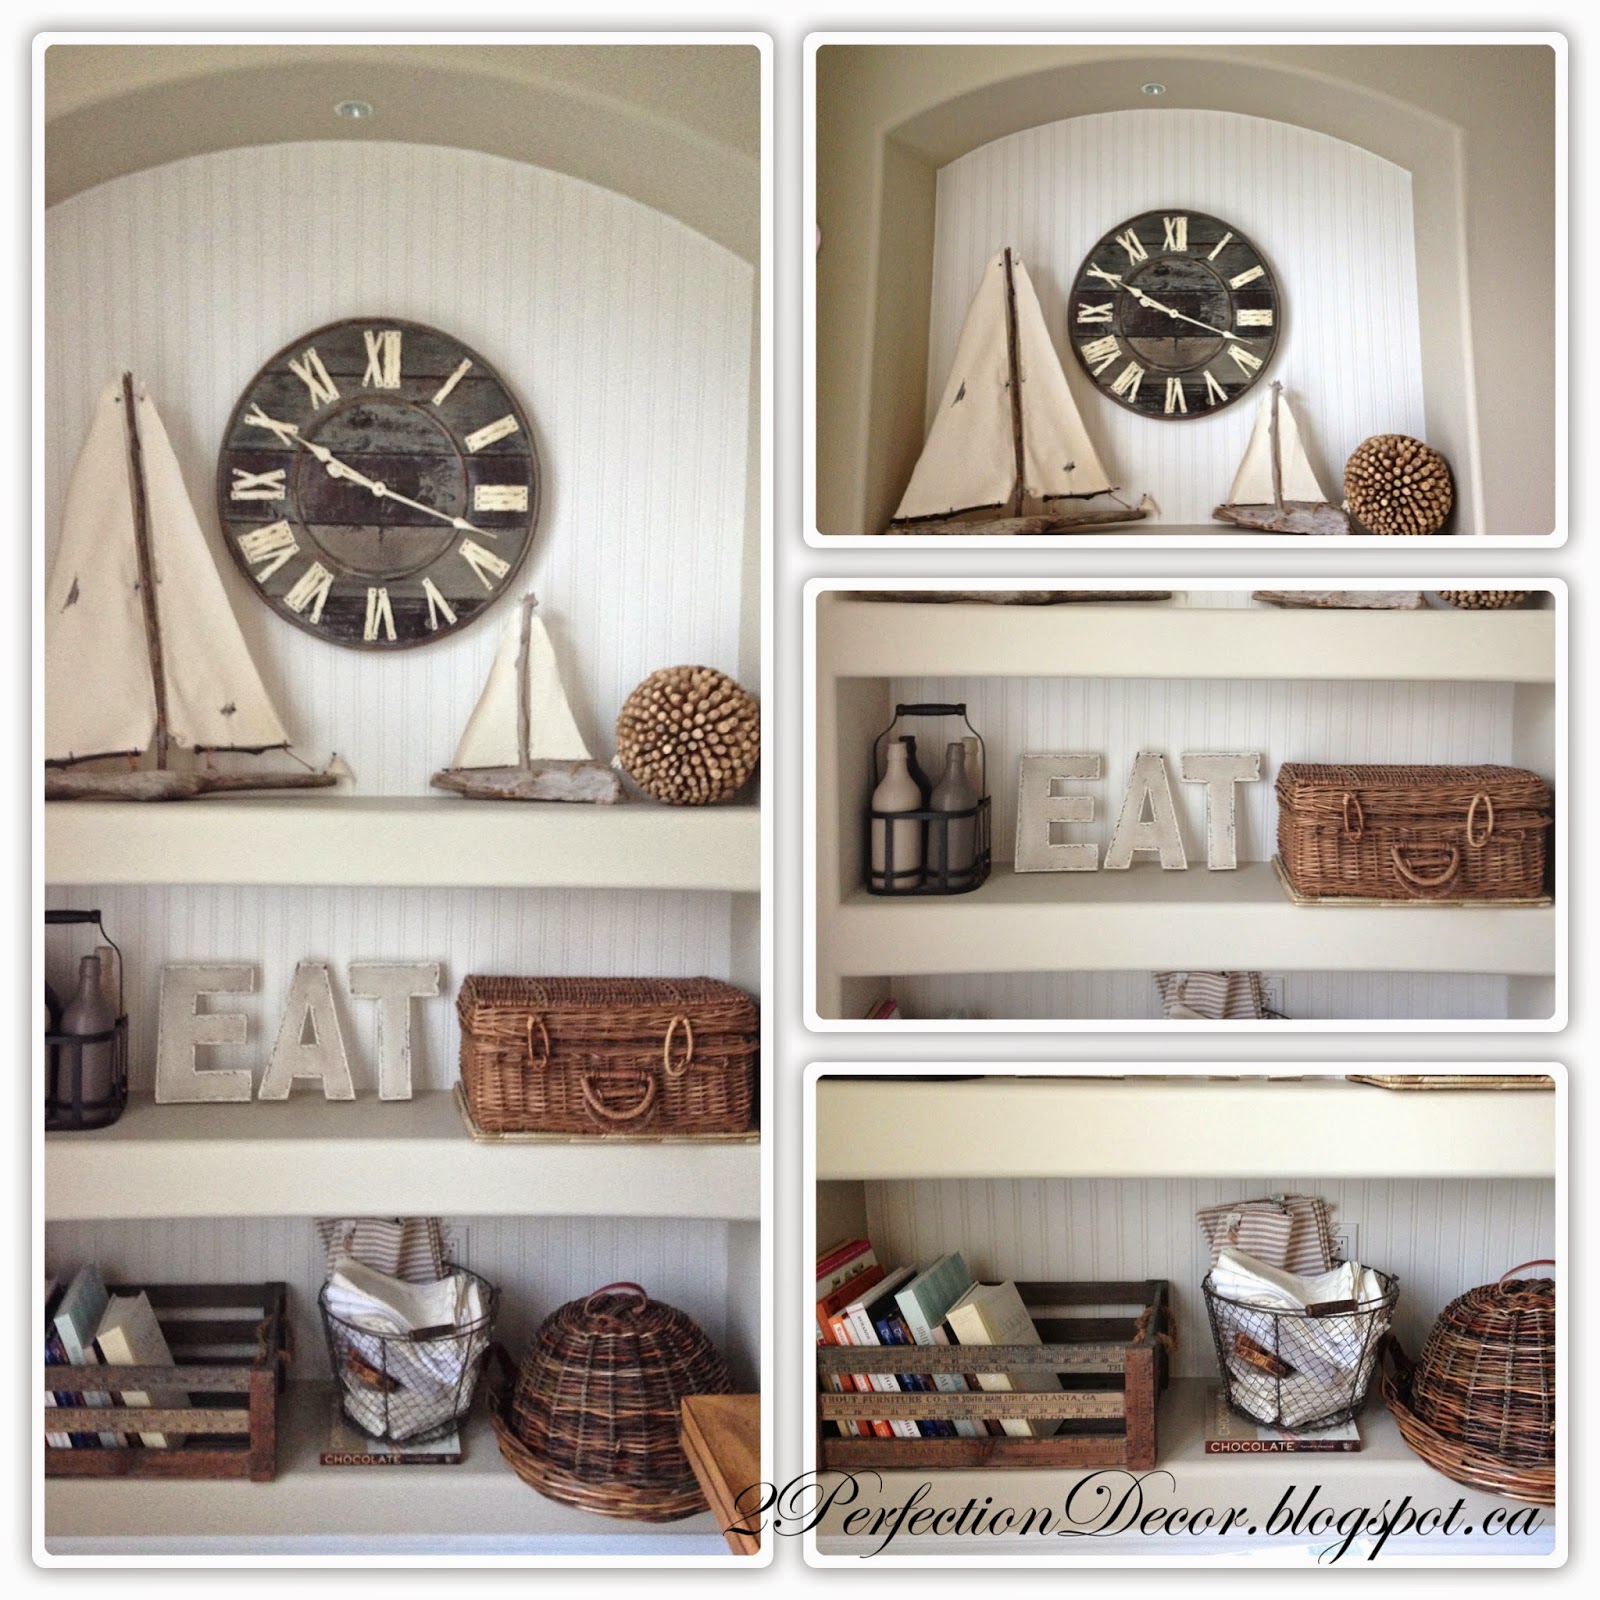
Here is our new Eating Area Niche.. Its a Drywall Built-in niche that came with the house.. We just spruced it up a bit... I Love the added display space it gave us.. So we decided we wanted to emphasize it and make it a focal point. We simply painted the walls a light neutral, BM Natural Linen and added beadboard wallpaper as the backdrop. We painted the Beadboard wall paper BM Cloud White and I filled in the edges with caulking for a seamless look. Then came the fun part.. Styling it!! We hung our wooden clock in the upper shelf area as the main focus. I paired the Wooden clock with two driftwood and canvas locally made boats with a driftwood ball from one of our trips to the the Bahamas.  My husband bet I could't fit in my bag .. If there is a will there is a way! :) I was determined to bring that baby home!!
Maison de Pax
Before: It was a Basic Drywall Niche.. Now it has some character. Stay tuned for the rest of Our Kitchen Eating Area Reveal 
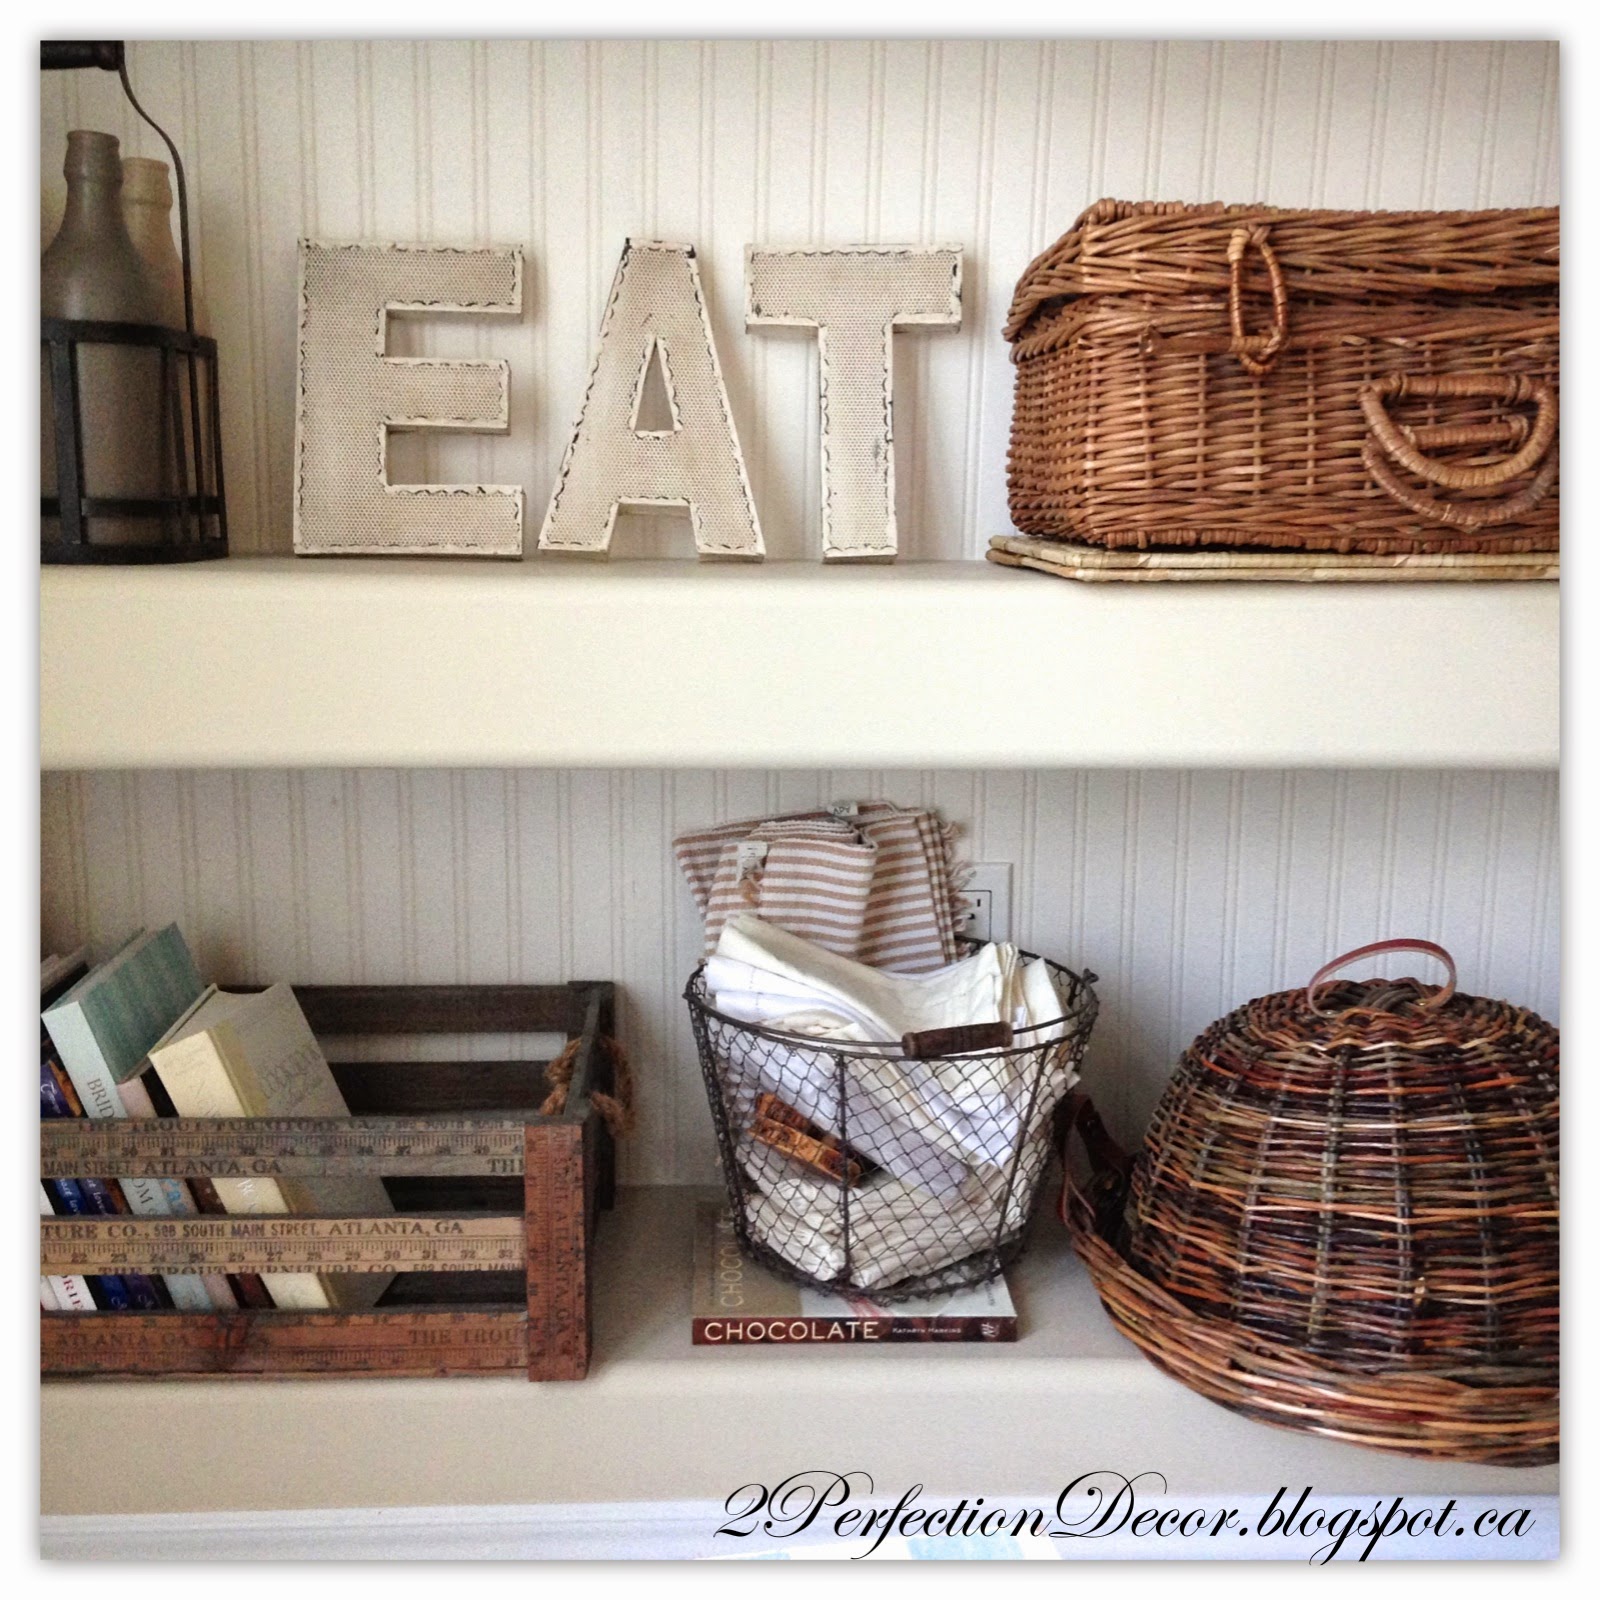
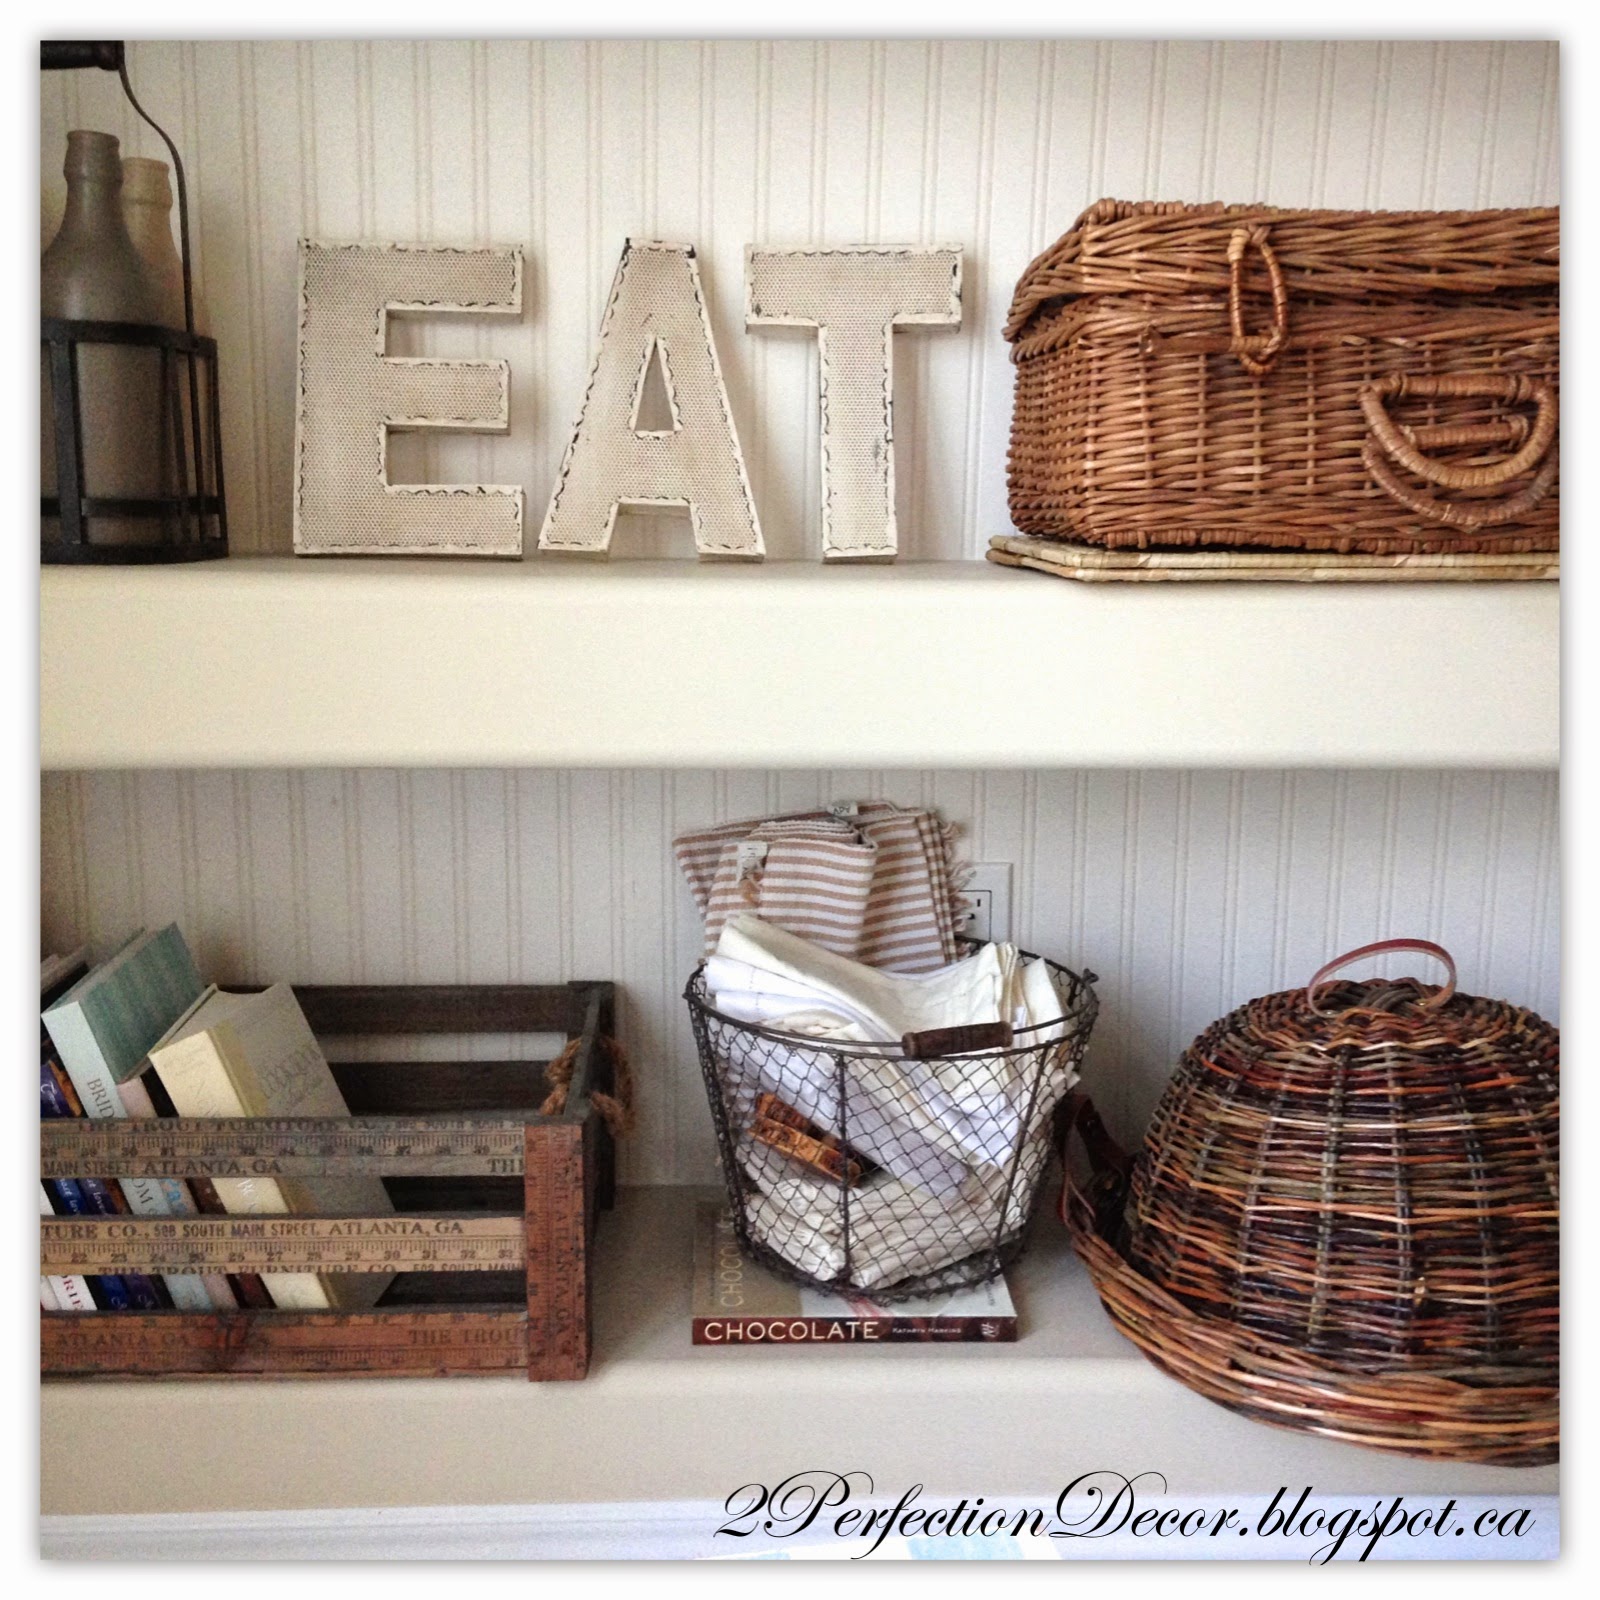
Displayed on the middle shelf I have the letters E.A.T leaned..The letters are vintage looking in a creamy metal mesh from Restoration Hardware Baby. Beside them is a Antique wicker Picnic basket that I got from The Christie Antique Show a couple years ago. It not only looks great but also acts as extra storage, It holds all my spare table runners. (rolled up on old paper towel rolls)
The bottom Shelf offers more storage. Its all about pretty ways to display Practical stuff.  I used our vintage wood ruler crate to hold all our cook books.. There's not many because I'm not a big cook.. But I have a few just in case I get in the mood ;). The chicken wire basket holds our extra cloth napkins, striped place mats and wooden coasters. The wicker food cover dome basket is new but has a vintage feel to it so is all flows together.


Thanks for looking.. See our full Kitchen Eating Area Reveal.

Shared with:
Savvy Southern Style - Wow us Wednesdays

Friday, October 3, 2014

Decorating with Dried Hydrangeas

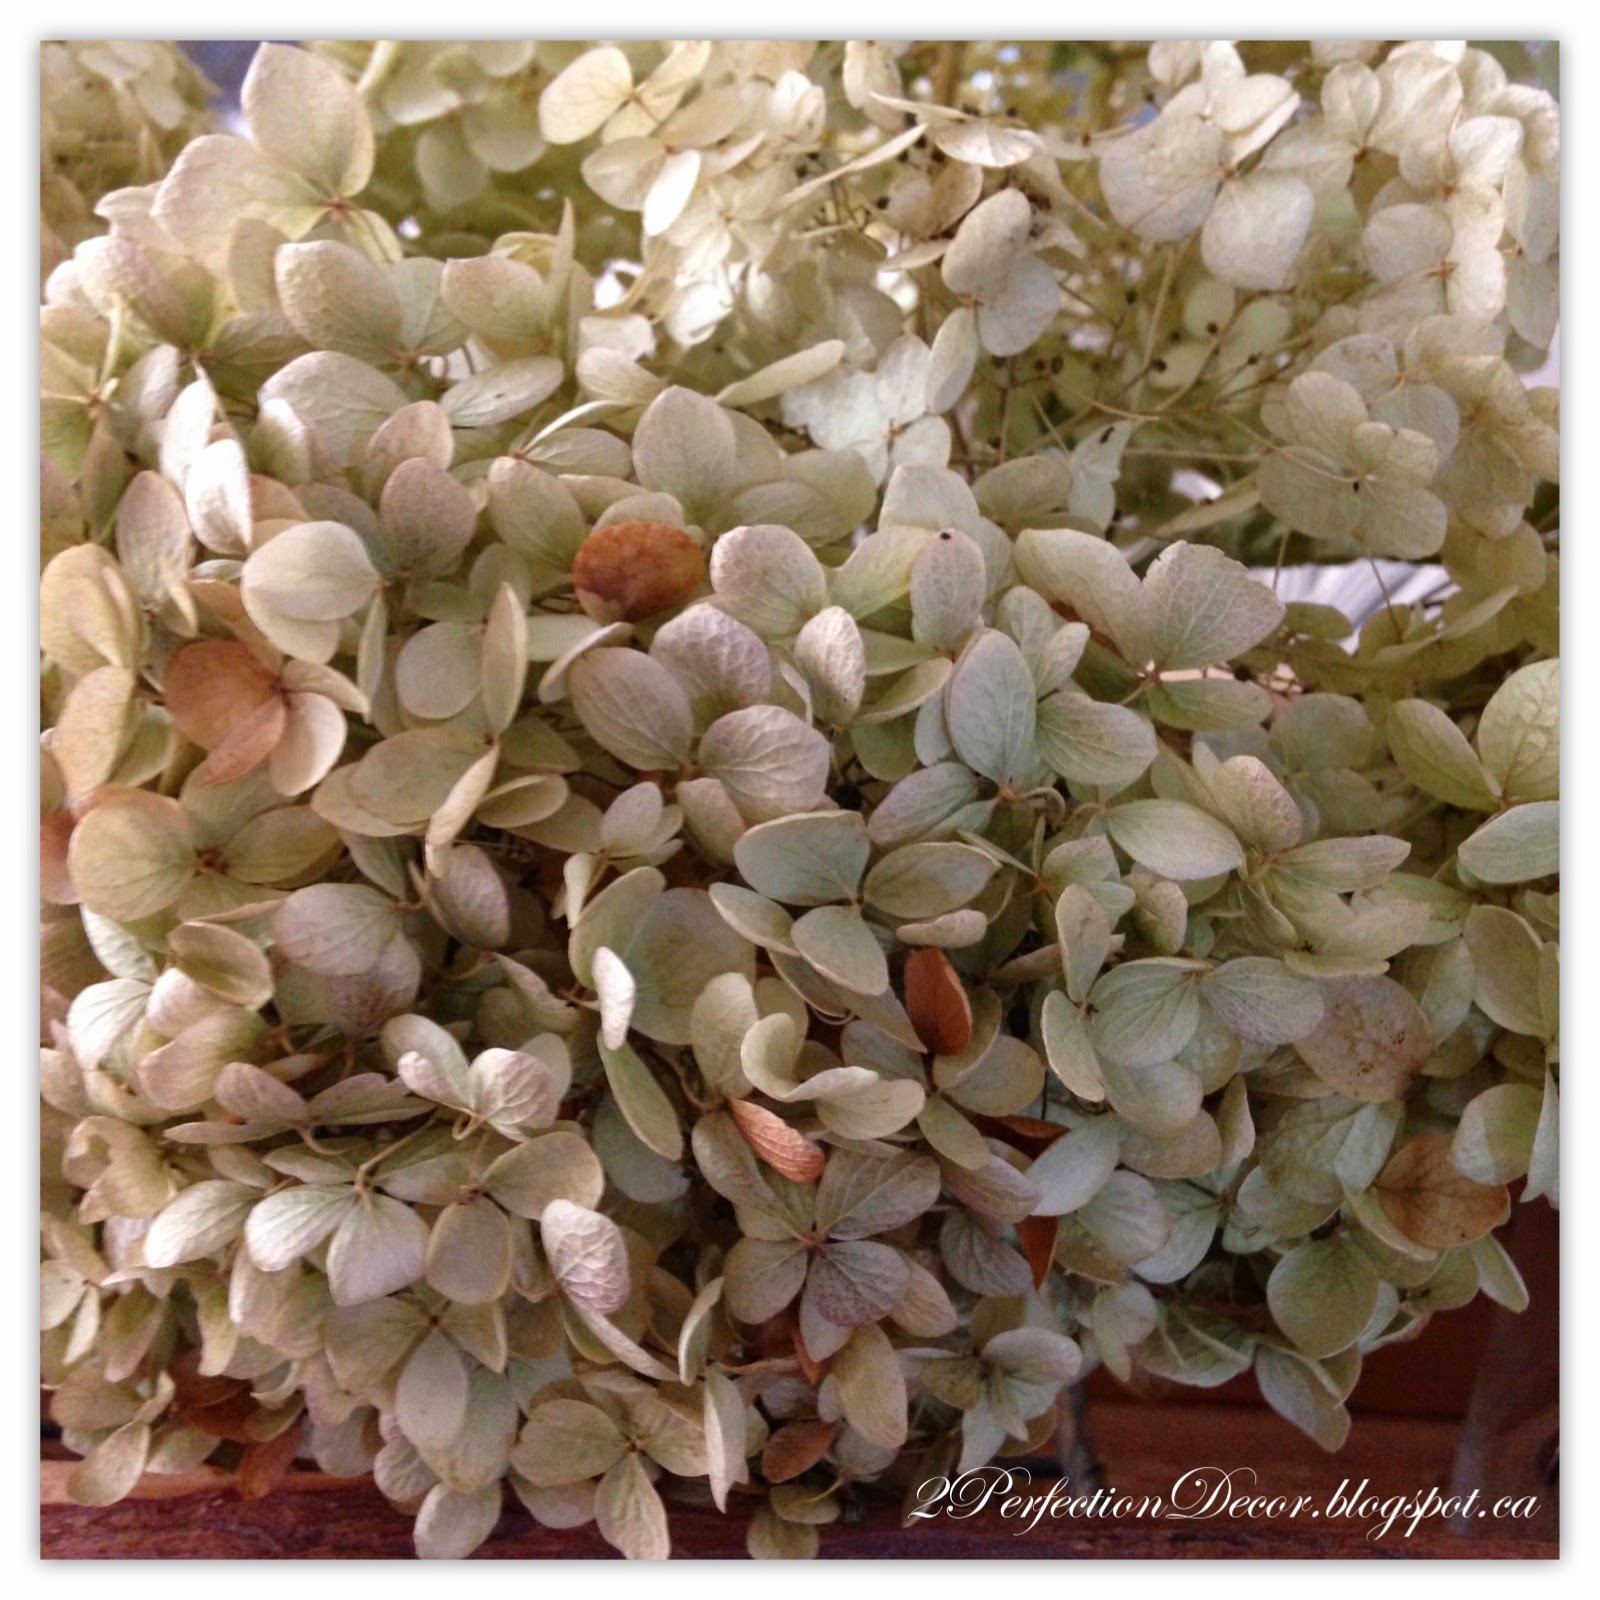
So I admit it! I am OBSESSED with Dried Hydrangeas! They are just so beautiful to me.. Hydrangeas also hold a special place in my heart because they were our wedding flower. I have them literally ALL over my home! I feel as though they are timeless and classic and look great for any season. The light Creamy ones are my favourite. Some flowers I have dried myself while others I have bought on EBAY. I Love them so much and have tried so many times to dry them on my own and they NEVER turn out. The only time they dried out perfectly is when I wasn't trying .. how sad!! I said before I am not a gardener or plant person.. I'm missing that green thumb! I just like Pretty!!

Shared with the Vintage Inspiration Party at Knick of Time Blog
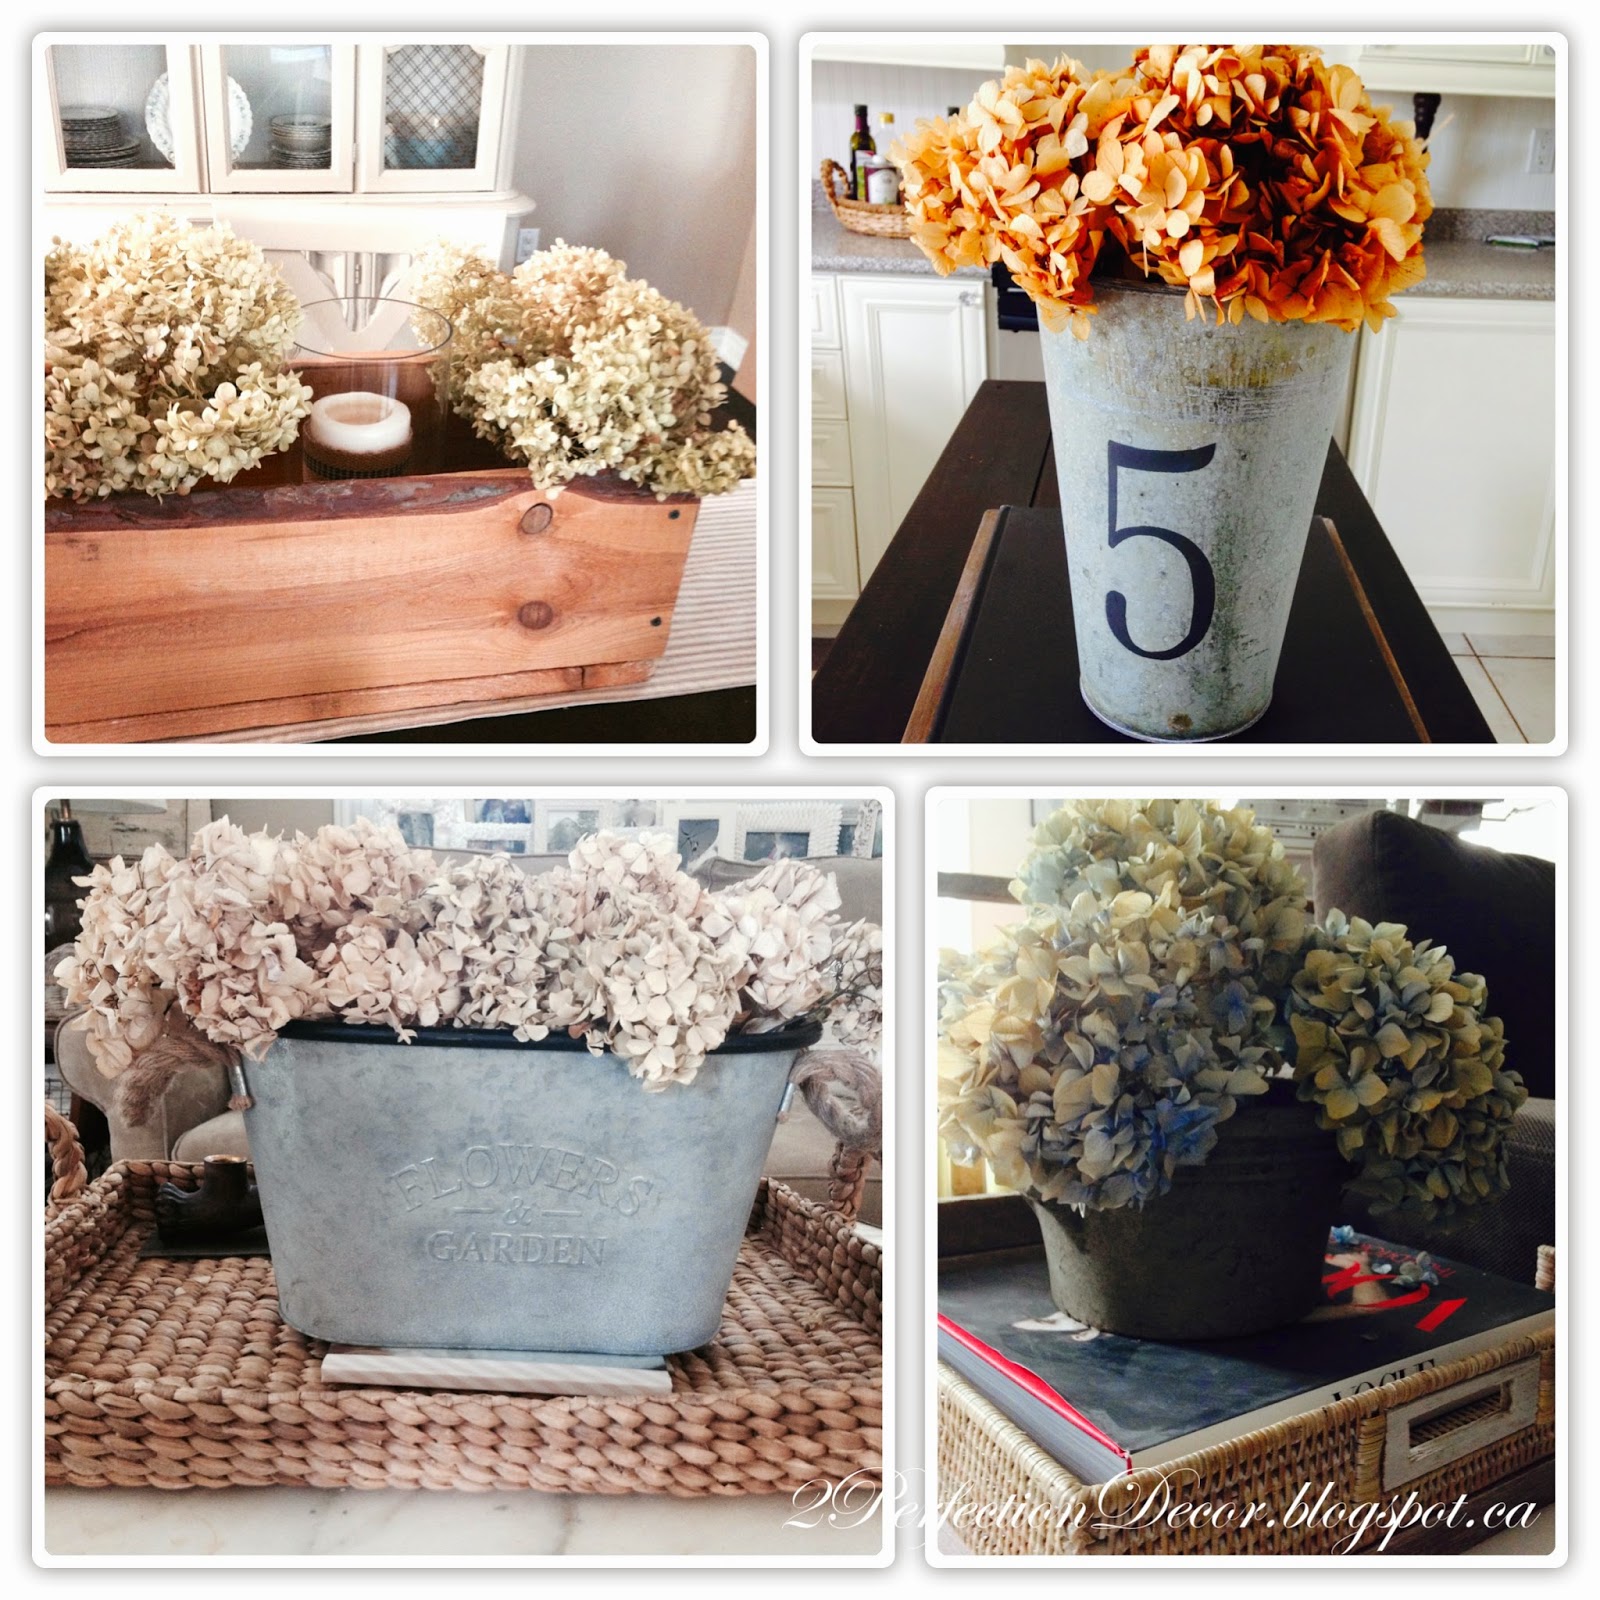
These are Hydrangeas from one of our previous homes Garden's.. They dried perfectly on the bush so I cut them off in Fall and placed them in the vase and they have been there ever since.. They even get special prevlidges in a box in my car during each of our moves so they don't get damaged! This is the best and fool proof way that I have found to to dry hydrangeas .. Wait till the end of season (end of August roughly) until the Hydrangeas are pretty much dry on the bush, then cut them off and hang them to dry for a few days upside down... then voila.. beautiful dried hydrangeas!!

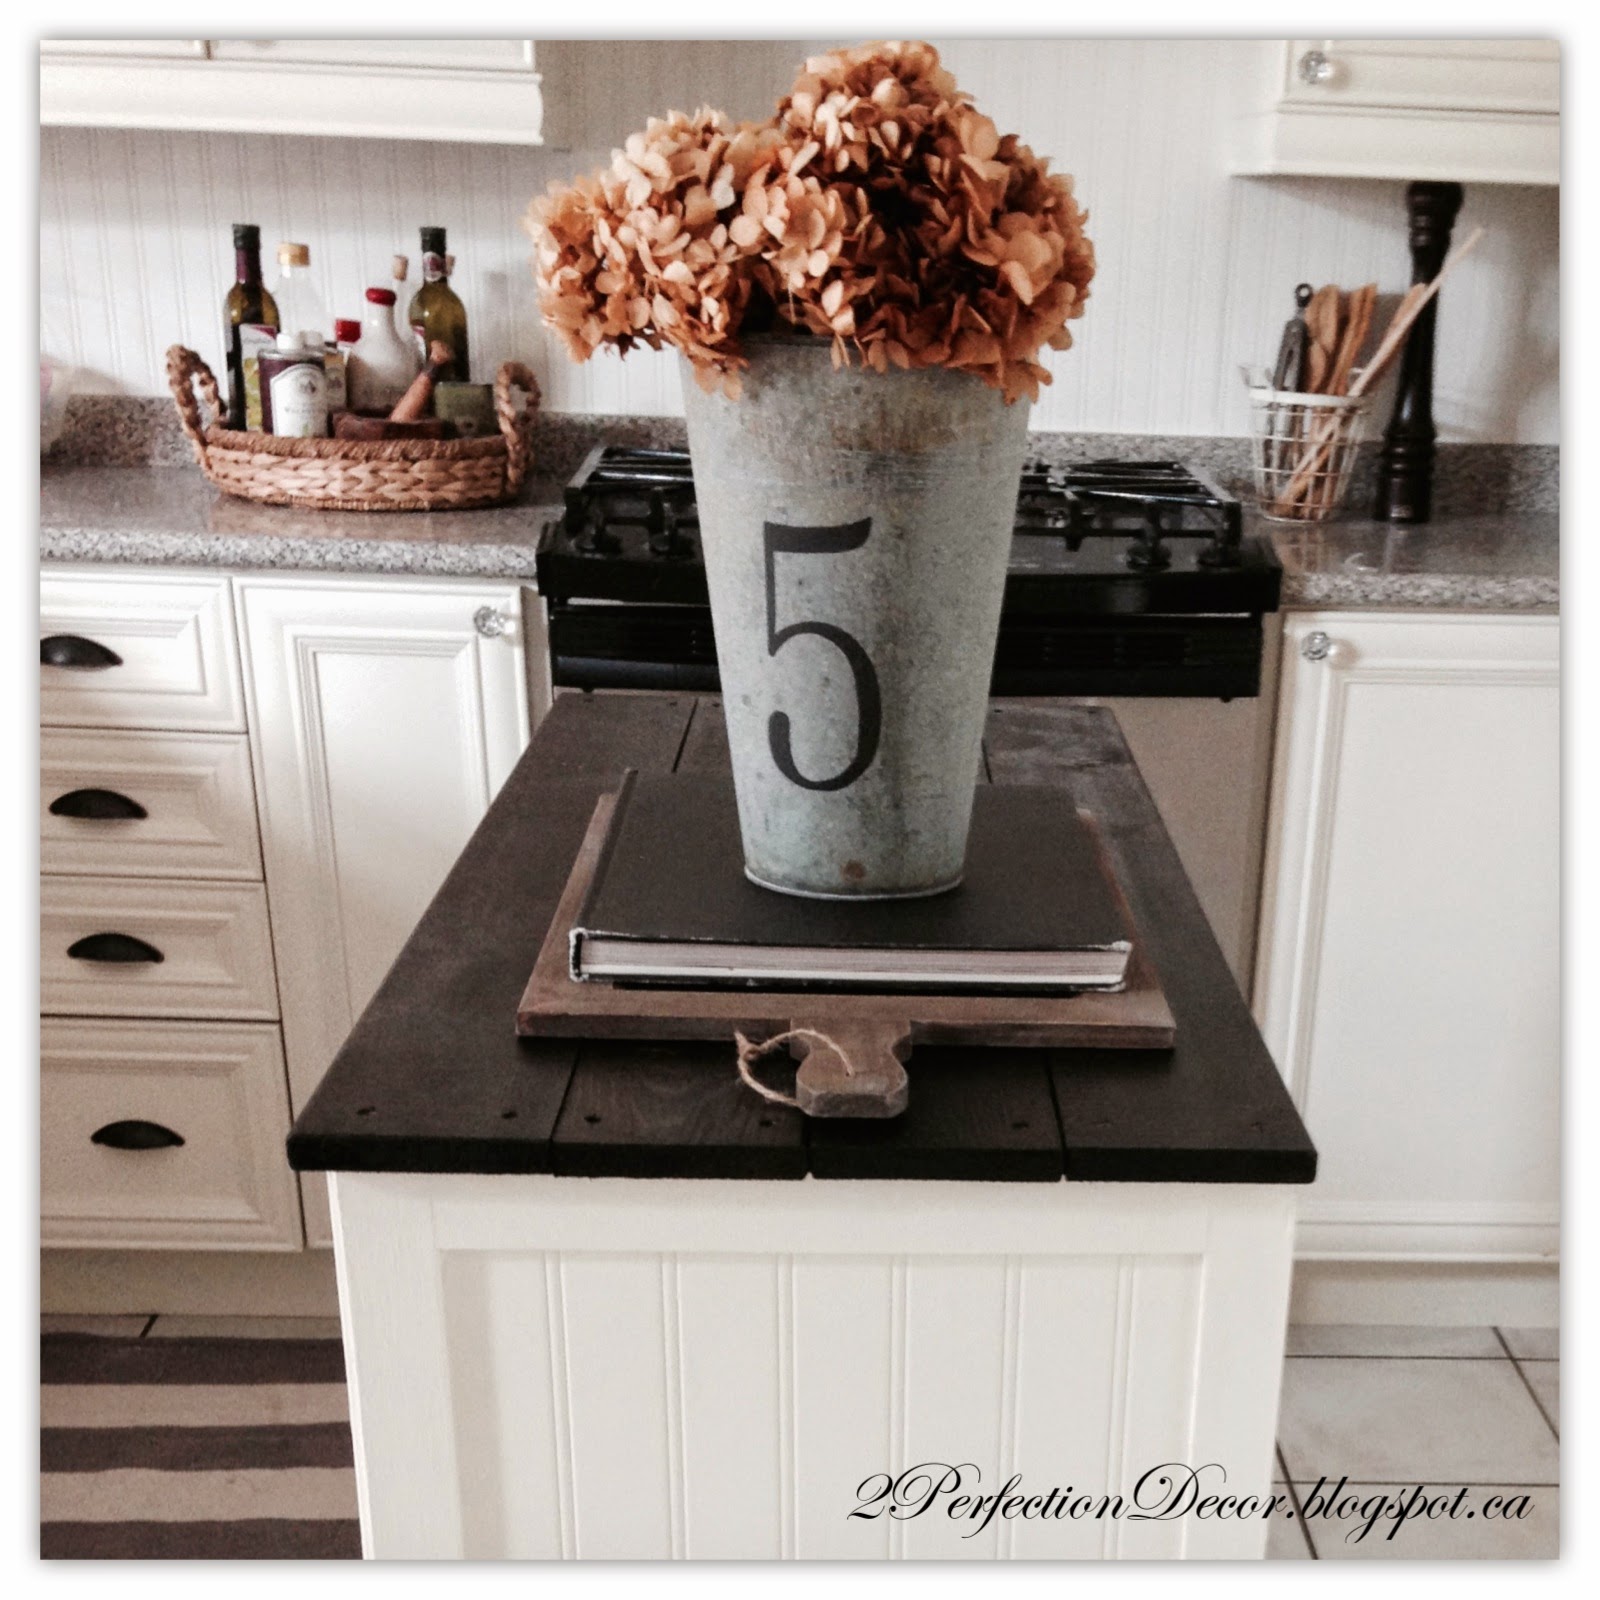
 In our kitchen we have a galvanized tin vase full of a dark caramel bouquet of dried hydrangeas. I recently bought at my local garden centre. They were 50% off so approx. $12  for the bunch.. They are nice and full in a unique darker shade, darker than I typically choose.. But since I have such a hard time drying myself I couldn't pass them up! And the colour looks great with all our Fall Decor.
These are my big slurge From Ebay.. I just love them.. Plus the shop has super fast shipping. I really shouldn't share my secrets as I am sure the bids will go up now :( But then again I guess I don't really NEED anymore! The flowers can get expensive but they are full and gorgeous and hopefully will last a very long time!! SO I felt the price was justified. ($32 was my winning bid for 14 flower stems.. plus $15 shipping.. Ouch!!! But what a BEAUTIFUL Investment!!)
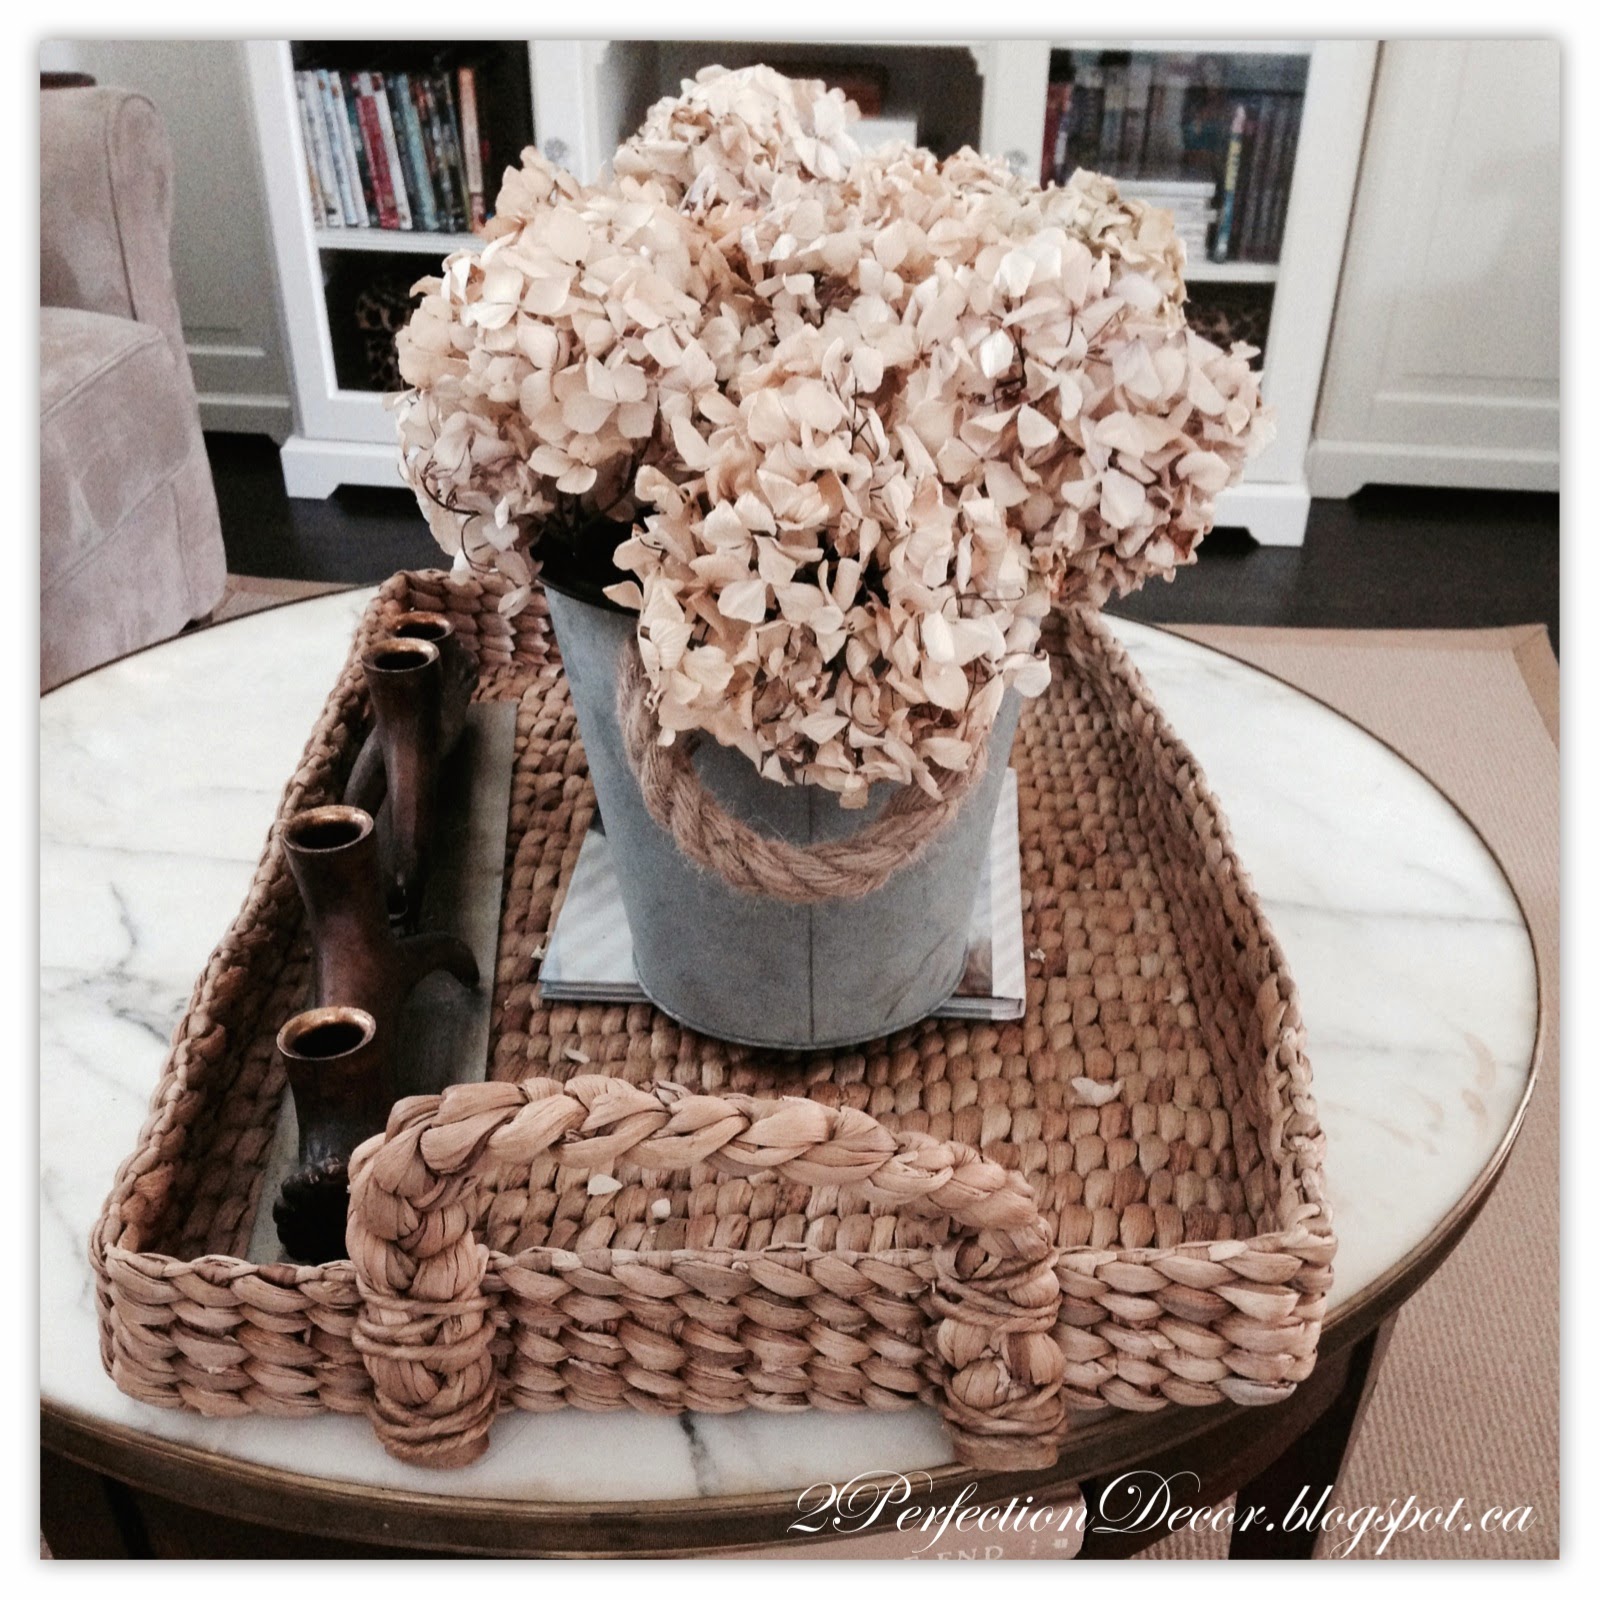
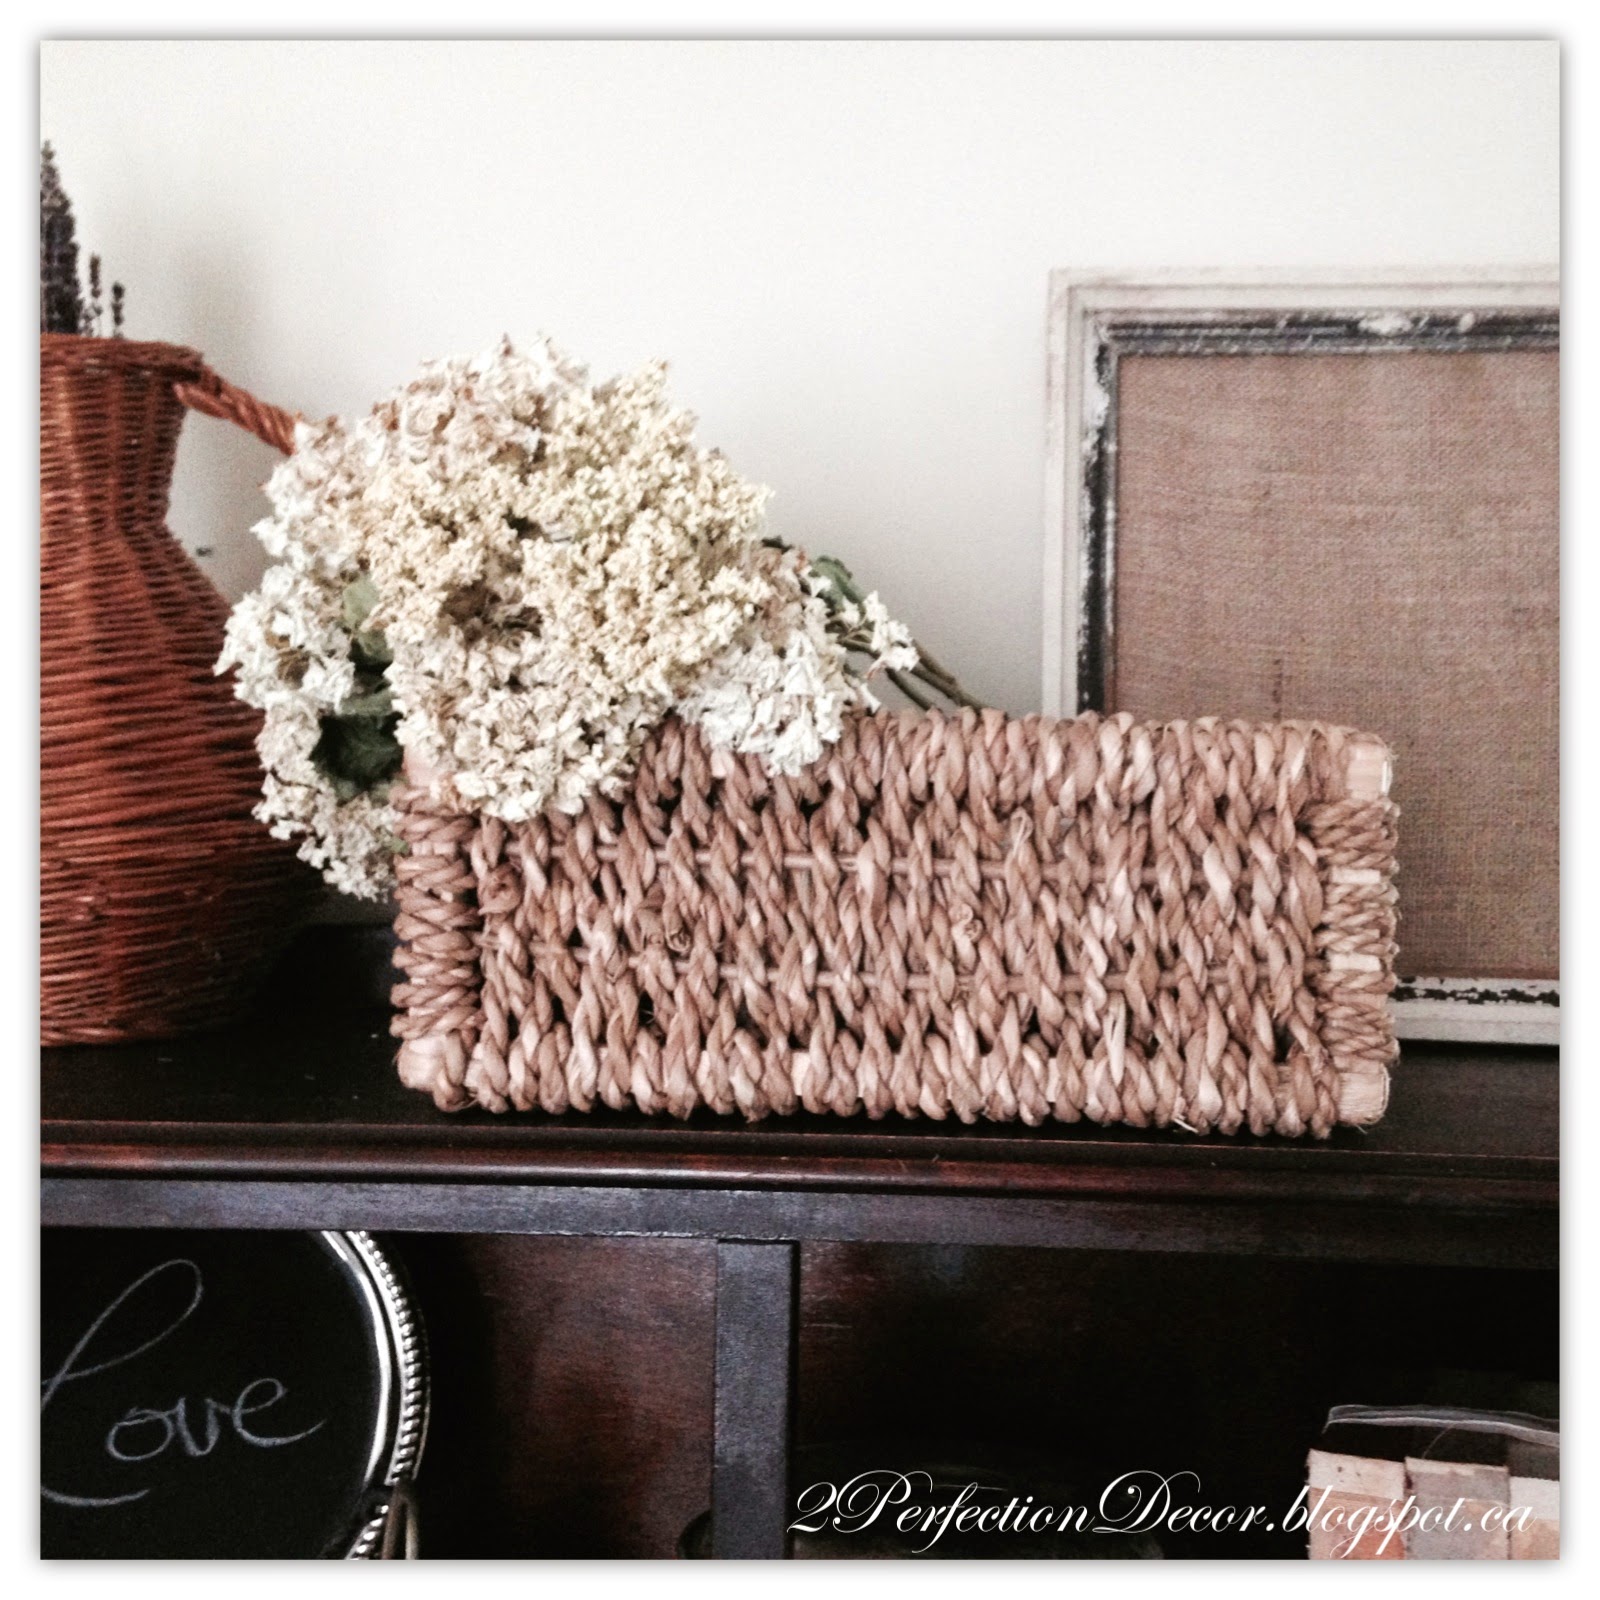
These are ones I dried..See the difference??? They are sentimental as they are from our Daughter's 1st Birthday Party..  But you can really see the difference.. Well at least I tried!! See why I need the Ebay ones!!... I love the look of laying Dried flowers in wicker baskets for a french relaxed look.
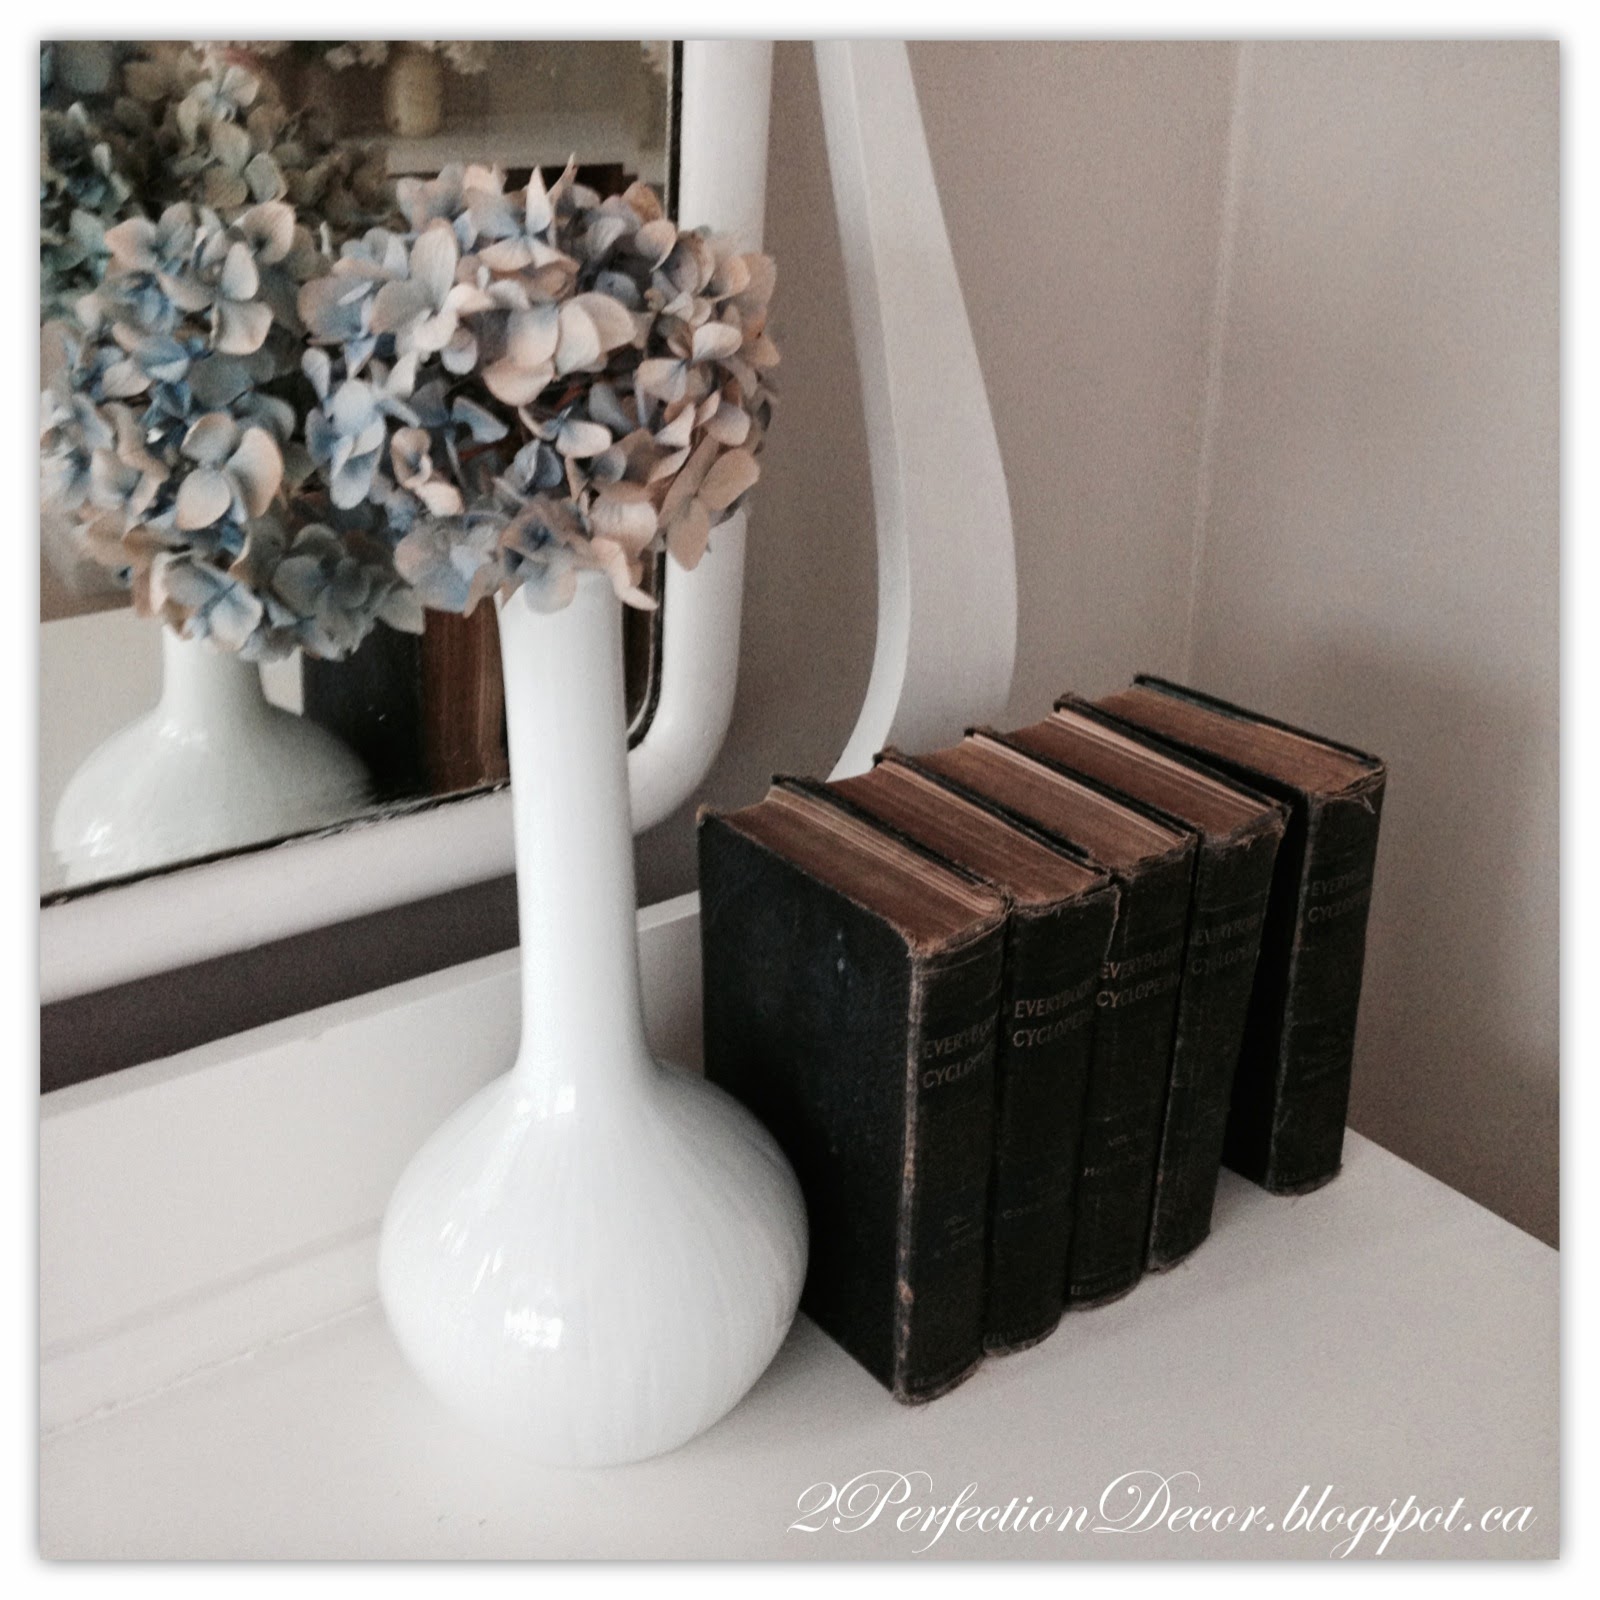
 Here are some blue and cream ones from Ebay as well.. I bought them originally for our Grey nautical themed basement and had some left over.. and since the guest room has a blue and white theme going I thought they would go perfect in our white ceramic vase, styled beside some Navy Blue Antique encyclopedias.
 Here is the full bunch of the Blue and Cream Dried Hydrangeas in a cement planter in our basement. The planter is currently on top of a designer book in a tray on our ottoman. BUT it may need to be switched up.. as our daughter has recently figured out that she can pull off the petals.. Yay!! ;(
Last by not least .. My favourite look.. Our Dining room centrepiece... It's a mix of some of my favourite things.. Cream Candles, light coloured dried hydrangeas, glass jars, burlap and wood. I placed the stems in little glass milk jugs inside this rustic wood box that I found one day when I was antiquing.. It was only $8, that's literally less than I could make one for! The dining room centrepiece also features Glass Hurricane vases with Cream coloured Vanilla Candles from Ikea wrapped in Jute webbing secured with Upholstery tacks.

Thanks for looking.. If you are interested in more decorating ideas follow me on Bloglovin


Wednesday, October 1, 2014

How to Transform a Vintage Desk/Console into a Kitchen Island

Well this is one of my favourite projects of ALL TIME!! Sooo happy the results so I couldn't wait to share!!
I picked up this console table/ Desk at my local Restore for $25. It was in really good condition, made of solid oak. It came with a drawer that was easy to slide, a door with a magnetic close and a nice open shelving area. I had a transformation vision right away...
 We added real beadboard to both the sides and the door, added a thicker base and furniture legs for height. The hardware got switched out to match our current kitchen. We added stained rustic looking planks for the top of the counter. And finished the project by painting it all in Annie Sloan Chalk Paint in Old White.
The new island is thin enough to not overpower our kitchen. Plus it allows for added storage which we SO needed. The Cabinet holds our pots and the drawer holds all our cutting boards. The basket underneath holds potatoes and onions.
The Before pictures.. The original piece was a Sturdy Oak Base, Heavy with a Black top.

The Future Counter Top: Cedar wood planks cut to over hang ever so slightly on either end. We also cut the width of the planks so that four planks could fit the top perfectly and evenly.
The door.. Don't you just love my weights ;) sometimes you need to get creative.. we Glued the beadboard down with no more nails glue.
I filled the original hardware holes with wood filler and then sanded it. Once we painted the door you could never tell a handle was ever there. I added a Crystal knob to the top right side of the door to match with the rest of the kitchen.
We added Beadboard to the sides of the island and then added 1 1/2 inch wood trim around the sides of the beadboard base to create a more polished finished look. We finished the look by filling in any holes with caulking. Before we added wood planks as the counter top we evened out the counter base with thin wood pieces.  
This is a before picture .. of our Mistake.. we added legs to the current base and it didn't work out.. the legs looked as though they were floating in the middle and looked ridiculous .. So we had a thick piece of wood cut at the hardware store for a base and drilled it into the current base/island.. Then used a ton of caulking to make it look as one ;) Then finally added the four 6 inch legs on the outer corners.. and it was the perfect island height at 36 inches.
See how odd it looked.. Oppsie!! ;)
When we switched the legs ;)
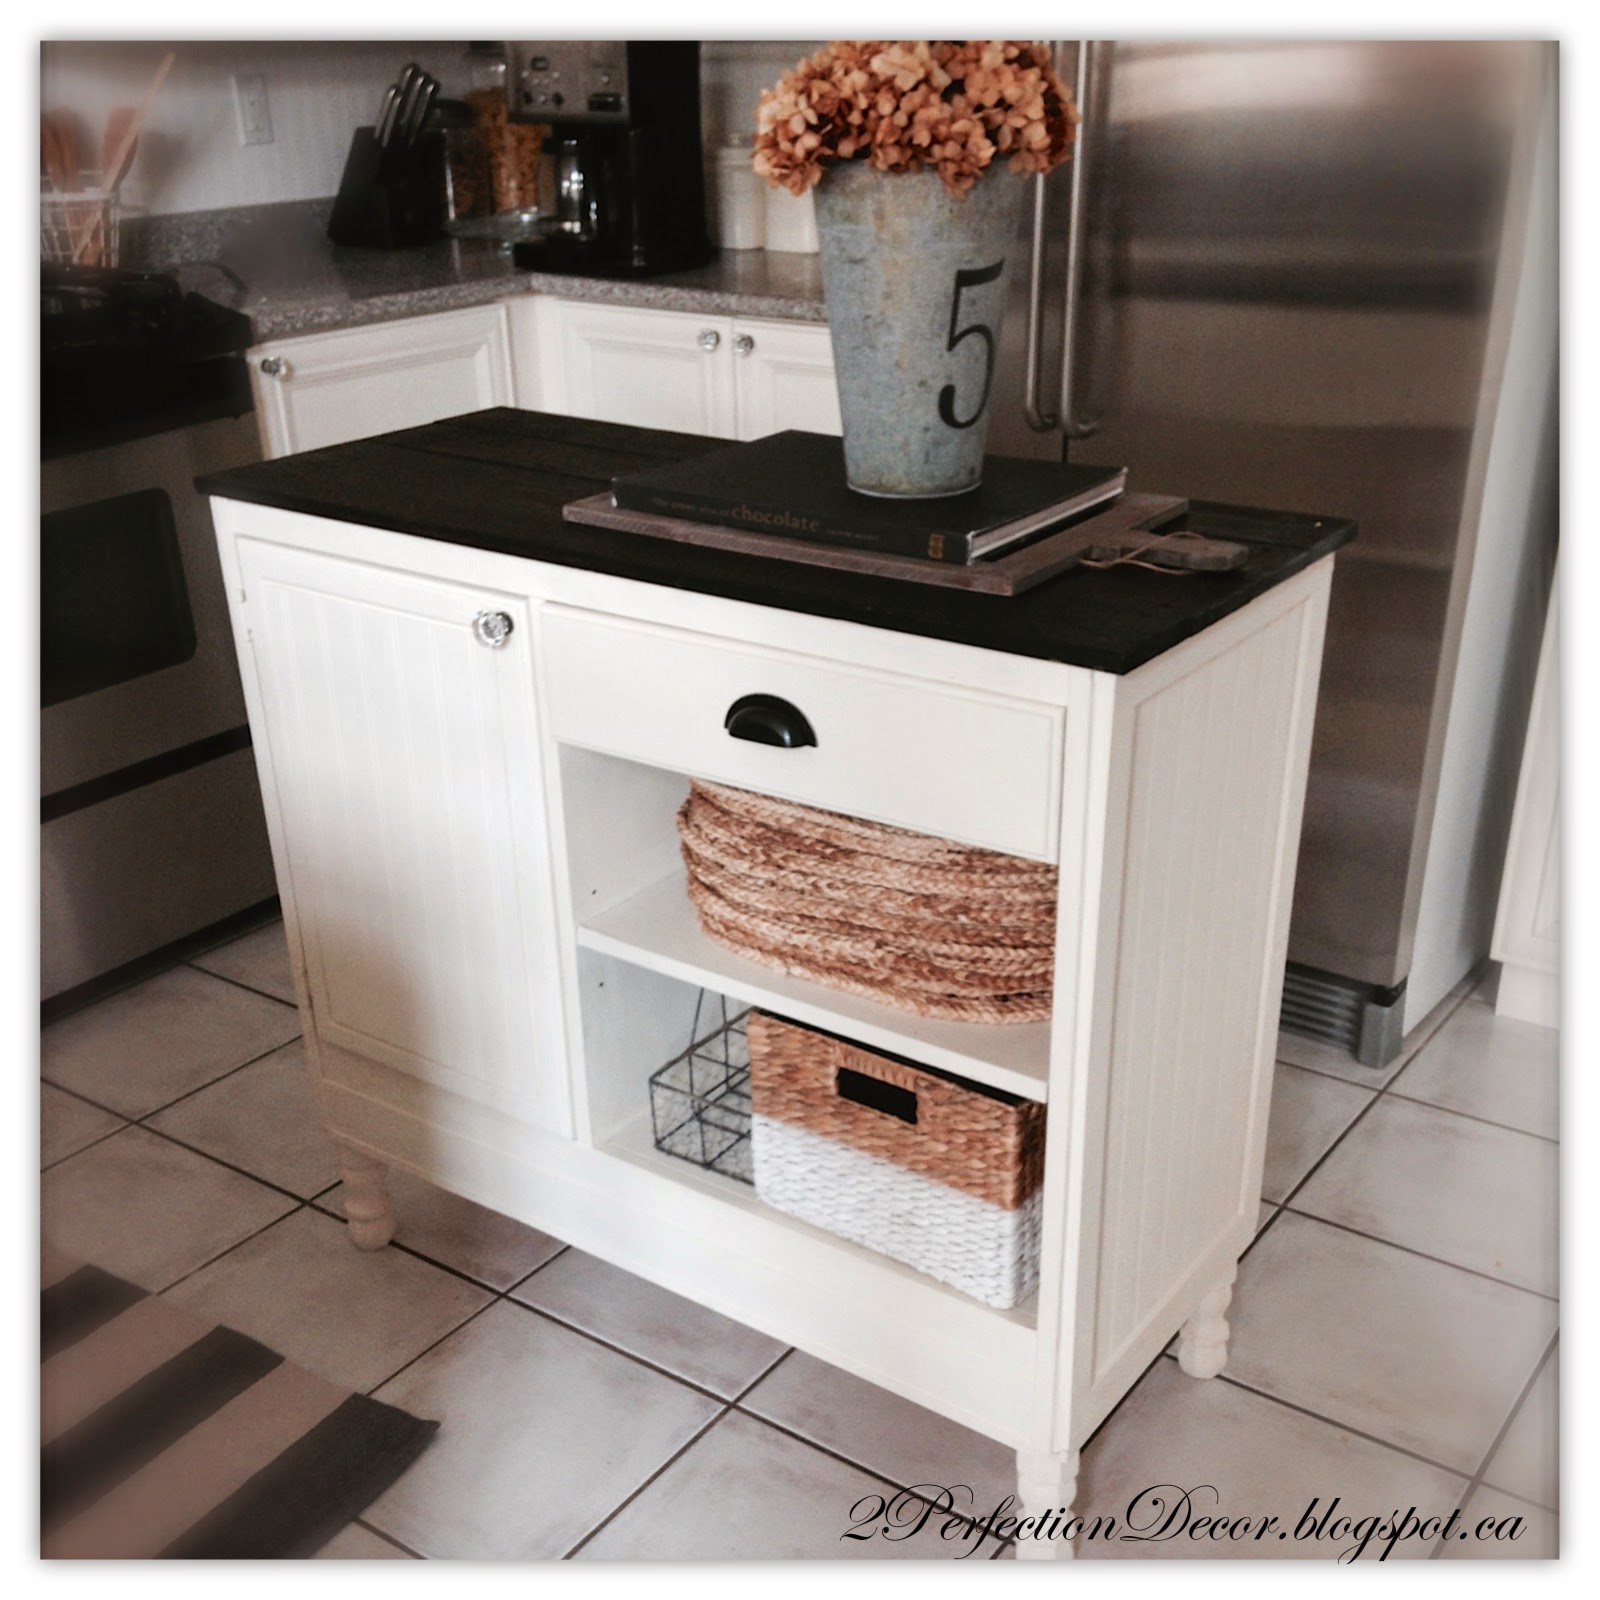
Completed Island View
Painted in Old White Chalk Paint by Annie Sloan
I styled the island with a wood chalkboard which looks like a vintage bread board and layered it with a large black Cook Book about Chocolate..yum.. The Galvanized tin vase on top holds our Fall dried Hydrangeas.
We added a protective wax to the Stained Cedar wood planks to add durability to our counter top. 
The open shelving holds our woven place mats handmade in the Bahamas, a dip painted basket from Homesense housing our Potatoes and Onions and the bottle holder which is from Joss and Main.. The chicken wire bottle holder originally came with clear jars.. but I am currently using them elsewhere.. so Instead I found these adorable little Gingerale Bottles.. AND they fit perfectly.

Thanks for looking.. You can see our Full Kitchen Reveal Here

Shared post with:
The Shabby Nest - for Frugal Friday
Silver Pennies - Sundays Link Party
Home stories A to Z - Tutorials and Tips
Funky Junk Interiors - Salvaged Junk
Miss Mustard Seed - Furniture Feature Friday
Remodelaholic - December Link Party

Don't miss a post follow me by Email or Bloglovin
Linking to the HOST