01
Showing posts with label shabby chic. Show all posts

Saturday, July 15, 2017

Antique Bench makeover


I'm back! I'm so sorry, I've been M.I.A on the blog for a little over 2 months now.. I've been posting here and there on Instagram.. but honestly I have just been crazy busy with my family and kids but I'm going to try to find a better balance.. between the blog and the fam!! So today i wanted to share one of our more recent makeovers.. Our daughter is 4 now and shows a lot of interest in decorating so I got her involved in this project .. after all it is her bench! The once pastel yellow farmhouse bench sits under her bedroom window.. It was very worn yellow, painted in most likely in lead paint due to age ..so I did a little research and read as long as you don't sand it and you just cover over the lead paint, its fine.. so off to painting we went :)  ..

Thursday, July 7, 2016

Toddler Girl Cottage Chic Bedoom Reveal

As I am posting this I can't help but think of how surreal this all is.. My baby girl is getting so big!!! She's not a baby anymore... She's a full grown toddler!! She's potty trained, goes to school..Oh my gosh she is growing up way too fast!  As you can see I've decorated her room very girly :)  so I can basically live all my shabby chic dreams through her..well till she wants to cover her walls with boy bands that is... oh the days when I had Backstreet Boys and J.T.T on my walls ;) 

Sunday, July 19, 2015

Our Summer Living Room

The blue theme continued throughout our main floor into our Living room.. not sure if its my little guy growing inside me that's making me go a little BLUE CRAZY! But I like it! I have always loved soft aqua blue's and greens so I ended up using a lot of decor items from our old guest bedroom A.K.A baby James future nursery.. So its nice that my pretty decor items had a new home to go to.  See our full living room reveal below..

Monday, April 27, 2015

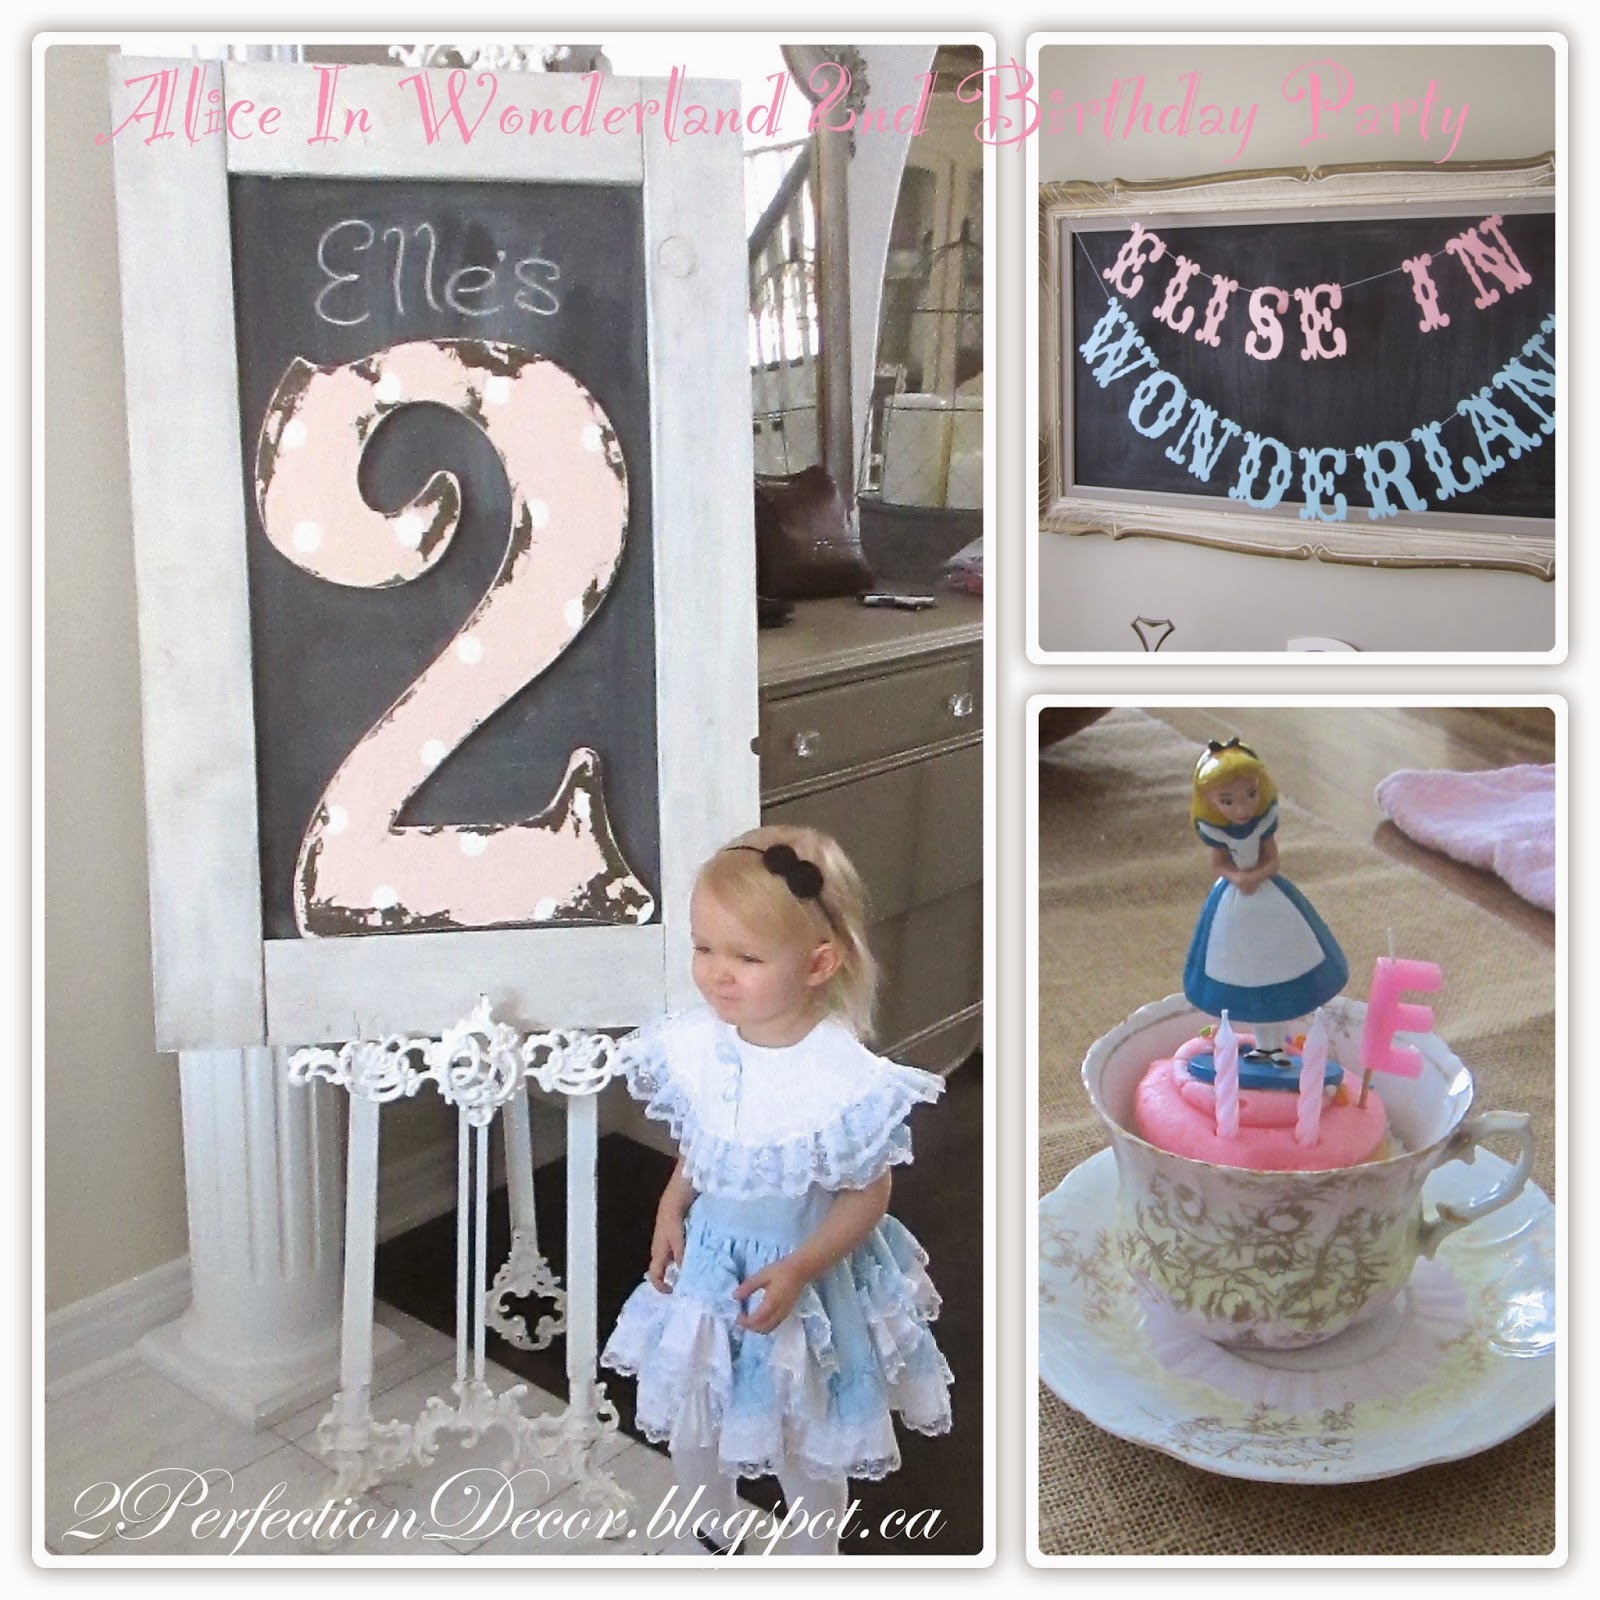
Alice in Wonderland Themed 2nd Birthday Party!

 Our daughter turned 2 a few weeks ago.. It's so hard to believe how fast time flies... Just after she was born I was shopping on Etsy.. surprise, surprise .. And found this great blue and white ruffled dress in a size 2. Right then her 2nd Birthday theme was born! I just knew I had to have it for her. I really didn't know much about Alice in wonderland until I started planning this party.. I recently watched the movie to get some inspirations .. Lets just say this is a simplified, pastel, girly version of the Real 'Alice in wonderland'. The next thing I just had to have was this great personalized cut out banner.. I have been holding onto these items for over a year :).. so as much as this was a party for my daughter it was Mommy's vision and party planning coming into fruition. See all the details below...

Friday, March 6, 2015

Girl's Playroom Reveal

Here is our daughters play haven...It is a smaller room just off our basement Family Room. Anyone following me knows I love my neutrals and whites, This is the one true spot where the more colour the better ;) Our daughter is the most important thing to us so we wanted to give her a space to remember.. When I was younger I had a playroom and I remember all the fun I used to have with my sister playing dress up or kitchen. See how we created a special room for our Daughter Elle. 

Wednesday, January 14, 2015

Guest Bedroom ~ Soft Blues & White

This is one of our guest rooms on the upper floor. We currently live in a 4 bedroom home, with only 2 of the bedrooms in use by myself and my husband and the second by our daughter.. But don't kid yourself.. we NEED every bit of space, we live more up north and in the summers our house is packed with guests... you may have guessed it, we have a POOL!! We are like the summer cottage you drive to.. only an hour from the city :) I always try and make all of our rooms beautiful but also livable, I want our guests to feel at home when they come. This bedroom came with california shutters when we moved in which was a nice clean touch.. overall we didn't do too much to this room aside from paint it Benjamin Moore Edgecomb Gray and replace all the old carpet to fresh new neutral one. Now the room is soft and calming with a white and touches of soft aqua and pastel blue. 

Friday, December 5, 2014

Fav's Friday ~ Girly Inspiration

So here is what's caught my eye this week.. It's all about Girls.. I only have a daughter so I have to admit I am a bit biased at the moment..  I just LOVE Pretty, Shabby Chic, Girly ideas.. See below for some Girly Inspiration!!

This is a post from Design, Dining and Diapers.. It's a Little girls reading nook. I have a young daughter and just know she would love this space.. heck I love it.. don't you wish you had a room like this when you were little??? Be sure to check out Taryn's Blog for more Pictures and Details!


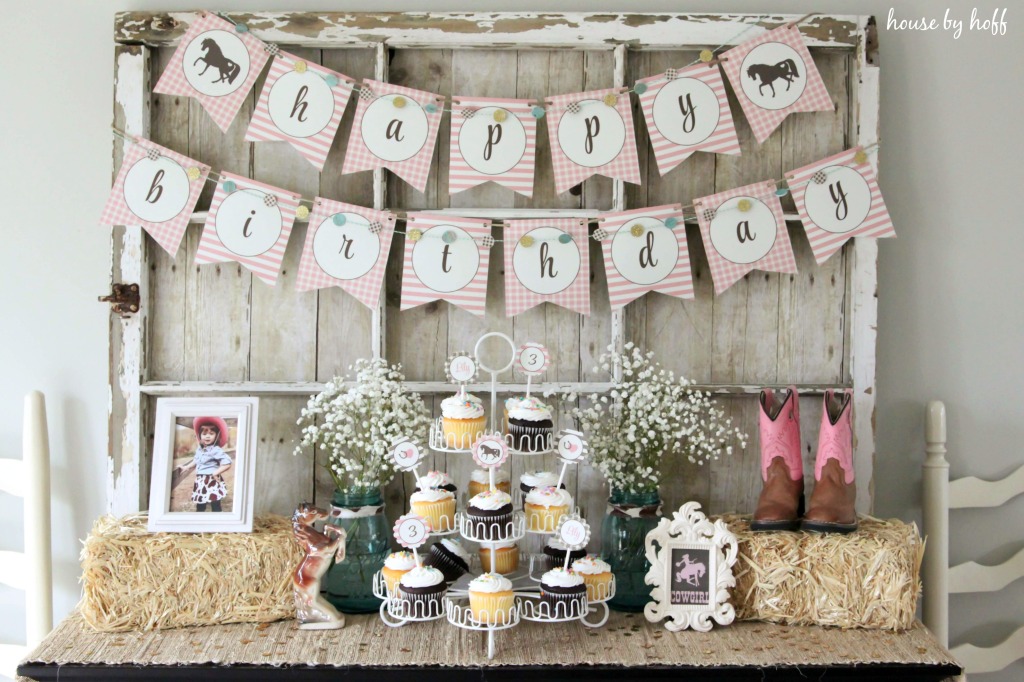
I love this Girl's birthday theme.. I can't wait to do this theme for our daughter within the next few years! It's A cowgirl Birthday Party. April has amazing home decor taste and same goes for her Party planning. Check our her blog for the FULL details at House By Hoff

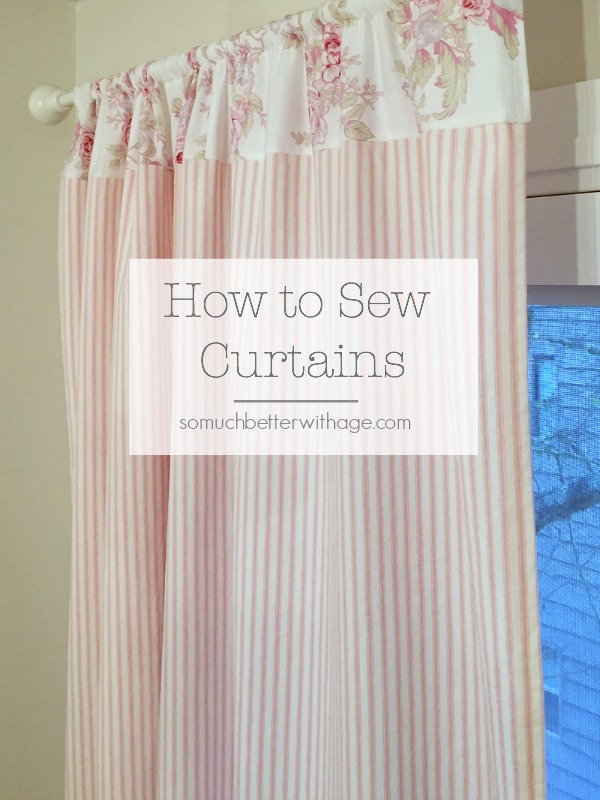
Lastly this is a really cute and easy way to sew your very own beautiful curtains to go with your Shabby Chic decor. I just love the two tone look by mixing the patterns. Who doesn't love a great ticking stripe? Check out Jamie's Blog at So Much better with age for a full tutorial on how-to sew these curtains for yourself.
.

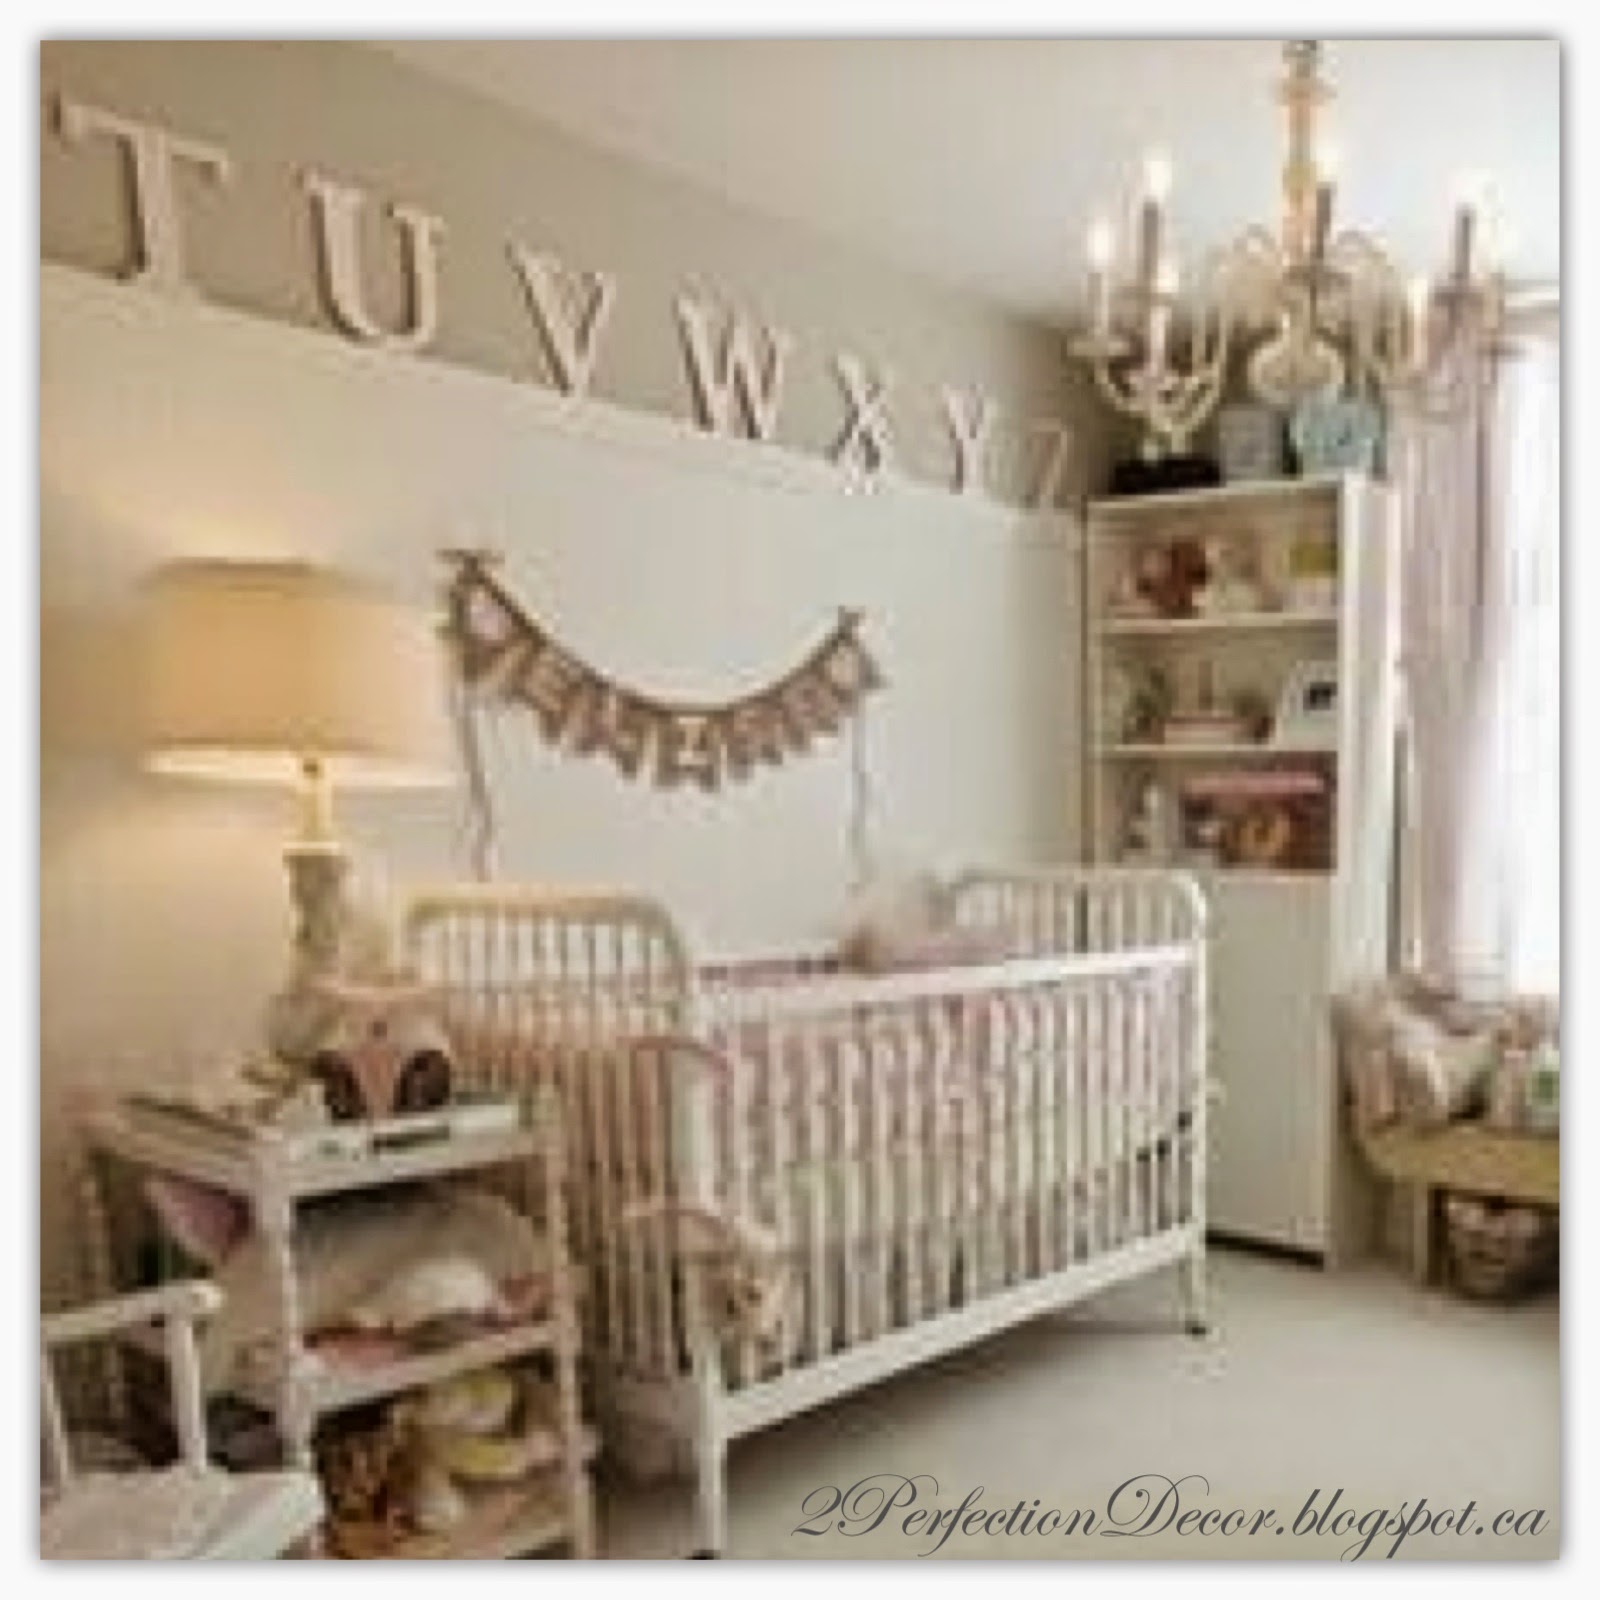
Since we're on a Pink theme.. You may like our daughter's Shabby Chic Nursery!

If you missed Last week's Christmas Fav's You can see them HERE

Check back every Friday for my Latest Fav's!

Don't Miss a post... Follow me by Email or Bloglovin!

Monday, November 3, 2014

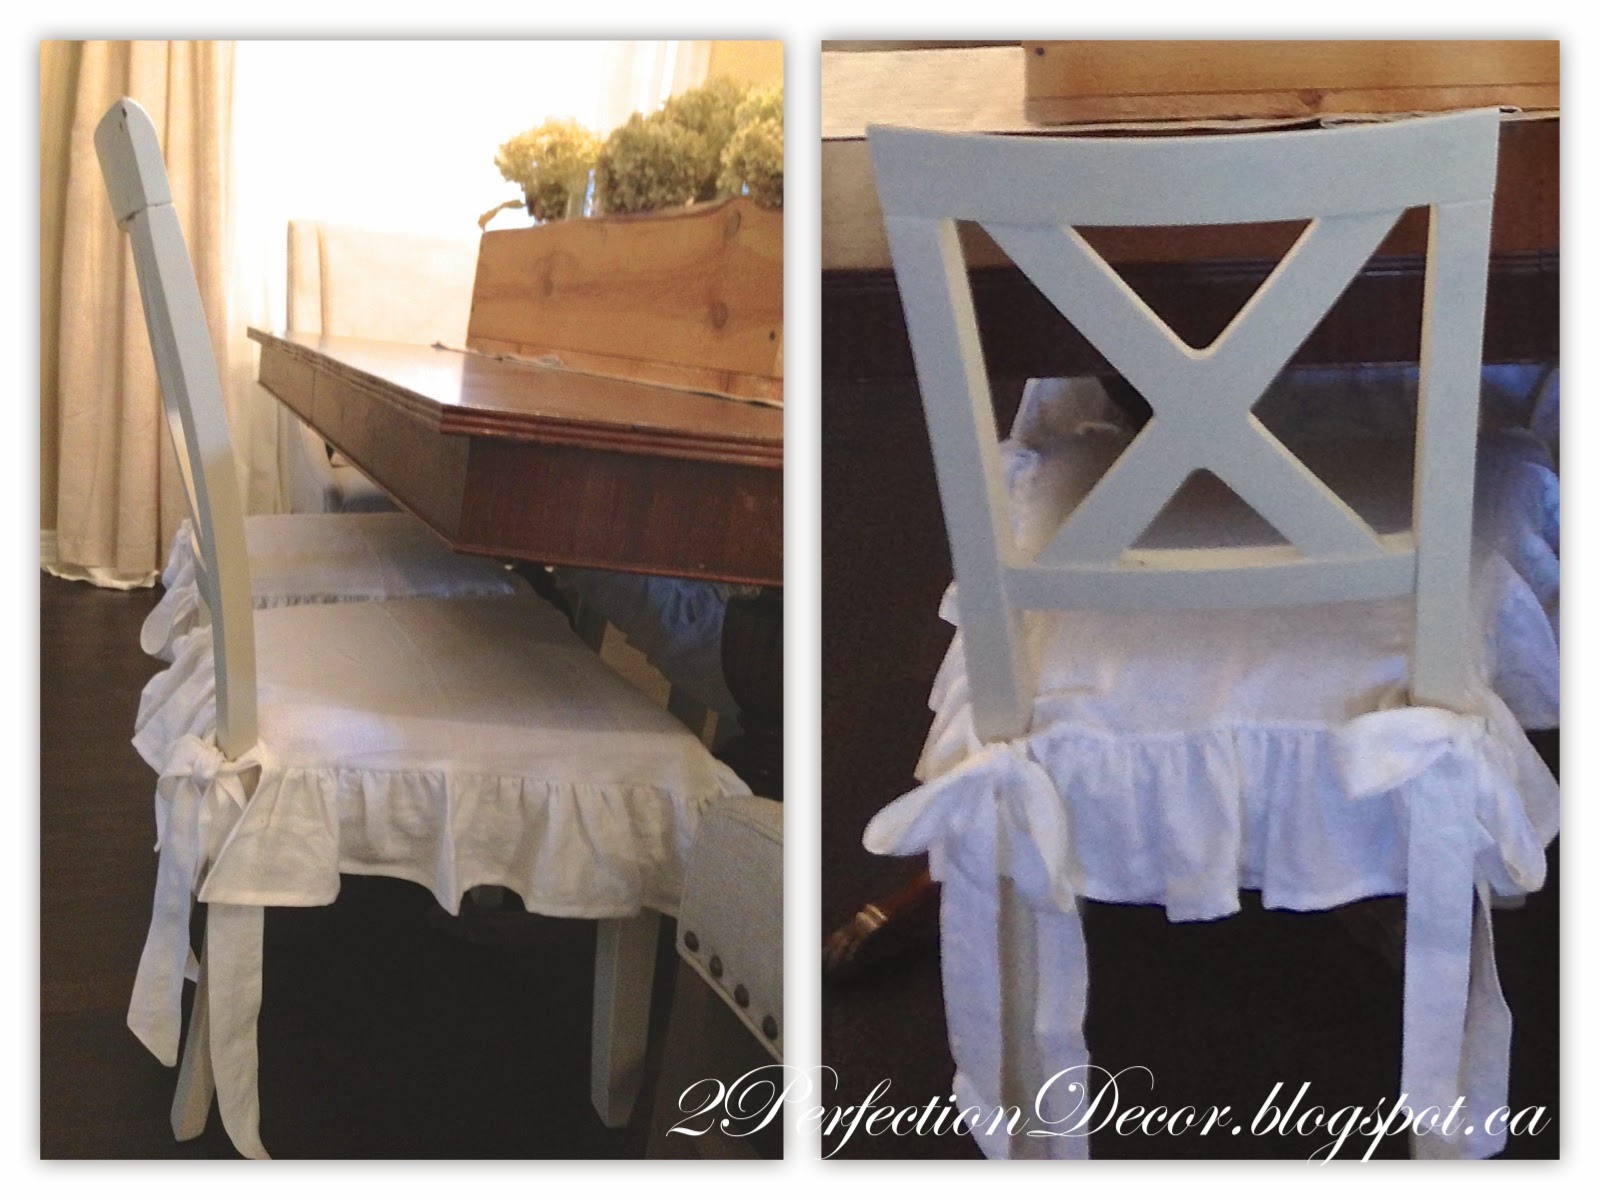
X-back Dining chairs Makeover - With white Linen Ruffled seat covers

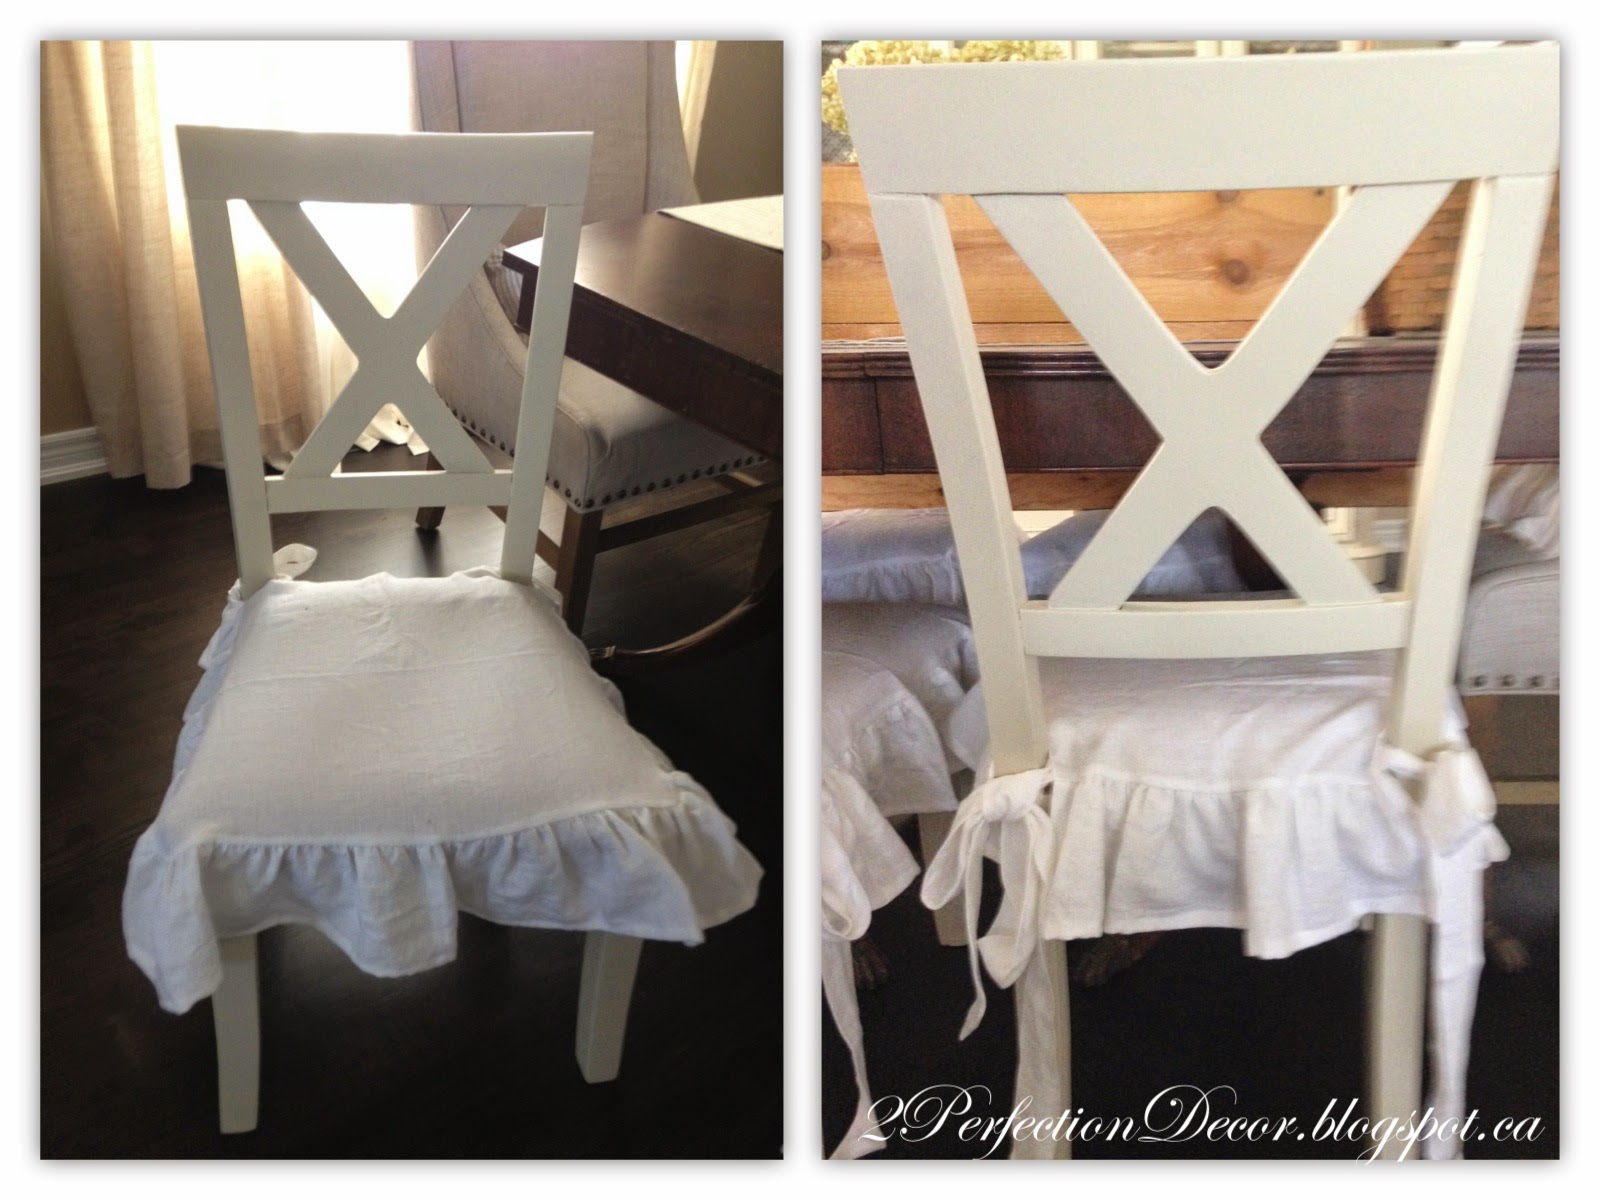
Another Kijiji find.. 4 vintage chairs for $80. You really can't go wrong with sturdy chairs for $20 a piece! I Really liked the x-Back style but hated the RED paint! It's a little too farm house for me. The first thing I did was remove the seat cushion so all I had left was the wood base. Then I painted the chairs with a primer and 2 coats of BM Natural Linen paint. I wanted a softer, Shabby Chic look.
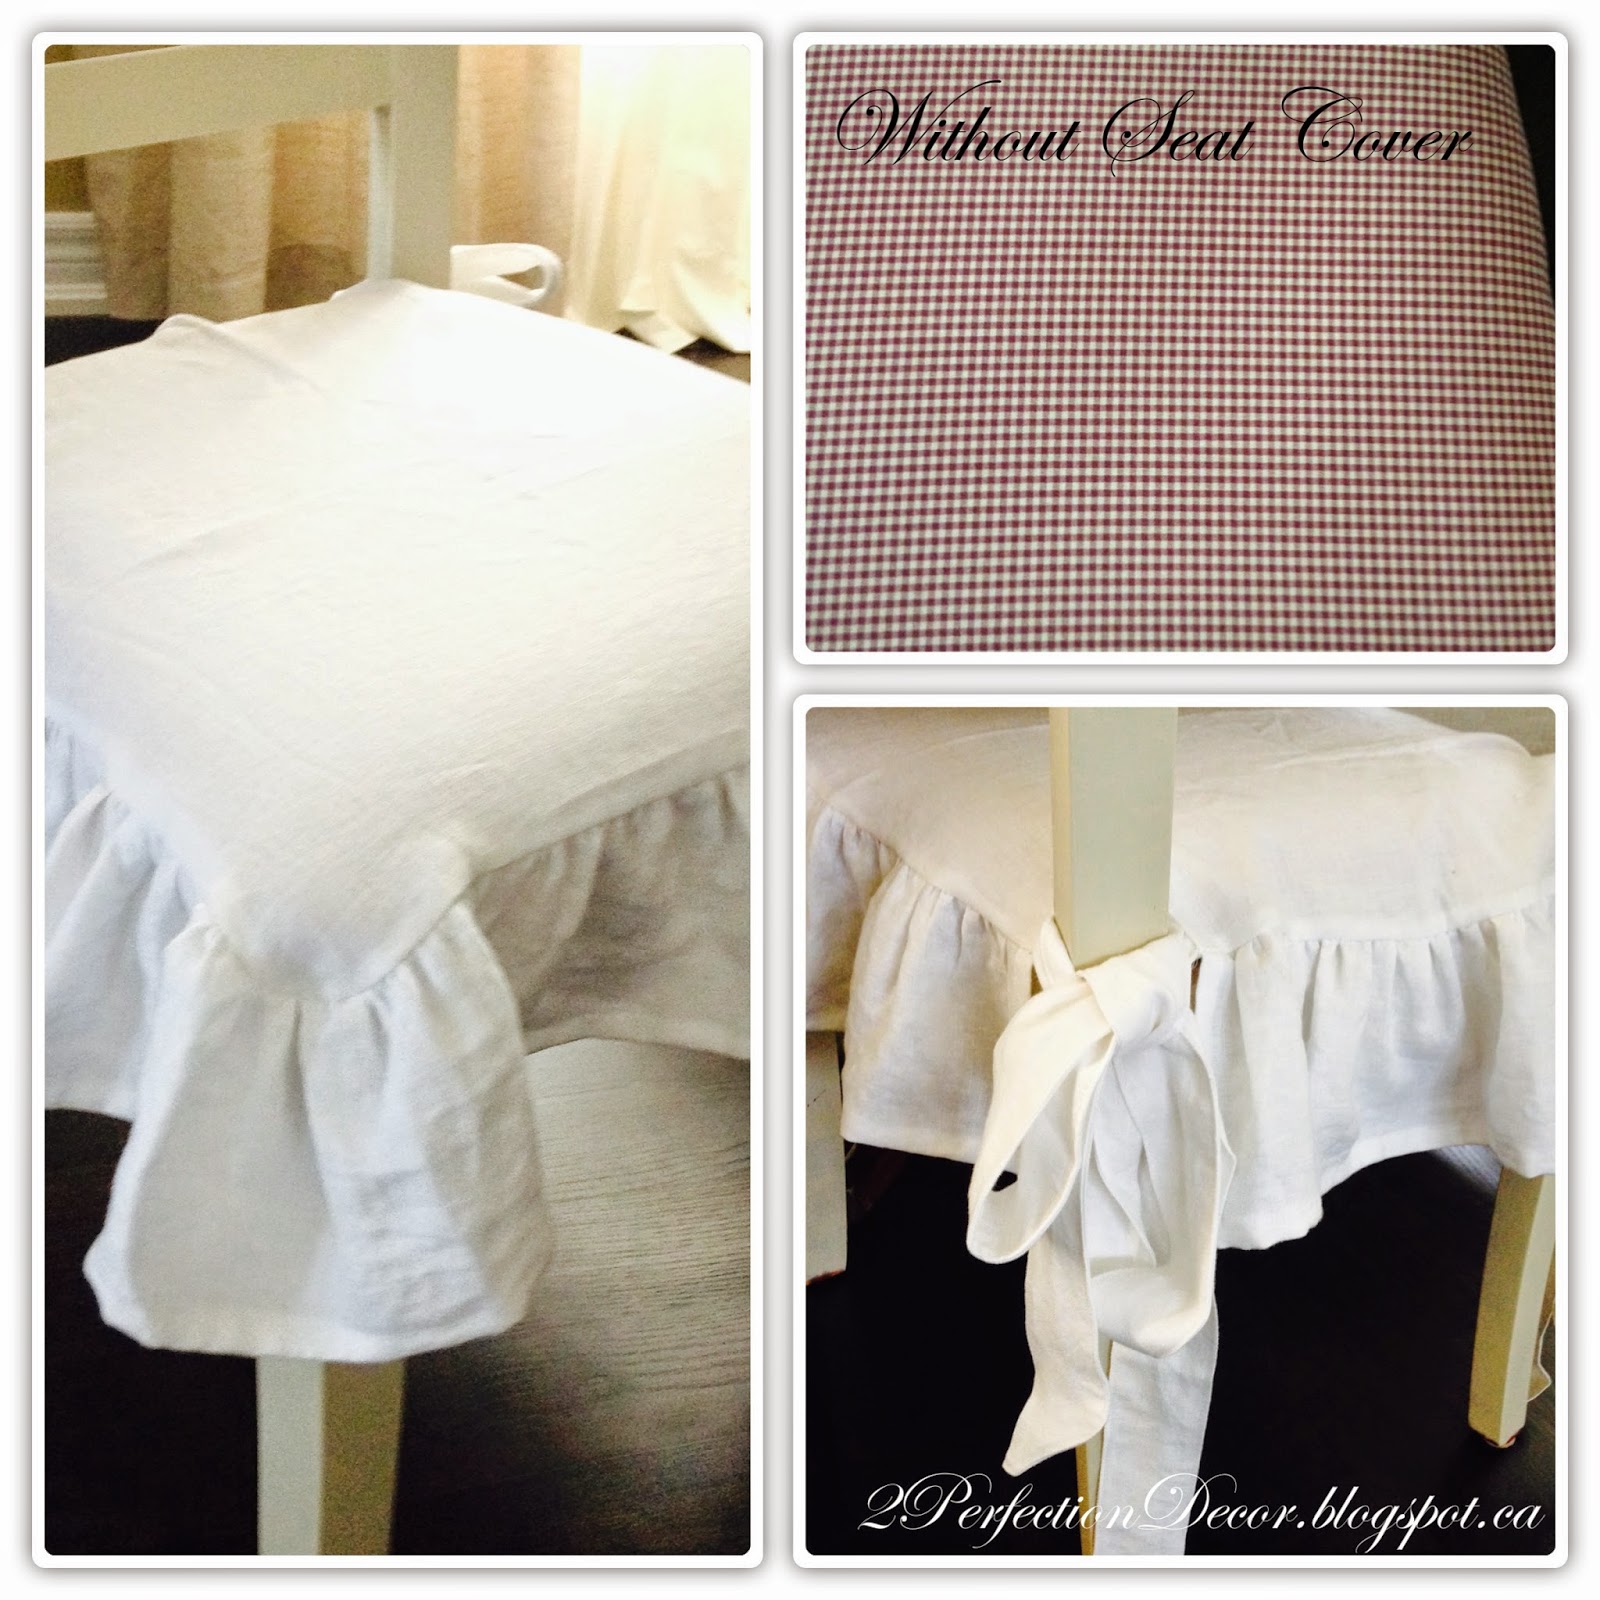
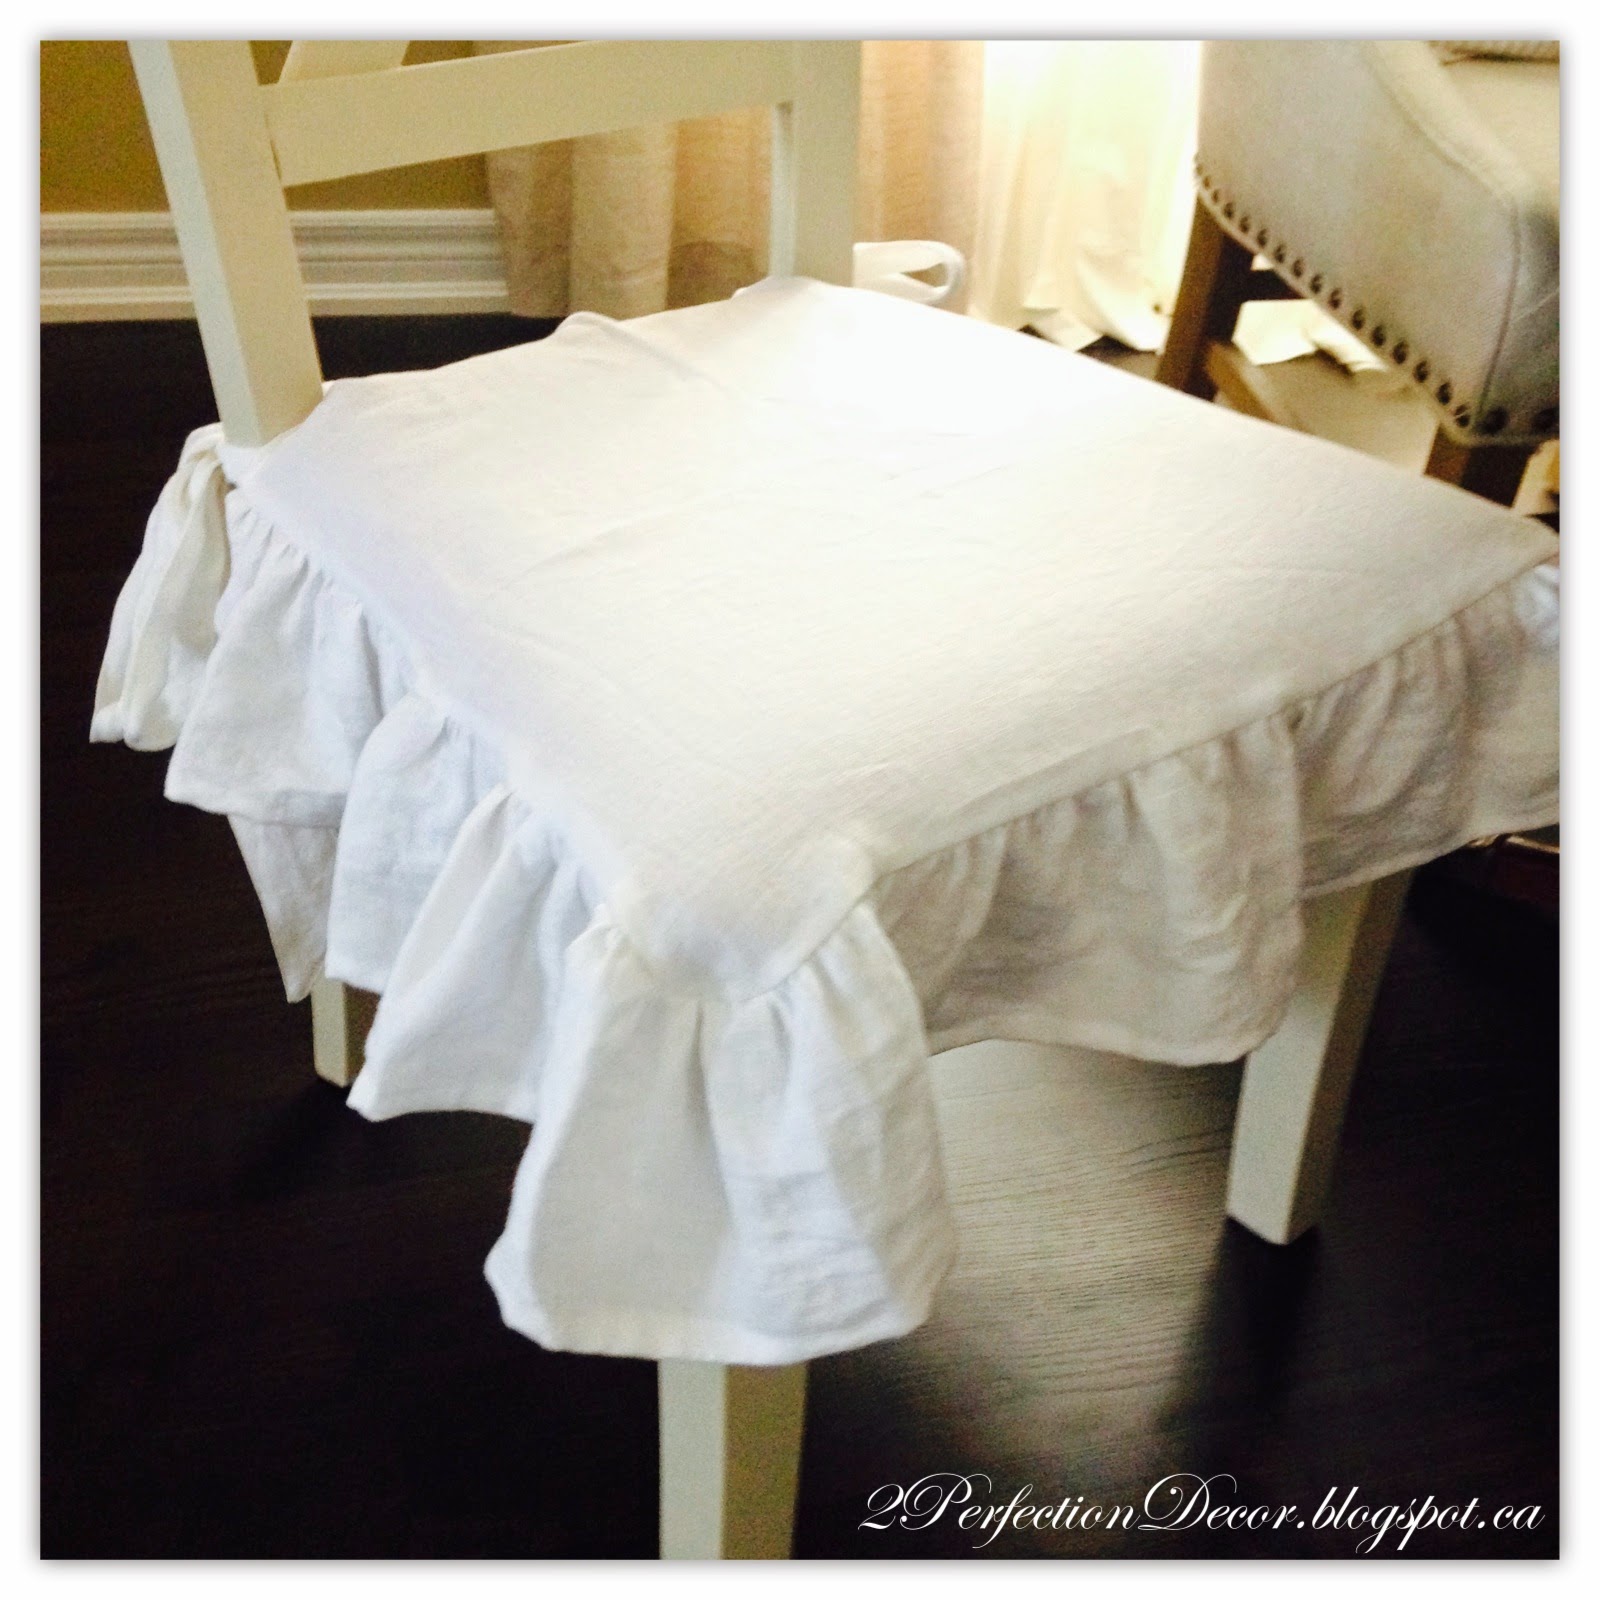
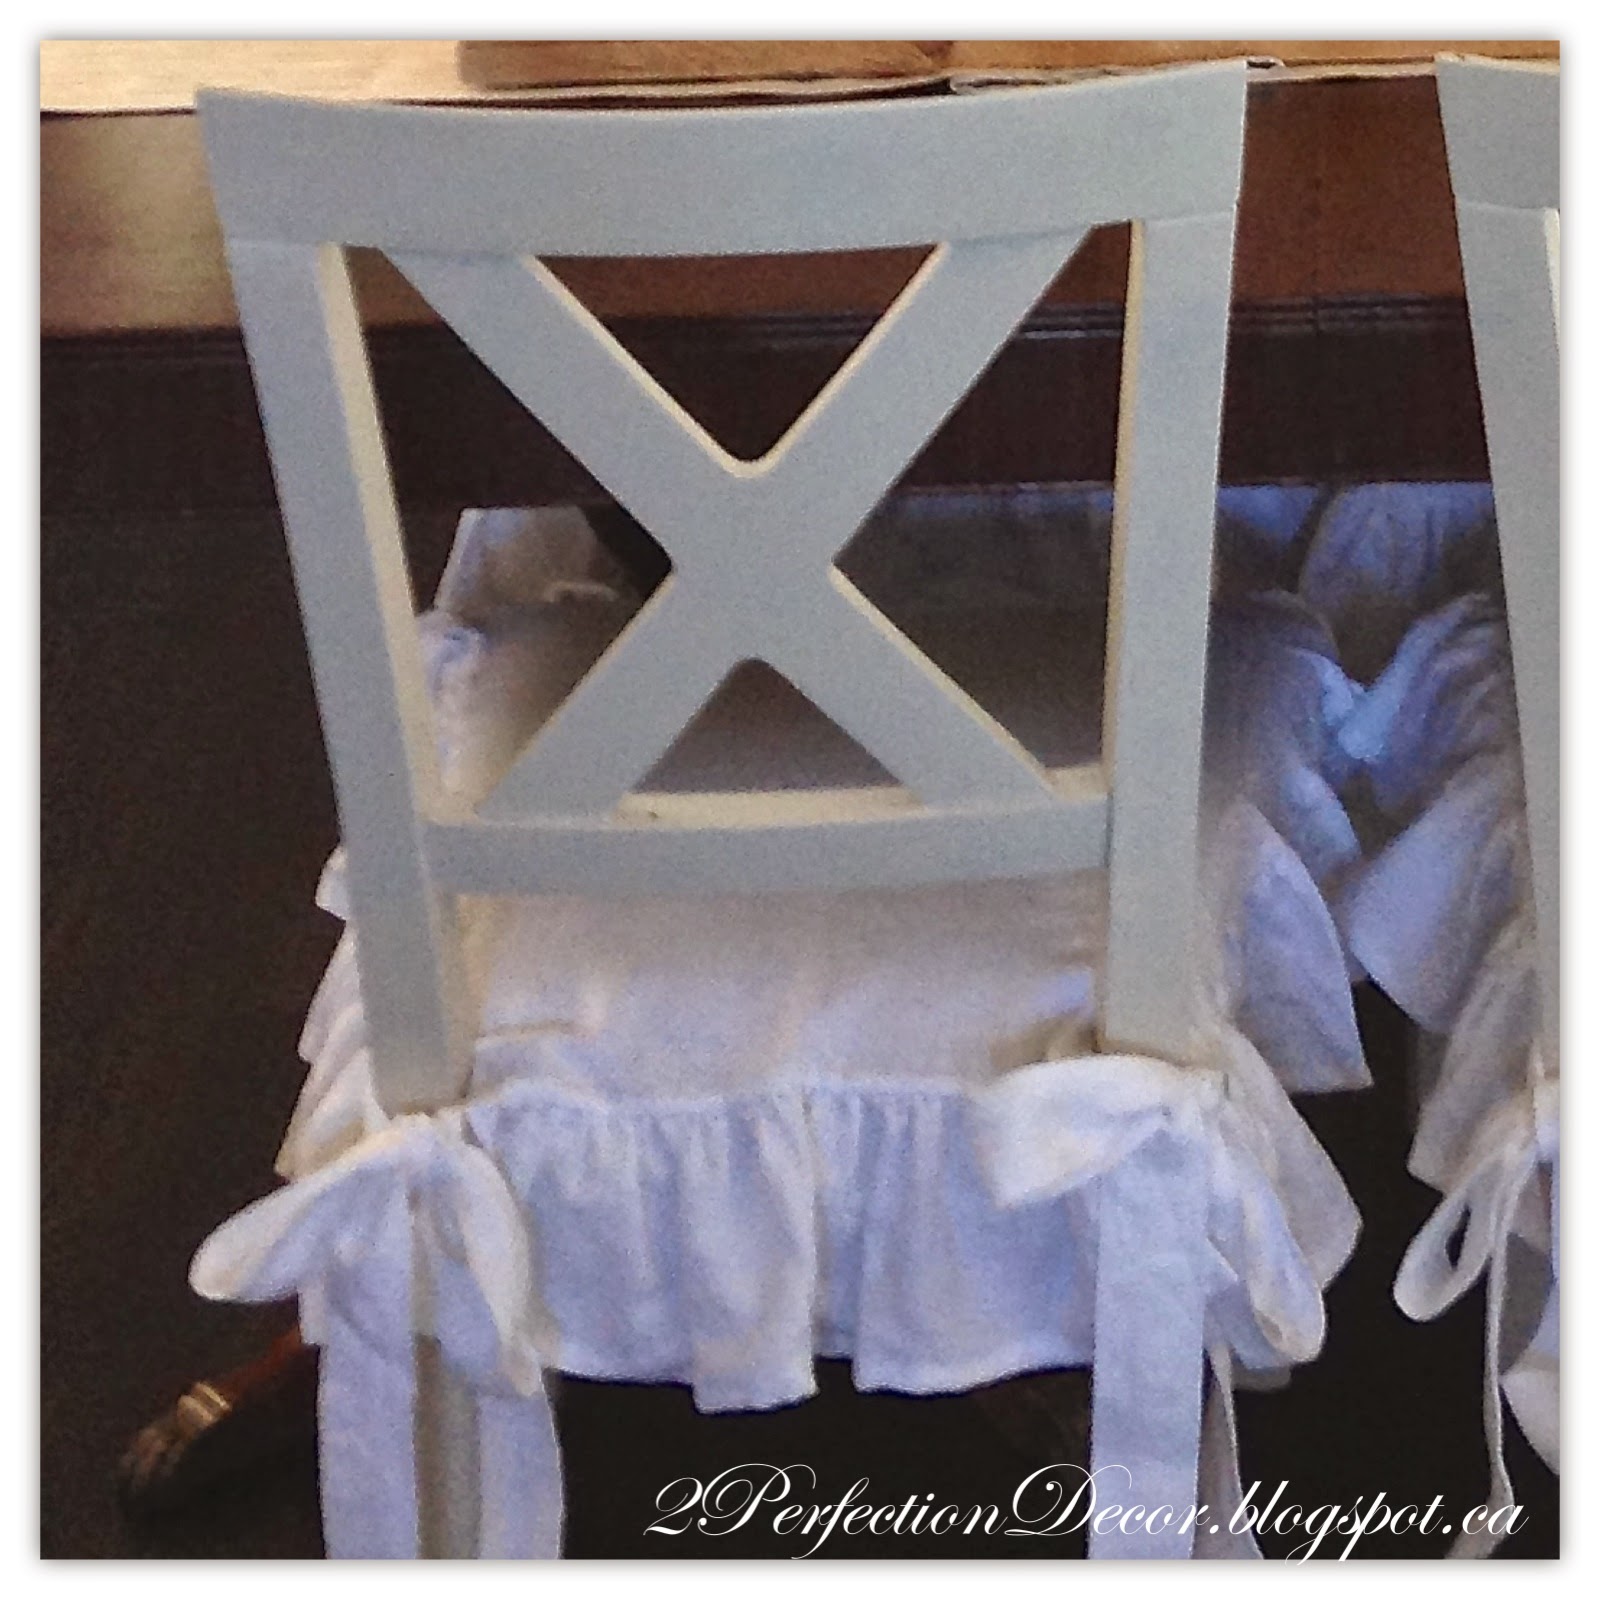
Here is my newly painted chairs with the original fabric seat.. Well it looks better to me rather than the ALL red option BUT still not quite the look I was going for.. So instead I ordered these amazing seat Slipcovers from a shop on Etsy called Ticking and ToileEach slipcover is handmade with linen fabric. I chose white linen fabric.. My thinking was if worse came to worse and someone spilled red wine etc I can always just bleach them!! Plus I have a toddler need I say more!
I decided to cheat and leave the main seat as is..The red checkered plaid fabric!! I just covered it with my new fabulous white slipcovers.. And somehow the red didn't show through the fabric!!!...How lucky is that!
 
It's the exact Shabby Chic relaxed look I was going for!!!
The Long ballerina ties lend to the shabby chic Romantic vibe.. And the best part is the covers are not meant to fit perfect, they flow and drape naturally. So they are a great transferable piece that I can use on any future dining chairs. 
 Full Dining Room Reveal Coming soon....
 Thank you for looking today.. Don't miss a post.. Follow along via BLOGLOVIN


Shared post with:


Monday, August 18, 2014

Shabby Chic 1st Birthday Party

It all started with the dress!! My sister in-law gifted me the dress before my daughter was born.. a dusty rose Baby Gap dress with a Tulle skirt and a Bow! It was super Girly and Pretty.. So the theme was Born! My Daughters first birthday would be a Romantic Pastel Shabby Chic Birthday Party!!!  I wanted it to be super Girly and pink. I love all things shabby chic so I tried to go all out.. in pastels, flowers, ruffles, polka dots, burlap and natural fabrics and mixing in vintage elements. 

I kept decorations fairly simple and not too kiddish ( I will do kiddish when she can pick a theme herself!) We had just a few baby pink and white balloons, pastel coloured poms, shabby fabric garland and a personalized burlap birthday Banner available here.


On the main table I displayed white picture frames with pictures from when Elle was first born. I had a 3 tier metal stand with striped pink and white bowls full of Kraft Dinner for the kids. (HUGE hit!) Mason jars were used to hold pink utensils. Above the table Hung a personalized Burlap Birthday banner. Below I hung a Shabby Fabric garland that I purchased on Etsy. Instead of a basic table cloth,  I picked up a few meters of a mini rose Shabby chic patterned fabric from my local fabric store. I left the ends unfinished and draped that over the Dining room table instead. (That way you can wash and re-use it as is OR make a pillow and have a great keepsake of her 1st Birthday!)


The Dessert Table featured real Baby Pink Hydrangeas that I special ordered from a local florist. I displayed the pink hydrangeas in vintage white vases. I put my cake stands to good use.. one holding the larger cake that was for everyone and the other holding the small smash cake for my birthday girl!! I even used our Large Silver wedding Cake stand as a prop. The white 'E' bowl featured yummy chocolate eggs in pastel colours (The E was a part of the L.O.V.E bowls that I also used for our Candy display at our Wedding.. see it here) Then we used Candy jars from Walmart to hold pastel candy necklaces and other candies. A Vintage Tea cup held mini chocolate bars and a milkshake glass was used to hold twizzlers..And of course Cupcakes on a tier stand with yummy baby pink icing..YUM!
The vintage framed chalkboard is a part of the wall decor in our kitchen all year round.. so I changed the usual quote to a more appropriate Birthday wish for my little one. The cake banners are made by me using scrap fabric and jute. I wrote the font with a Brown permanent marker.
Here is another look at the Dessert Table.. Makes me hungry just looking at it again.
The Cupcake Banner hung under the dessert table

 The Cake was Home made by me!! (very daunting.. I don't recommend this as I had a million things to do that day.. Must learn to delegate tasks!!) It tasted amazing though! This is the Recipe I used. I made the cake the night before her Party and then added icing about an hour or so before the party. For the main cake I did a simple icing rose in a Pink Ombre effect.. It was my first time making a cake from scratch.. And overall it was pretty easy to do plus it tasted soooo good!! Except when I (the inexperienced baker!) Didn't line the spring cake pan and all the batter started dripping down into my stove.. yes this happened!! To add to my stress!! So I had to get my Dad and brother in law to do another ingredient run!! Awww memories..In the end it was all worth it. The icing was Yummy too.. You can see my daughter really enjoyed it.. and isn't that the most important thing that the birthday girl is Happy!! ;)

 We placed the Kids Goody bags by the front door in a wooden box with a chalkboard front reading Favours on it. (Also from our wedding!) For the Goody Bags we used personalized initial Burlap bags with a Bold Baby blue initial for the boys and a light pink Script Initial for the girls.. they are available here. We attached these super cute personalized photo gift tags to each of the bags..The tags were a huge hit with the parents and kids alike! Check them out at this Etsy shop.
Thanks for looking.

Source List:

Shabby chic Fabric Garland 
Painted Mason Jars 
Happy 1st Birthday Banner
Cupcakes Burlap Banner
Personalized Burlap Bags
Paper Poms 
Silver Cake stand- Save on Crafts (4 years ago)
Candy Jars- Walmart
White Vases- Antique Market
Tea cup- Antique Market
Chalkboard- Antique Fair (7 years ago)
Box with Chalkboard front- Bought while on vacation at a small home boutique.
Milkshake Glasses- Ikea
Thursday, July 31, 2014

Powder Bath Reveal

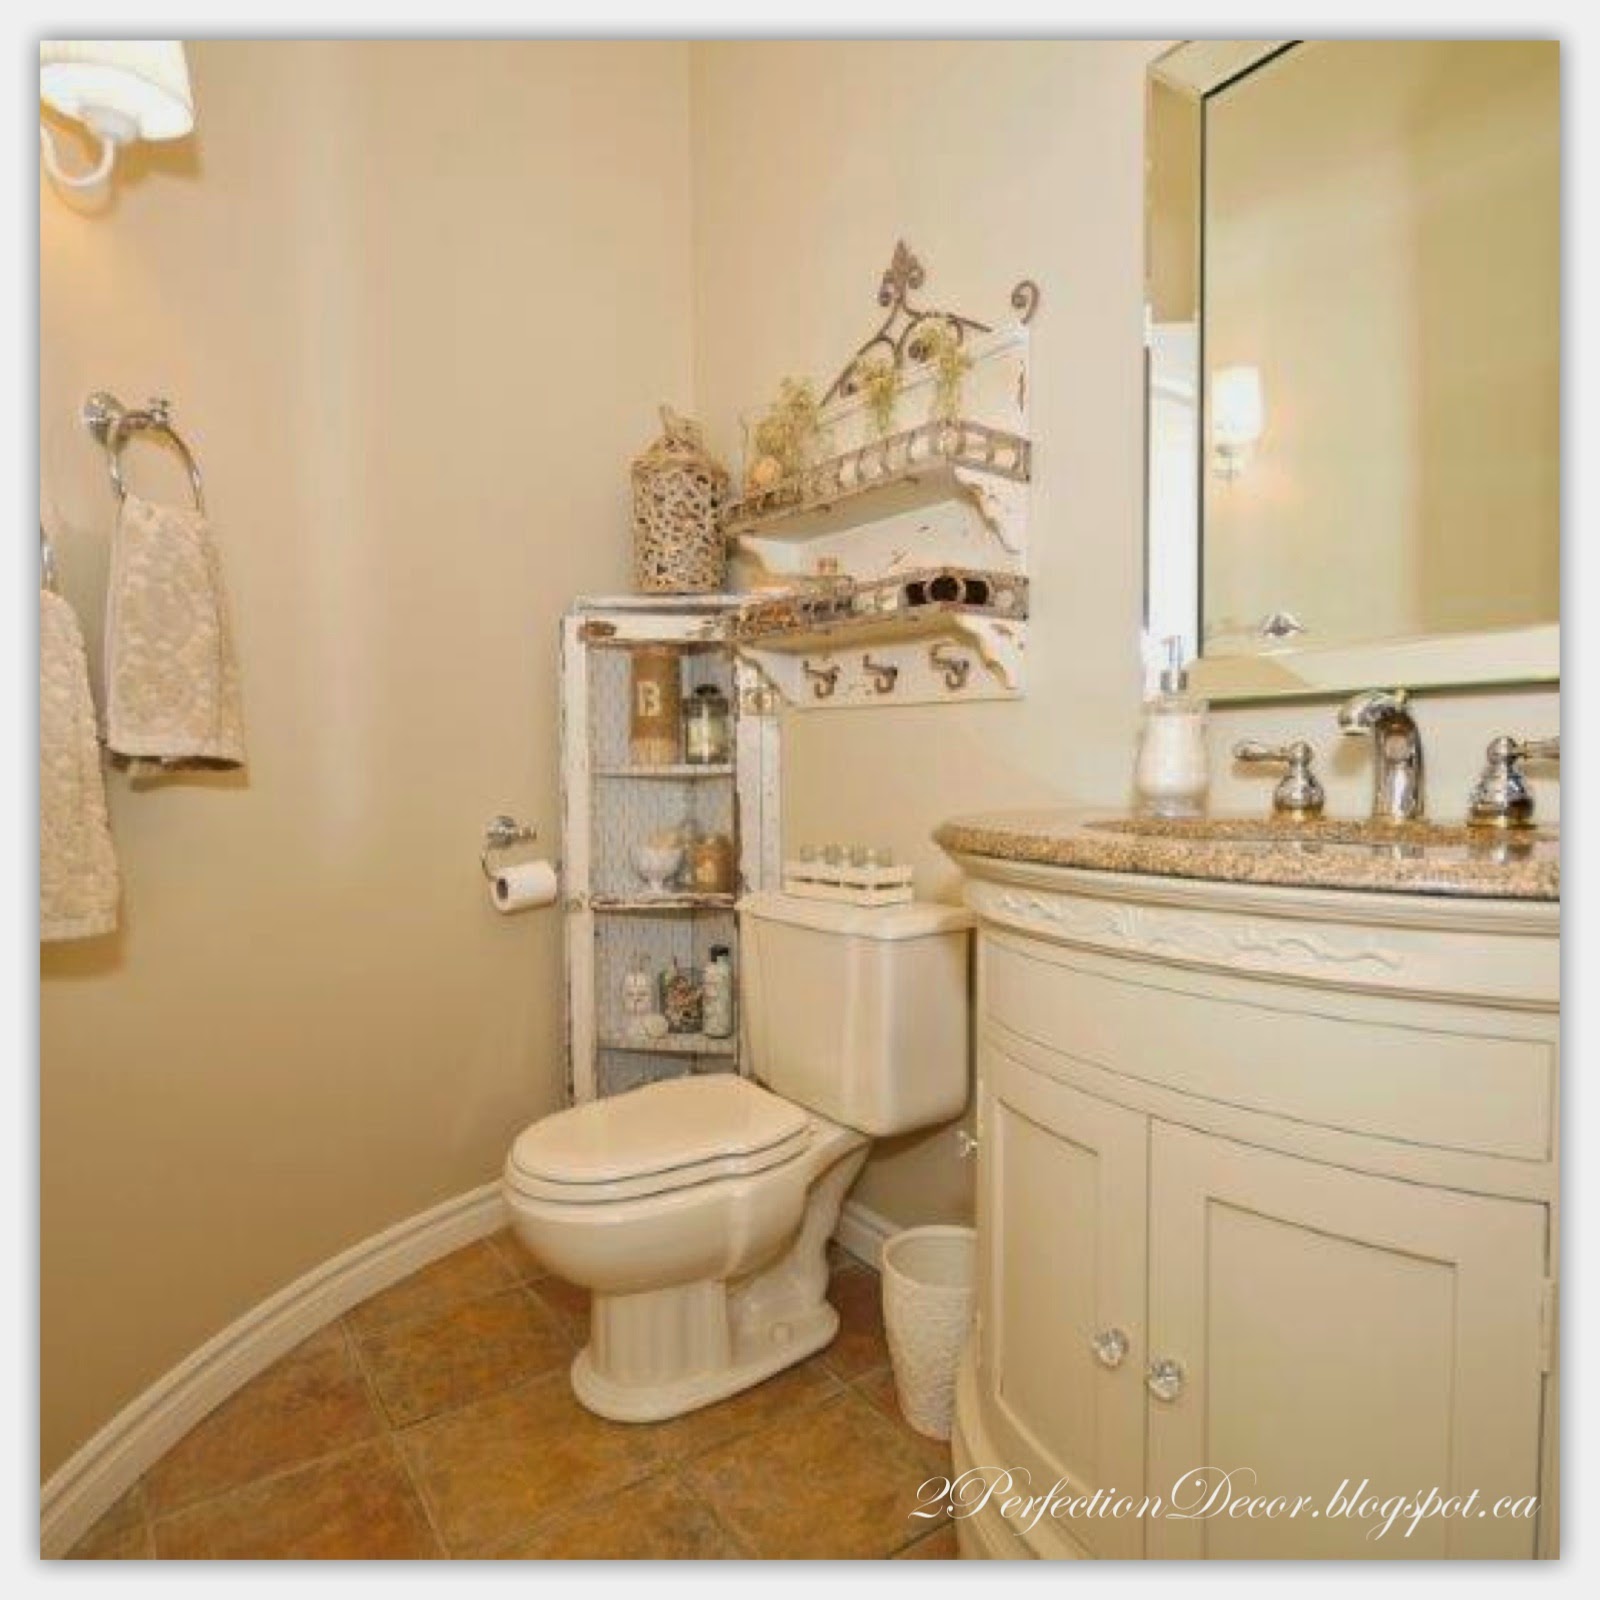
So this is one of Our first Projects at the new house.. There wasn't a lot of major Reno's aside from the Master Ensuite bath. SO most things got done pretty quick! Here it was mostly a matter of paint. We painted the walls Benjamin Moore Natural Linen.. One of my Favourite Paint colours!! Then onto the Wood Vanity which we painted Benjamin Moore Thousand Islands. 


We Changed the old chrome and gold towel rack and toilet paper holder hardware to a more simple Chrome set. And added a beveled all mirror. To save money I kept the wall sconces and just painted out the gold with a little BM Cloud white so it flowed better. With just a little paint it changed the whole look and feel of this bathroom. Now you could really appreciate the Rounded wall and how big this bathroom was for only being a powder bath.

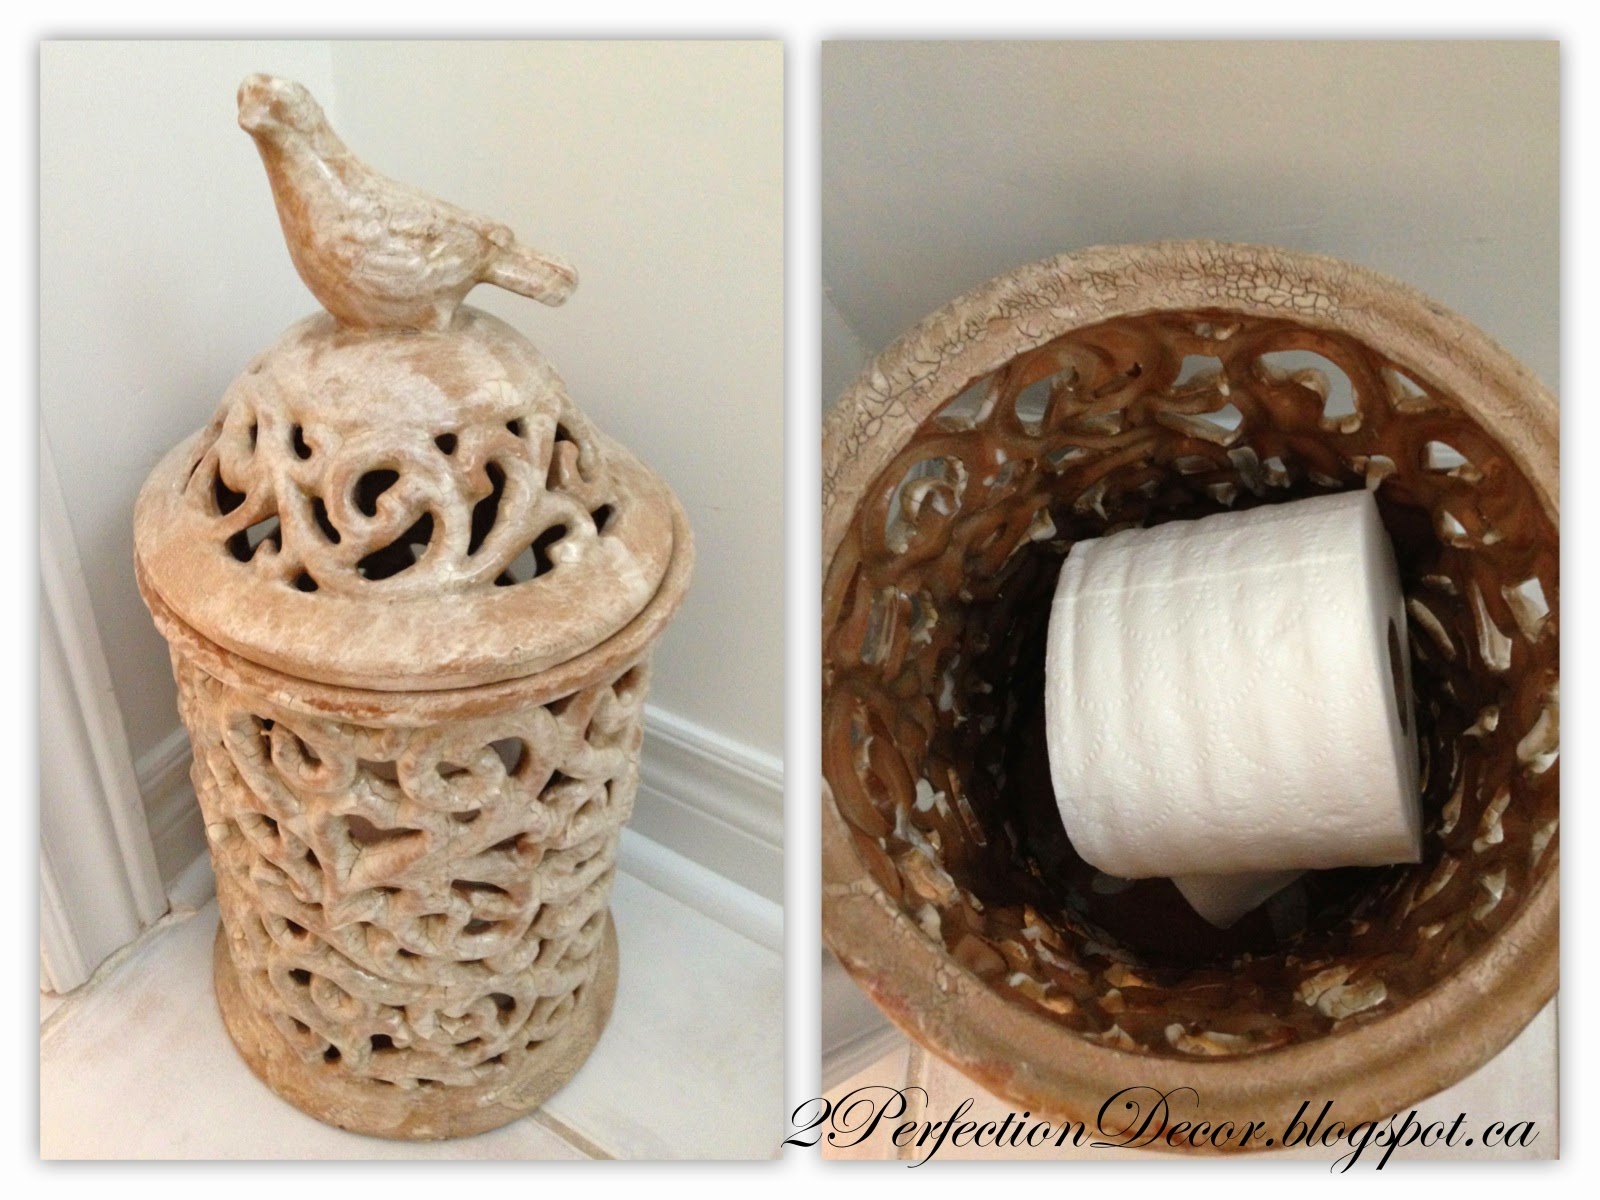
I bought this ceramic Bird Container at Homesense and decided to use it in the bathroom to hold the Extra Toilet Paper Rolls Instead of a Basket. Its the Perfect size for 3 rolls.. But I will say Guests have been confused a few times as to where the extra rolls are.. ;(
 The Old Wood Medicine Cabinet was a MUST to go.. I had thought about painting it too, which would of made it look a lot better.. BUT i found this great open shelving unit at Homesense for $40 and just knew it was the perfect fit. The old cabinet was very Heavy and dark looking in the room. This was smaller in size but still big enough to fill the wall space above the toilet.

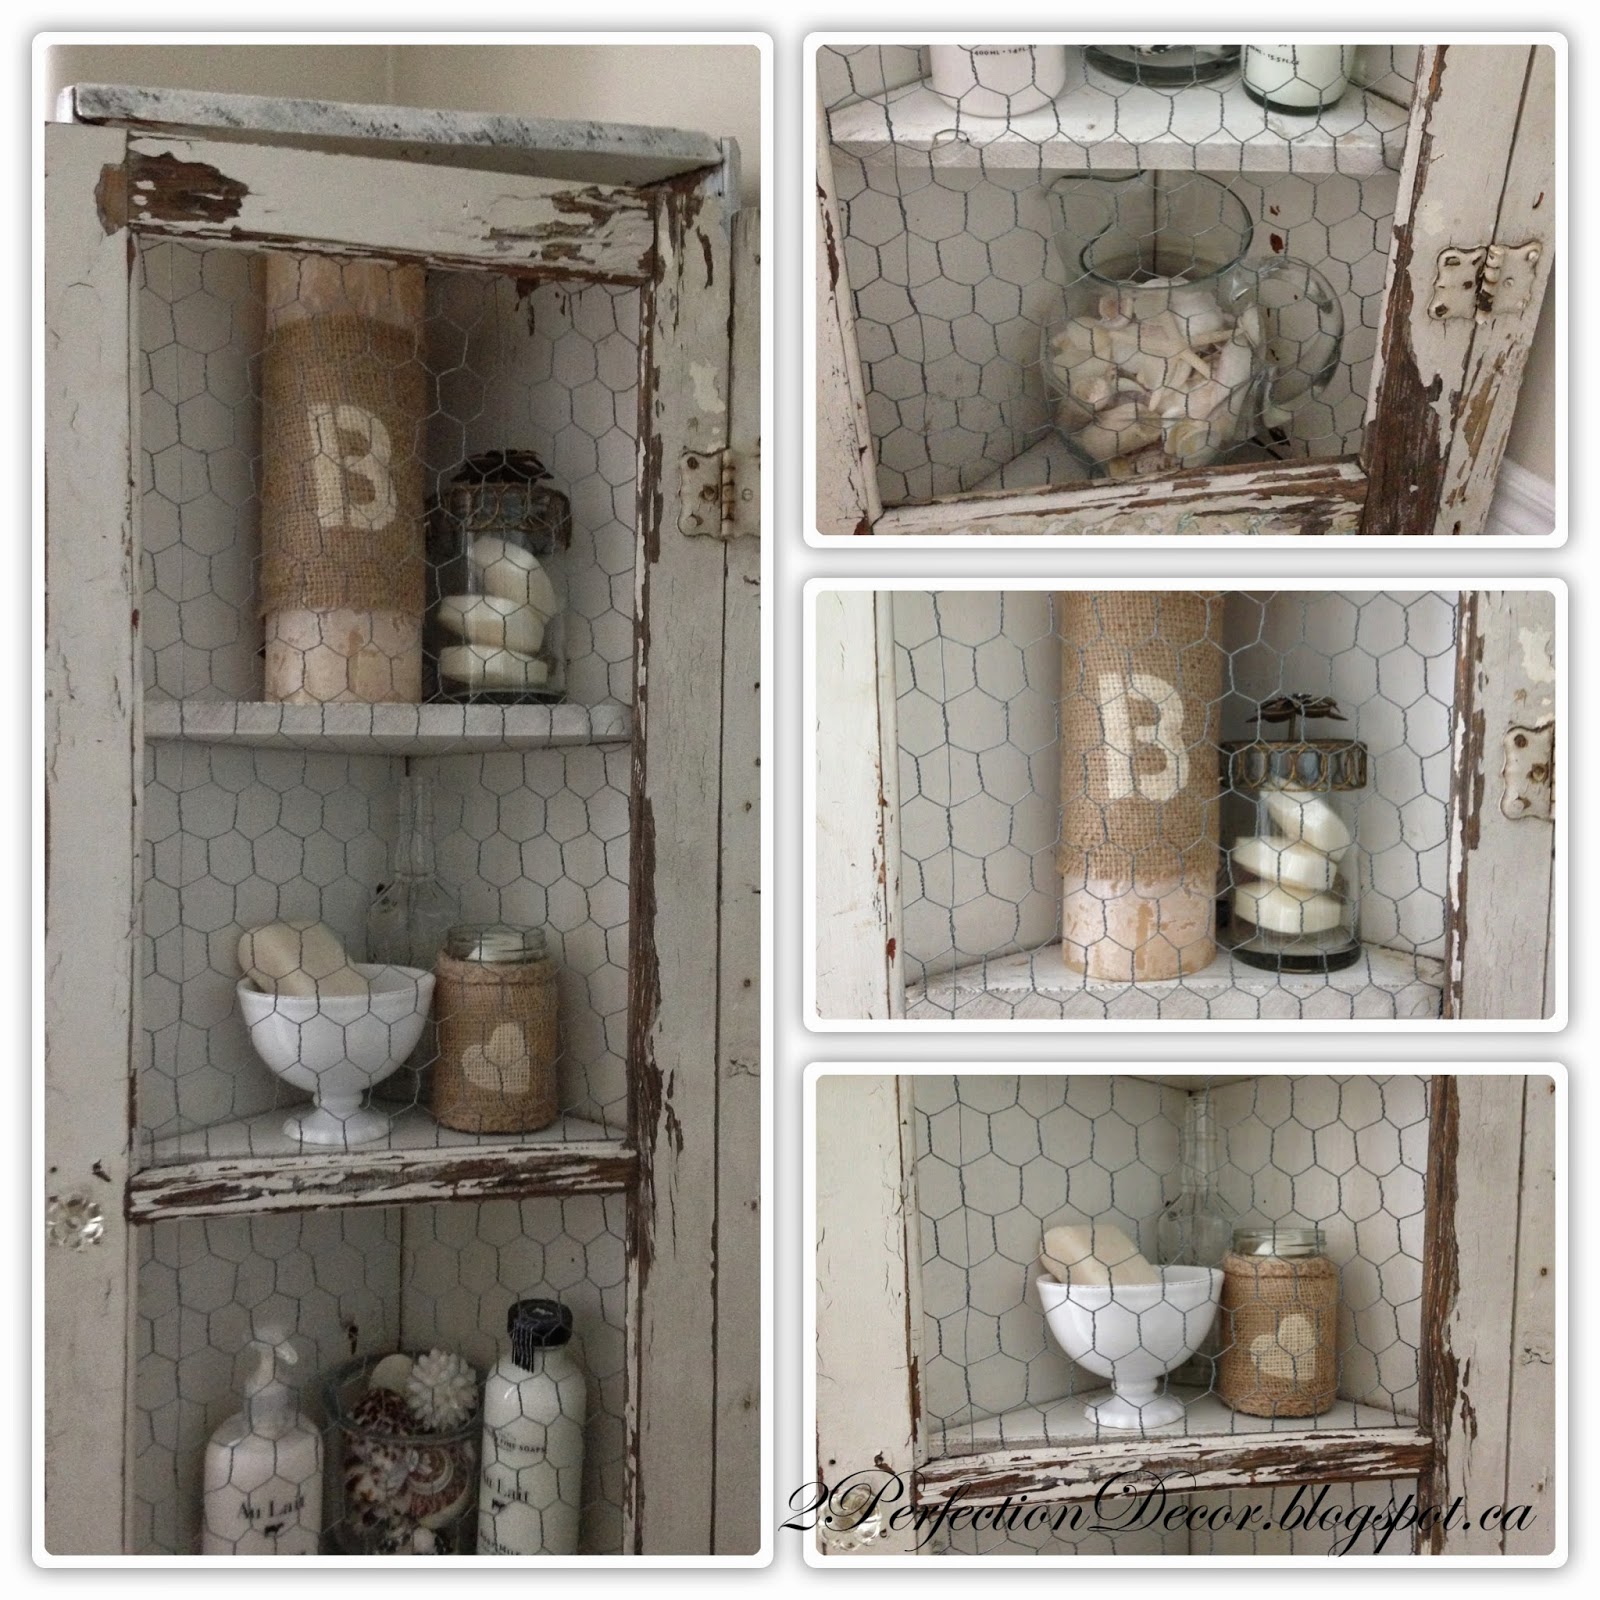
The corner cabinet was a lucky find at an Antique store near my house. I bought it exactly like this. I just loved the chicken wire doors and vintage crystal knob. When I first brought it home I wasn't sure where it was going.. I just knew I loved it.. So i tested a few spots and the Powder Bath won :)
I just loved how it could fit all my display stuff.. who doesn't like a little Eye Candy while they are going to the bathroom??

 Gotta know I love my Baskets and Shells..  This is a basket full of various soaps and shell balls. I placed the basket on the counter beside the sink and the soaps just made the Bathroom smell amazing.
 Thanks for looking.. See more House pics Here

Shared with:
Classy Clutter- The Creative Collection Link Party

Don't Miss a post... Follow me by Email or Bloglovin!

Sunday, July 27, 2014

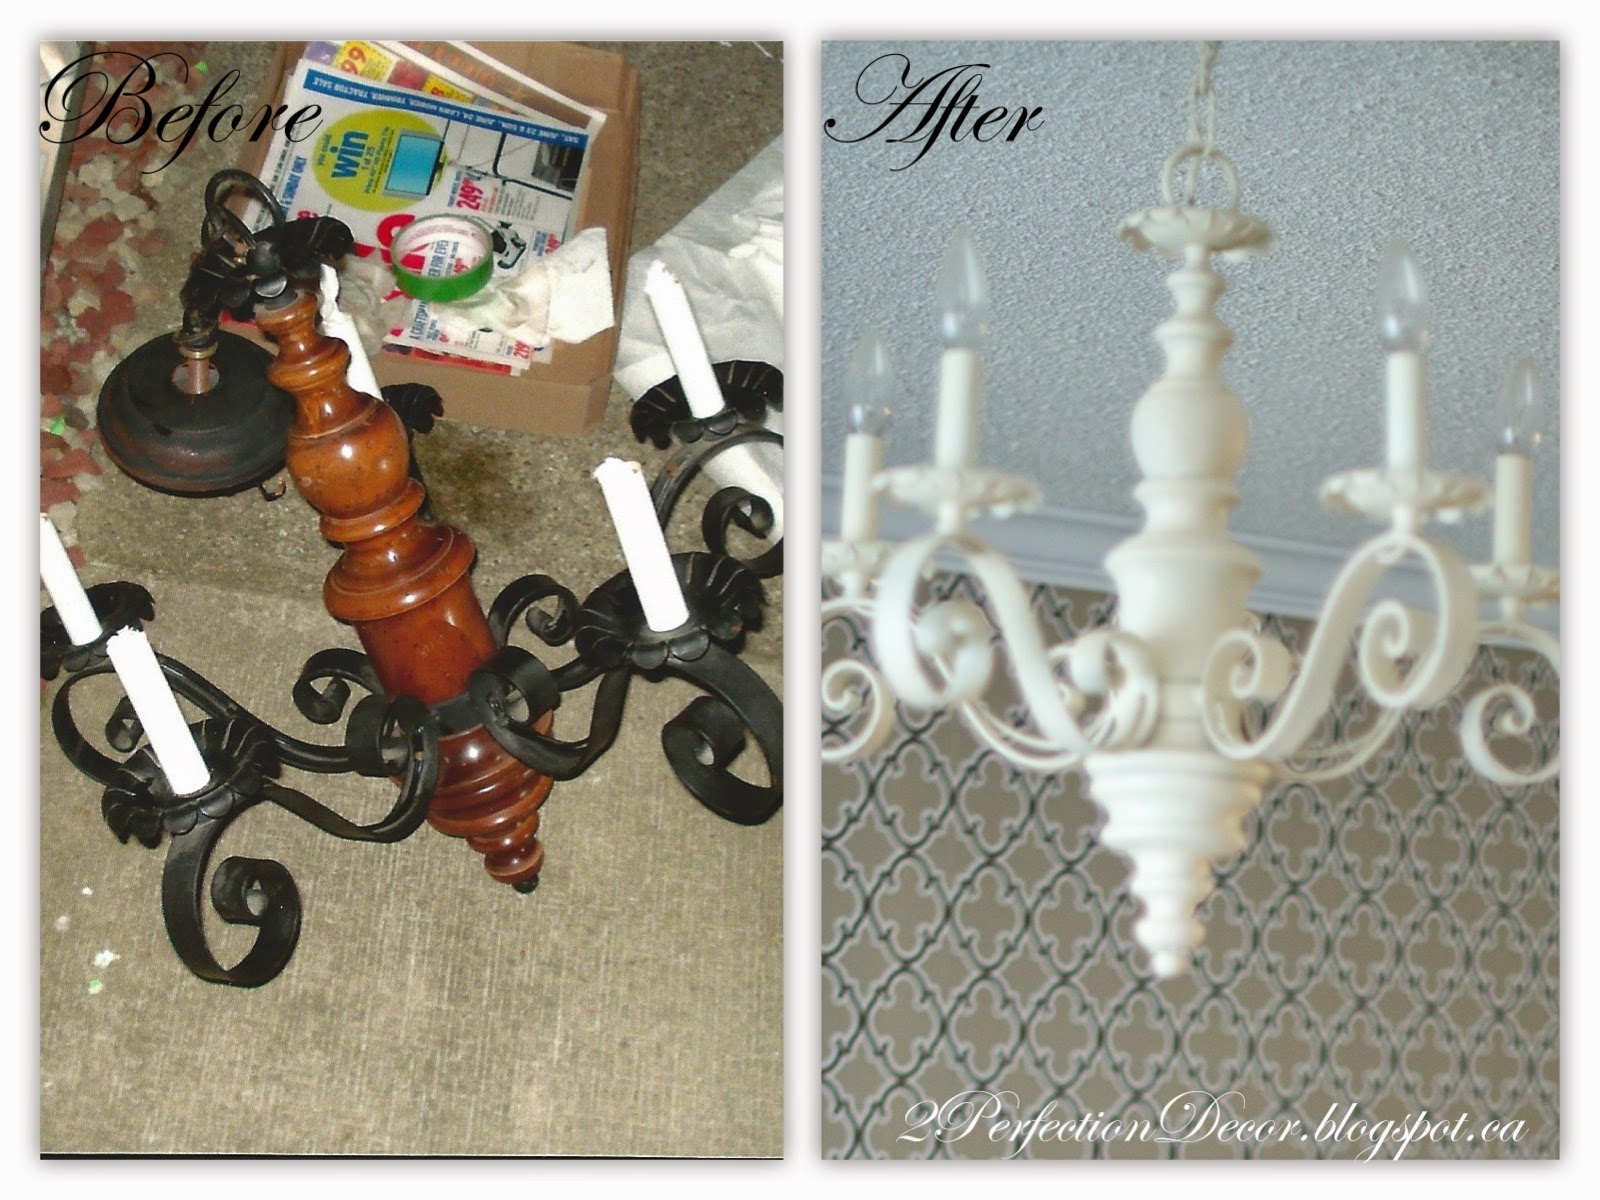
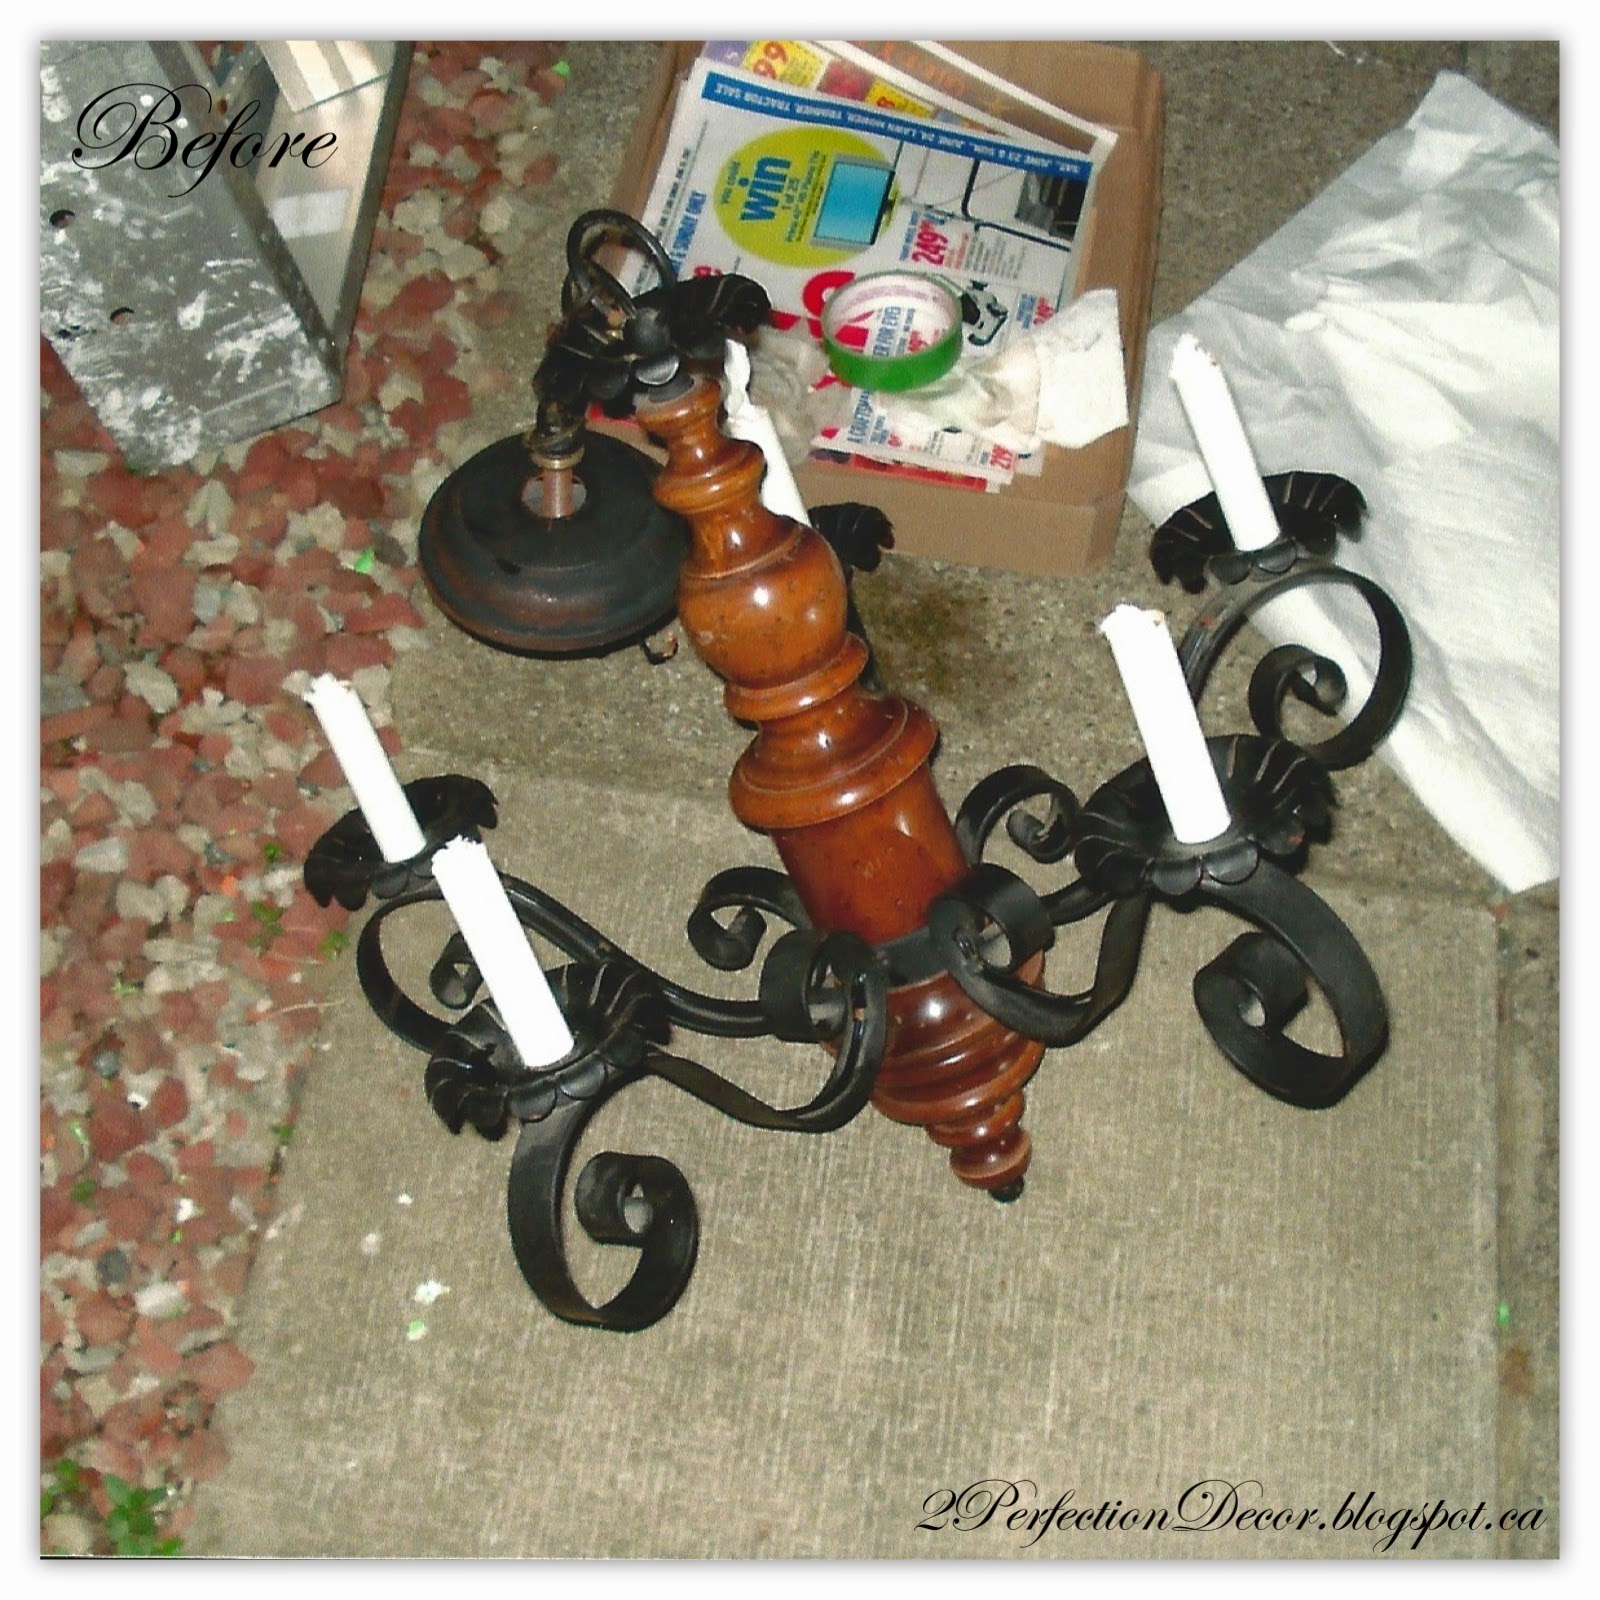
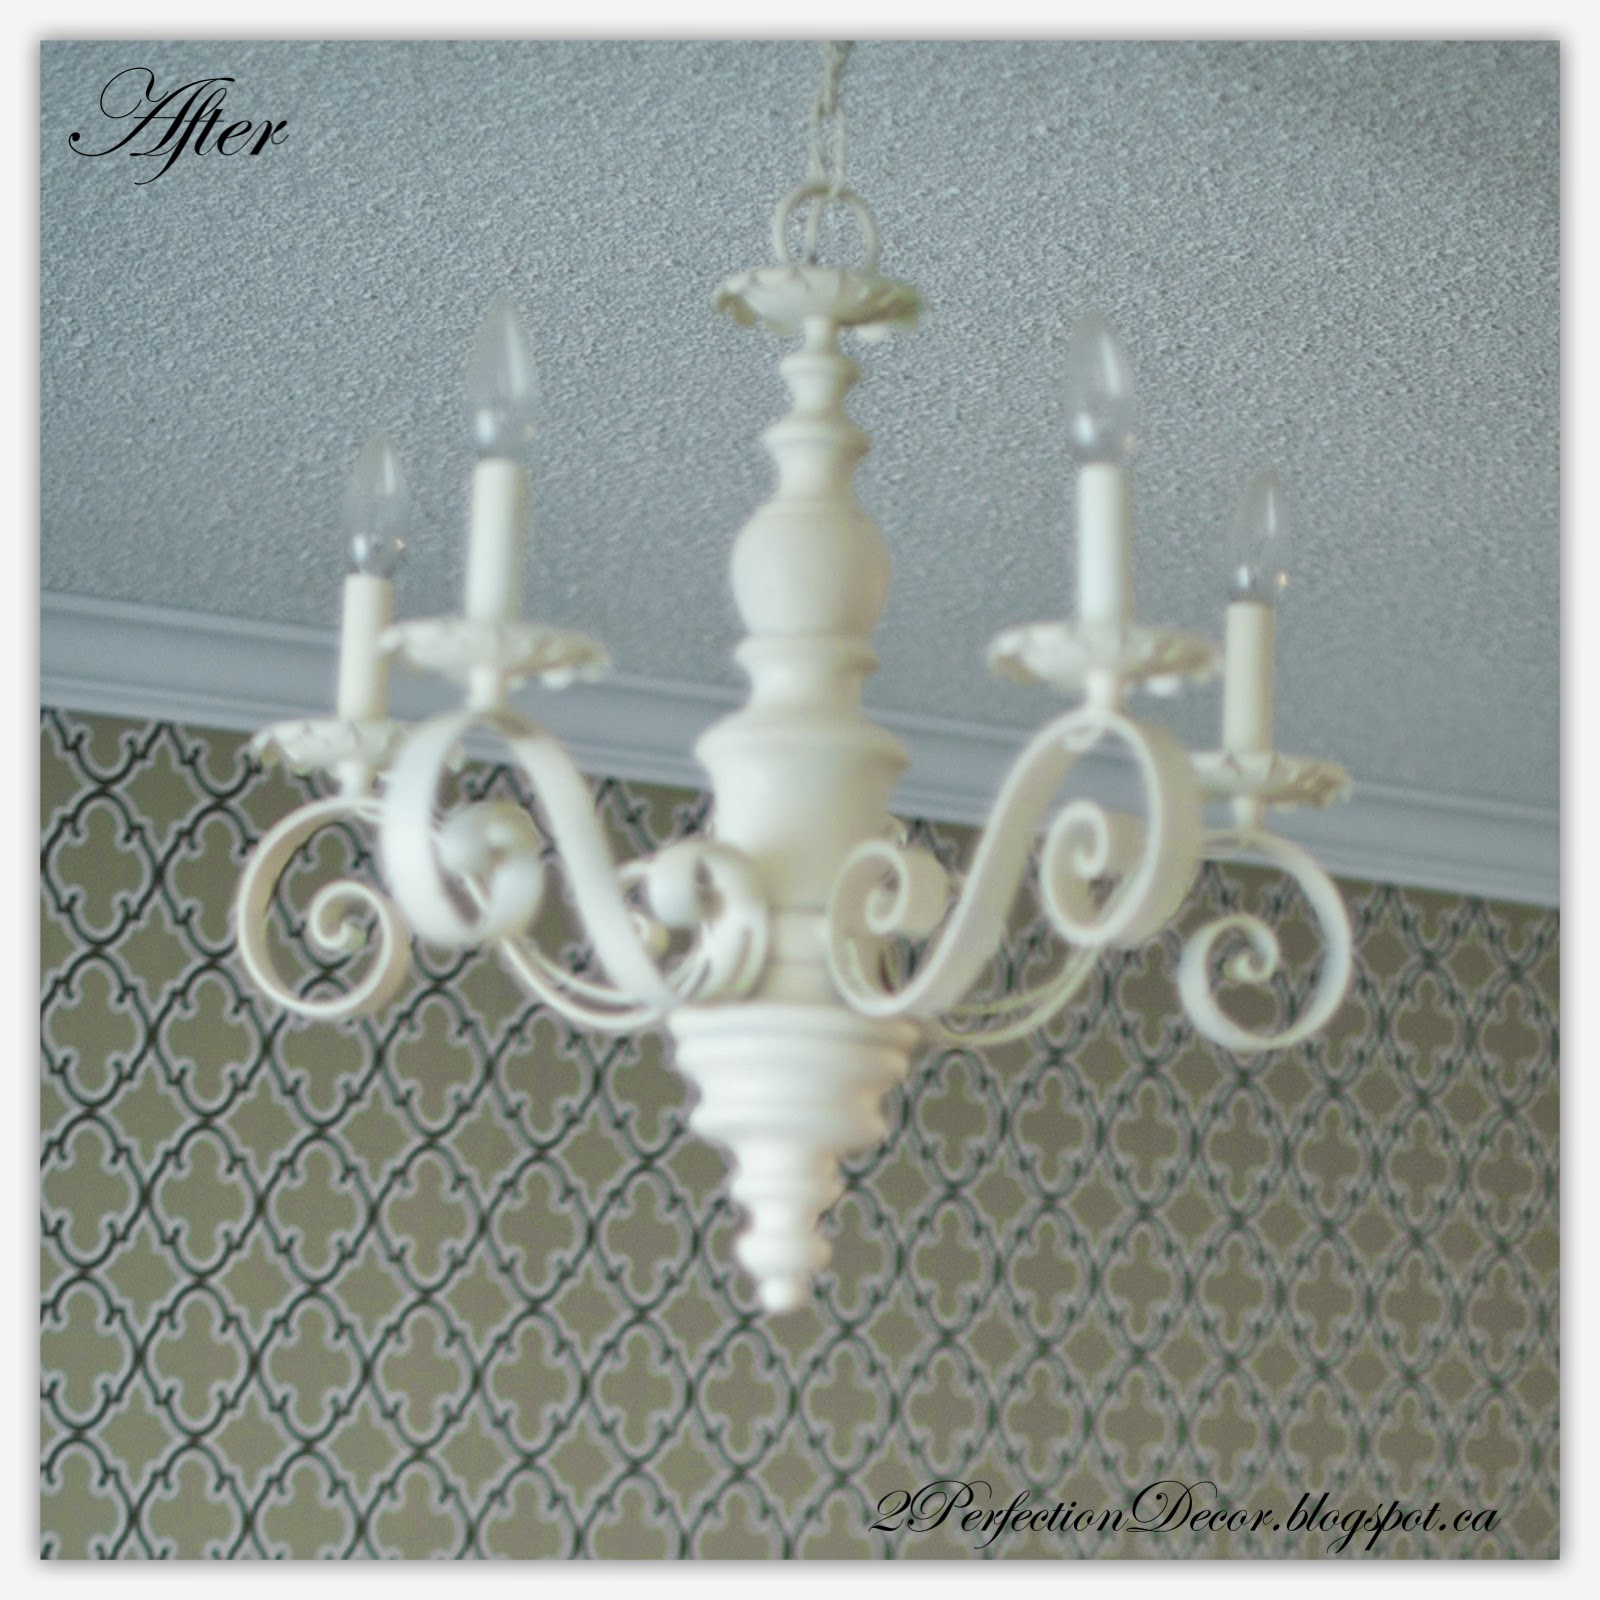
Vintage chandelier Before & After


Here is a Easy Transformation of a Vintage Chandelier. It was an amazing Thrift store find for only $8!!!! A little spray paint and some time (30mins max!) and it was transformed into a fabulous shabby Chic Antique White Chandelier!  
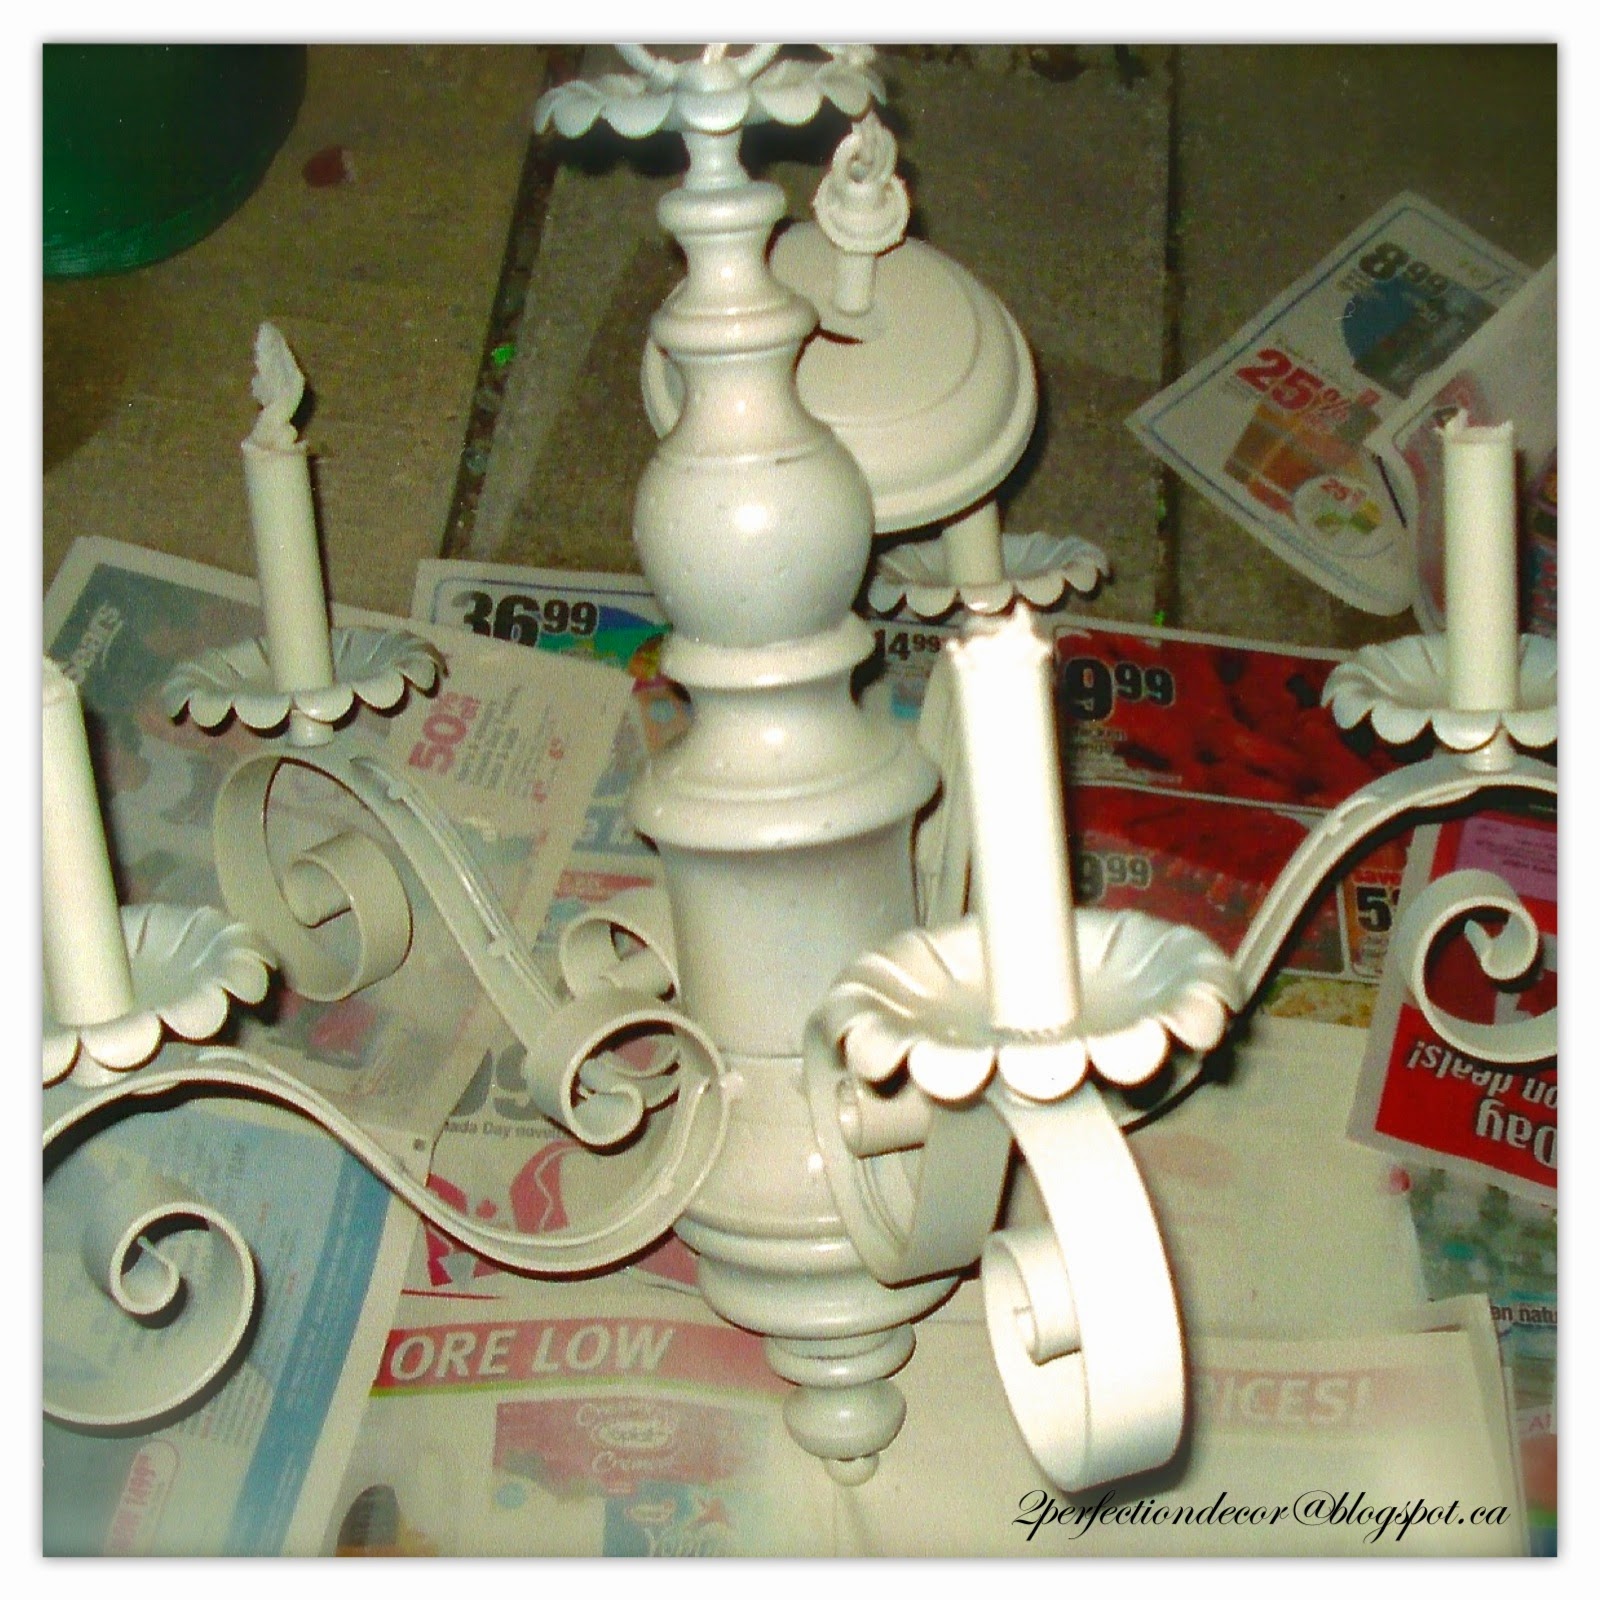
I lightly sanded the metal to remove any dirt and cleaned the wood with a paper towel to allow for better adhesion of the spray paint. I also covered the tops of the candelabra sticks so no paint would get inside and wreck the electrical. (I have removed them on past projects but these were quite stuck and in great condition... so I left them)

I sprayed it with 1 can of Rust-Oleum Heirloom White . I did in 2-3 light layers.


This was after 2 coats.. so I just touched up where the darker areas were shining through.

All done for $15.. Not bad!! :)

Monday, July 21, 2014

House Tour Recap

So this the final Goodbye to our little Piney! It was a great home... We got Married in this home. It was a New build that we added a lot of personal touches to add character! We kept the house quite neutral but kept it interesting with details through vintage accessories, vintage louvered doors as a room divider, lots of built-in shelving, lighting and wallpaper. Tomorrow I will post our next Home's Before Pics.. So onwards to our new adventures in our next home!! 

Exterior Pics:

 Stairs: Large Newell Post in Java Stain
 Hall Entry: Console table with bench underneath, vintage radio 
Gray & White Main Bathroom: Restoration Hardware Crystal and Chrome Knobs, Benjamin Moore Coventry Gray Paint. White Ruffled Anthropologie Shower curtains. Target white Roman Shade.
 Den: Re-upholstered Shabby Chic French Provincial Sofa with linen and Burlap Pillows. White Ikea drapes. Home Depot Pendant Light. 
 Dining Room: Benjamin Moore Alexandria Beige Paint, Vintage architectural prints
 Family Room: Sklar Peppler Sofa and Chaise, Ethan Allen Brown Velvet Ottoman. Leaned Vintage Wooden Ladder, Mirrored nesting tables. Ikea Billy Bookshelves (See before and after here)


 Guest Room: Antique Bedroom Set, Vintage Mirrors/ trays hung up as wall collage. Vintage truck from my husbands Grandmother. Ikea Bedding with a embroidered pillow from our trip to Bahamas. Vintage Lighting sprayed Aqua Blue. Refinished Desk. See Before and After Here.
 Kitchen: See more info and Pictures Here.

 Master Bedroom: See More Info Here

 Master Bathroom: Restoration Hardware Chrome Square Knobs. Rona Faucet, Home depot Mirror and Chrome Wall Sconces. Gray Striped Wallpaper.
 Upper Hall Pics: See more info here
 Outdoor Patio:
 Thanks for looking! Hope you enjoyed!